Is your Rainbird sprinkler head leaking or not spraying water properly? Replacing it might seem tricky, but you can do it yourself quickly and easily.
Imagine saving time and money by fixing your sprinkler without calling a pro. In this guide, you’ll learn simple steps to replace your Rainbird sprinkler head and get your lawn watering perfectly again. Keep reading—your garden will thank you!
Tools And Materials Needed
To replace a Rainbird sprinkler head, gather these tools and materialsfirst. You will need a replacement sprinkler headthat fits your system. A shovelhelps to dig around the old head carefully. Use a pipe wrenchor adjustable pliersto unscrew the old head. Keep a towel or raghandy to clean dirt from the pipe threads. Have some thread seal tapeready to ensure a tight seal on the new sprinkler head. A bucketof water can help rinse away dirt. Finally, use a screwdriverto adjust the new sprinkler head if needed.
Credit: www.youtube.com
Turn Off The Water Supply
Locate the main water valve for your sprinkler system. Turn it off fully to stop water flow. This prevents water spraying during the replacement. Sometimes, the valve is near the water meter or the irrigation controller. Double-check by turning on a sprinkler to confirm no water comes out. Keep a towel or bucket handy to catch any water left in the pipes. Turning off the water supply is a key step for safe and clean work.
Locate The Sprinkler Head
Find the sprinkler head by walking along the sprinkler line. Look for a small, round piece sticking out of the ground. The Rainbird sprinkler head usually has a cap with the brand name on it.
Clear away dirt, grass, or debris around the sprinkler head. This will help you see it better and make removing it easier.
- Check if the sprinkler head is damaged or clogged.
- Mark its exact spot to avoid confusion during replacement.
- Make sure the sprinkler system is turned off before touching the head.
Remove The Old Sprinkler Head
Turn off the water supply to stop sprinklers from spraying. Use a flathead screwdriver or pliers to gently loosen the old sprinkler head. Be careful not to damage the pipe or the surrounding area. Pull the sprinkler head straight up to remove it from the riser.
Check the riser for dirt or damage. Clean the riser threads with a cloth to remove any debris. If the riser is cracked or broken, replace it before installing the new sprinkler head. This helps ensure a good seal and proper function.
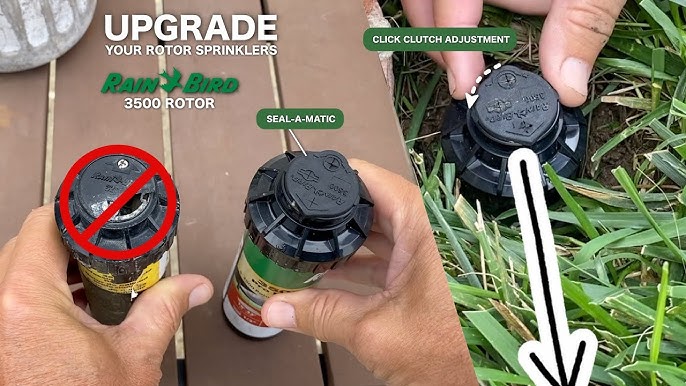
Keep the old sprinkler head nearby for comparison. This helps you pick the right replacement model. Make sure the new head matches the size and type of the old one for best results.
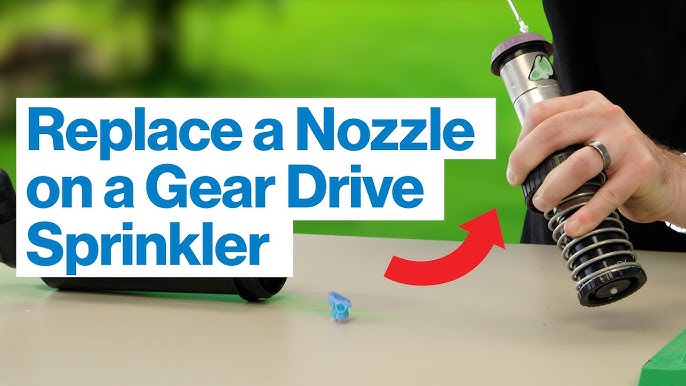
Prepare The New Sprinkler Head
Check the size of the new sprinkler head. Ensure it matches the old one. Use a clean cloth to wipe the new head. Remove any dirt or debris. Inspect for cracks or damage. The new head must be in perfect condition.
Find a small screwdriver. Adjust the settings on the new head. Make sure it’s set to the correct spray pattern. Ensure the rotation angle is right. Test the settings by hand. This ensures proper water coverage.
Prepare a bucket of water. Rinse the new sprinkler head. This helps remove any loose particles. Dry the head with a towel. Now, the head is ready for installation.
Credit: www.youtube.com
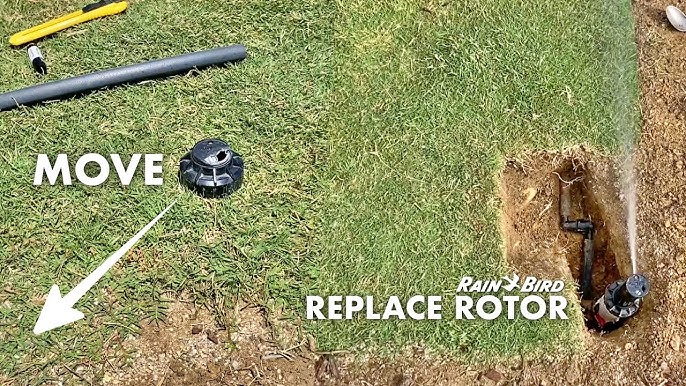
Install The New Sprinkler Head
Turn the water supply off to avoid leaks. Remove the old sprinkler head by twisting it counterclockwise. Check the sprinkler riser for damage and clean any dirt. Screw the new Rainbird sprinkler head onto the riser by turning it clockwise. Make sure it is snug but do not overtighten to avoid breaking the threads.
Adjust the new head’s spray pattern and distance. Most Rainbird heads have a screw on top for this. Use a flathead screwdriver to set the spray arc. Test the sprinkler by turning the water back on. Watch for leaks or uneven spray. Tighten or adjust as needed for best coverage.
Adjust The Sprinkler Settings
Adjust the sprinkler settings to control water flow and spray pattern. Use the small screw on the sprinkler head to change the spray distance. Turning it clockwise usually reduces the spray radius. Turning it counterclockwise increases it.
Set the spray arc by gently twisting the top part of the sprinkler. This controls how far around the sprinkler waters. Most Rainbird heads allow adjustment from 40 to 360 degrees.
Check the water pressure after adjusting. Low pressure may cause uneven watering. Make sure the sprinkler head is clean and free of dirt. This helps to keep the spray even and strong.

Credit: www.youtube.com
Test The Sprinkler System
Turn on the sprinkler system to check its current state. Watch each sprinkler head carefully. Look for water spray patternsand coverage areas. Make sure the sprinkler head you want to replace is not spraying water.
Listen for any unusual noiseslike hissing or leaking. These signs may show a broken or clogged head. Check if the water pressure is strong and steady. Weak pressure can mean a problem in the system.
Mark the sprinkler heads that work well and those that don’t. This helps during the replacement process. Testing the system first saves time and avoids mistakes later.
Troubleshooting Common Issues
Clogged sprinkler headscan cause uneven watering or no water flow. Dirt and debris often block the nozzles. Clean the heads by removing and rinsing them under water. Check for broken or cracked partsthat may leak water. Replace damaged heads promptly.
Low water pressuremay affect the sprinkler’s reach. Check the main water supply valve to ensure it is fully open. Look for leaks in the pipes or fittings that reduce pressure. Also, clear any debris from the filter screen inside the sprinkler.
- Sprinkler heads not popping up? Clear dirt around the base.
- Uneven spray? Adjust the nozzle or replace it.
- Water pooling? Check for a broken seal or misaligned head.
Frequently Asked Questions
How Do I Remove A Rainbird Sprinkler Head Safely?
Turn off the water supply first. Unscrew the sprinkler head by hand or use pliers gently.
What Tools Are Needed To Replace A Rainbird Sprinkler Head?
You need pliers, a replacement sprinkler head, and possibly a screwdriver or Teflon tape.
How To Ensure The New Sprinkler Head Works Correctly?
Check for leaks and adjust the spray pattern after installation. Turn water on slowly.
Conclusion
Replacing a Rainbird sprinkler head is simple with the right steps. Turn off the water before starting to avoid leaks. Remove the old head carefully and check for damage. Install the new sprinkler head and tighten it just right. Test the sprinkler to make sure it sprays evenly.
Regular maintenance helps your lawn stay green and healthy. You can save money by doing this yourself. Now, your sprinkler system will work well again.