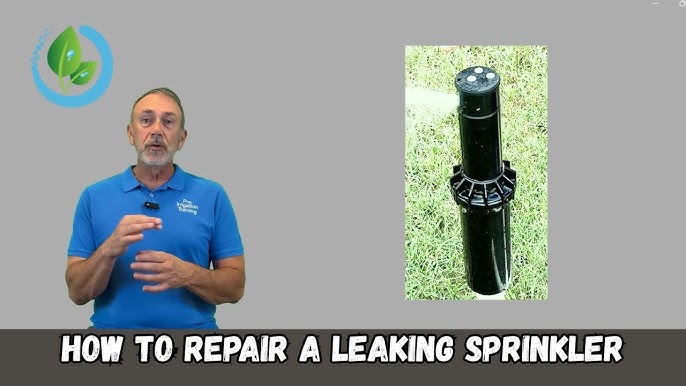
Is your Rain Bird sprinkler head not working right? Maybe it’s leaking, clogged, or just won’t pop up like it should.
Fixing it yourself can save you time and money, and keep your lawn looking green and healthy. In this guide, you’ll learn simple, step-by-step tips to repair your Rain Bird sprinkler head quickly and easily. By the end, you’ll feel confident handling common problems and getting your system back on track.
Let’s get started and make sure your lawn gets the water it needs!
Credit: www.youtube.com
Common Issues With Rain Bird Sprinkler Heads
Clogged nozzlesstop water from spraying properly. Dirt and debris block the small holes. Cleaning the nozzles with a soft brush or needle helps water flow freely again.
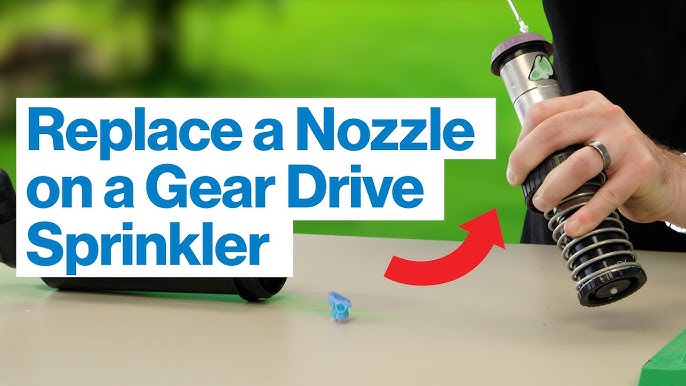
Broken or damaged partslike cracked heads or missing pieces cause leaks and poor spray. Replacing these parts with new ones restores the sprinkler’s function quickly and easily.
Uneven water spraycan cause dry spots or puddles in your lawn. Adjusting the sprinkler head’s angle and checking for blockages fix this issue. Make sure the spray covers the right area evenly.
Leaking sprinkler headswaste water and may harm plants. Tightening connections or replacing worn seals stops leaks. Inspecting the sprinkler base for cracks also helps prevent water loss.

Credit: www.youtube.com
Tools And Materials Needed
Basic repair tools include a screwdriver, needle-nose pliers, and a wrench. These help remove and adjust sprinkler parts easily. Having a clean clothis useful for wiping dirt and debris.
Replacement parts often needed are sprinkler heads, seals, and nozzles. Keep these handy to swap out broken or worn components quickly. Having extra parts saves time during repairs.
Cleaning supplies like a soft brushand water spray bottlehelp clear dirt from sprinkler heads. This keeps water flowing well. Using gentle cleaning tools avoids damage.
Step-by-step Repair Process
Locate the main valve for your sprinkler system. Turn the valve clockwise to shut off the water. Ensure no water flows to the sprinkler head.
Gently unscrew the sprinkler head using your hand. If tight, use a wrench carefully. Avoid damaging the head or pipes.
Remove dirt from the nozzle and filter. Use a soft brush or cloth. Ensure the nozzle is clear for water flow.
Inspect the sprinkler head for broken parts. Replace any damaged components. Ensure all parts fit securely.
Screw the sprinkler head back into place. Make sure it is tightly secured. Align it properly with the ground.
Turn the water supply back on. Observe the sprinkler’s operation. Ensure it sprays water evenly across your lawn.
Tips For Preventing Future Issues
Keep a regular maintenance scheduleto avoid future problems. Check sprinkler heads for clogs or damage often. Clean dirt and debris to keep water flow steady. Inspect parts for cracks or leaks before they worsen.
Use proper installation techniquesto ensure a long-lasting system. Make sure sprinkler heads are set at the right height and angle. Avoid putting heads too close to sidewalks or driveways. Tighten connections but do not overtighten and crack parts.
Choose quality replacement partsto improve durability. Use original Rain Bird parts or trusted brands. Avoid cheap parts that wear out quickly or cause leaks. Replace worn-out nozzles, seals, or risers promptly to keep performance steady.
When To Call A Professional
Complex repairs need special tools and skills. These fixes may involve pipe replacement or electrical issues. Such work can cause more damage if done wrong.
System-wide problems affect many sprinkler heads or the whole system. It may be due to a broken valve or controller fault. These issues require professional diagnosis and repair.
Unusual water pressure issues cause poor spray or leaks. This can harm plants or waste water. A professional can test and fix pressure problems safely.
Credit: www.youtube.com
Frequently Asked Questions
How Do I Fix A Leaking Rain Bird Sprinkler Head?
Turn off water first. Remove the sprinkler head and check for cracks or debris. Replace damaged parts or clean thoroughly.
Why Is My Rain Bird Sprinkler Head Not Popping Up?
Dirt or debris can block the sprinkler. Clean the area around the head and check water pressure to fix this.
How Can I Adjust The Spray Pattern On A Rain Bird Head?
Use the adjustment screw on the top of the head. Turn it slowly to change spray distance and angle.
Conclusion
Fixing a Rain Bird sprinkler head does not have to be hard. With the right tools and steps, you can do it yourself. Check the parts carefully and clean any dirt or debris. Replace broken pieces to keep water flowing well.
Regular care helps avoid future problems. Your lawn will stay green and healthy. Taking action now saves money and water later. Keep your sprinkler working smoothly and enjoy a beautiful yard. Simple repairs make a big difference.