If you want to keep your plants healthy and save water at the same time, installing a Rain Bird drip irrigation system is a smart move. You might think it’s complicated, but it’s easier than you imagine.
This guide will walk you through every step, making sure you get it right without any hassle. By the end, you’ll have a reliable watering system that takes care of your garden while freeing up your time. Ready to make your garden thrive and cut down on water waste?
Let’s get started!

Credit: manuals.plus
Choosing The Right Components
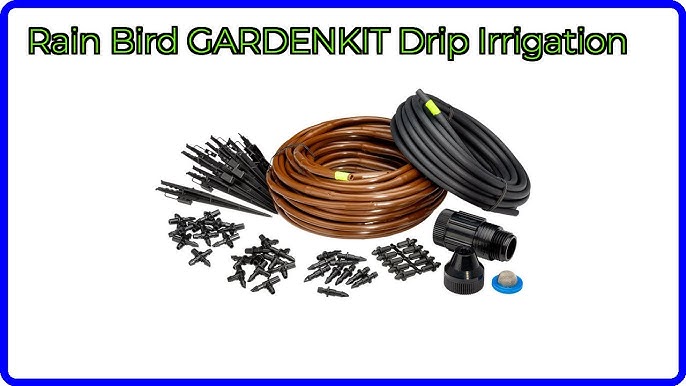
Choose tubingthat matches your garden size. Use 1/2-inch tubing for large areas. Use 1/4-inch tubing for small plants or flower beds. Select emittersbased on water flow needs. Emitters come in different rates like 0.5, 1, or 2 gallons per hour.
Pick emitters that suit your plant types. Drip emitters help save water by targeting roots. Consider pressure-compensating emitters if your land slopes.
| Tool or Accessory | Purpose |
|---|---|
| Hole punch | Makes holes in tubing for emitters |
| End caps | Seal the tubing ends to stop leaks |
| Connectors | Join tubing sections securely |
| Pressure regulator | Keeps water flow steady and safe |
Planning Your Irrigation Layout
Draw a simple map of your garden area. Mark all plants, trees, and flower beds clearly. Show paths, fences, and any obstacles that might block water flow. This map helps decide where to place drip lines and emitters.
Think about the sun exposure and plant types. Group plants with similar water needs close together. This saves water and ensures each plant gets enough moisture.
| Plant Type | Water Needed (Liters per Week) | Notes |
|---|---|---|
| Vegetables | 10-15 | Needs regular watering, more in hot weather |
| Flower Beds | 5-10 | Water deeply but less often |
| Shrubs | 7-12 | Water at the base, avoid wetting leaves |
| Lawns | 15-20 | Water early morning or late evening |
Calculate total water needed by adding all plant requirements. This guides the size of your drip system and water source capacity.
Assembling The System
Begin by laying out the main tubingalong the garden bed or area to water. Cut the tubing to fit the space using scissors. Connect the tubing pieces by pushing them into the connectors firmly. Make sure connections are tight to avoid leaks. Use stakes to hold the tubing in place on the soil.
Next, install the emitters and drippersat spots where plants need water. Punch holes in the main tubing using a hole punch tool. Insert the emitters or drippers into these holes. Space them evenly based on plant type and size. Adjust the flow rate on emitters if needed. Test the system by turning on the water to check for leaks or blockages.

Credit: manuals.plus
Testing And Adjusting Flow
Test the drip irrigation system by turning on the water and checking each emitter. Adjust flow rates to ensure even watering across all plants. Make small changes to avoid overwatering or underwatering specific areas.
Checking For Leaks
Turn on the water system slowly. Look around for any wet spots. Wet spots mean leaks. Fix leaks with tape or special glue. Check every connection carefully. Make sure all parts fit well. Leaks waste water and money.
Balancing Water Distribution
Ensure each plant gets enough water. Use the adjustable drippers. Turn them to give more or less water. Watch how water spreads. Plants should not be too dry or too wet. Adjust settings until they are just right. Balanced water keeps plants healthy.
Maintaining Your Drip System
Cleaning and flushing your drip system is vital for good water flow. Dirt and debris can block the emitters.
Flush the system by opening the end cap or flushing valve. Let water run for a few minutes.
Check emitters and tubing for clogs. Remove and soak clogged parts in vinegar or mild bleach solution.
Rinse thoroughly before reinstalling. This keeps the system working well.
- Flush the system at the start and end of each season.
- Inspect tubing for cracks or leaks regularly.
- Replace damaged parts to avoid water waste.
- Store the system properly during winter to prevent freezing damage.

Credit: www.youtube.com
Frequently Asked Questions
What Tools Do I Need To Install Rain Bird Drip Irrigation?
Basic tools include a shovel, scissors, a timer, and a pressure regulator for easy setup.
How Do I Connect Drip Lines To The Main Water Supply?
Attach the drip lines to the main hose using connectors and ensure a tight fit.
Can I Install Rain Bird Drip Irrigation Myself Easily?
Yes, it is simple with clear instructions and requires only basic tools and time.
Conclusion
Installing Rain Bird drip irrigation saves water and helps plants grow. Follow the steps carefully to set up the system right. Check all connections for leaks before turning it on. Adjust the drip emitters to water each plant properly. Regularly inspect the system to keep it working well.
This simple method keeps your garden healthy and green. Start your installation today and enjoy easy, efficient watering.