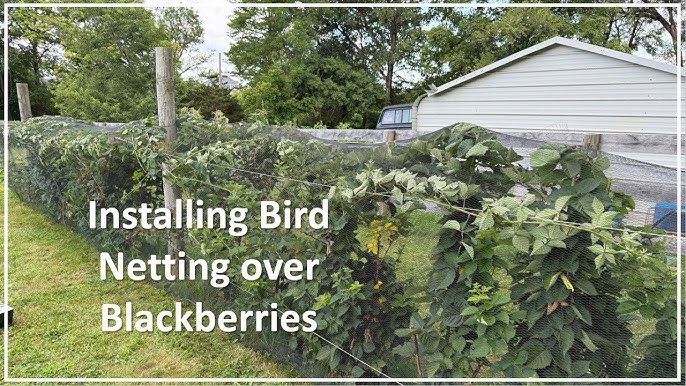
Are birds constantly damaging your garden or crops? You’re not alone, and there’s a simple solution that can save your plants without harming the birds.
Installing bird netting is an effective way to protect your space, but if you’ve never done it before, it might seem tricky. Don’t worry—you’re about to learn an easy, step-by-step method to get it right the first time. By the end of this guide, you’ll have the confidence to install bird netting that keeps your garden safe and thriving.
Keep reading to discover how to protect what matters to you with minimal effort.

Credit: www.fujinaga810.co.jp
Choosing The Right Bird Netting
Bird netting comes in different materialslike polyethylene, nylon, and polypropylene. Polyethylene is lightweightand strong, good for gardens. Nylon is flexibleand lasts long but costs more. Polypropylene is durableand resists weather well.
Measure the area carefully before buying netting. Measure length, width, and heightif needed. Add extra length to cover edges or corners fully.
| Mesh Size | Use |
|---|---|
| 1/2 inch | Small birds like sparrows |
| 3/4 inch | Medium birds like pigeons |
| 1 inch or larger | Large birds like crows |
Select mesh size based on the birds you want to keep away. Smaller mesh stops small birds but may block light. Larger mesh lets light in but stops bigger birds.
Gathering Necessary Tools
Gather all essential toolsbefore starting the bird netting installation. This helps make the process easier and faster.
- Bird nettingroll, sized to cover the area.
- Measuring tapeto ensure correct fit.
- Scissorsor a utility knife for cutting netting.
- Staple gunor strong adhesive tape to attach the netting.
- Zip tiesto secure netting tightly.
- Ladderfor reaching high spots safely.
Wear proper safety gearto protect yourself during installation.
- Glovesto avoid cuts from netting or tools.
- Safety gogglesto protect eyes from debris.
- Non-slip shoesfor stable footing on ladders.
Preparing The Installation Site
Clear the area of debris and sharp objects before placing bird netting. Measure the space carefully to ensure a proper fit. Secure any loose parts to create a smooth surface for installation.
Cleaning The Surface
Remove any dirt and debris. A clean surface helps the net stick. Use a broom or cloth to wipe the area. Be sure all dust is gone. This makes the net last longer. A clean space is safe for birds. It prevents any tangling. Ensure the surface is dry. Wet surfaces can cause slipping. Moisture makes installation tricky.
Identifying Attachment Points
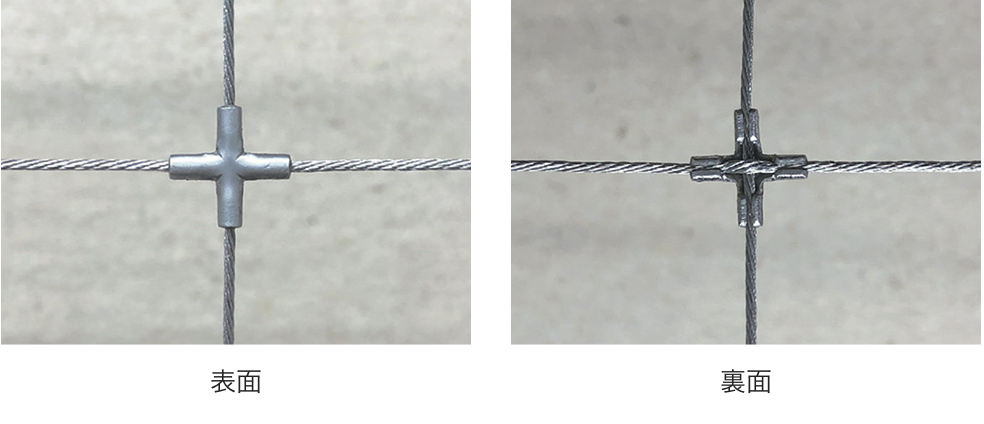
Find strong spots to attach the net. Check for sturdy beams or walls. These are best for holding nets. Weak spots might break easily. Safe nets need firm places to attach. Look for nails or hooks already in place. They help in easy installation. Measure distance between attachment points. Proper spacing keeps the net tight. Avoid loose areas for safety.
Credit: www.fujinaga810.co.jp
Step-by-step Installation Guide
Measure the area where the bird netting will go. Use scissors to cut the netting a bit larger than the space. This extra size helps cover all gaps and makes fixing easier.
Secure the netting edges tightly to stop birds from slipping through. Use strong clips, zip ties, or staples along the edges. Make sure the netting is pulled tight but not too tight to tear.
Support structures hold the netting up and keep it stable. Use poles, wires, or frames to create a firm base. Place supports evenly to avoid sagging. Check that supports are strong enough for the netting weight.
Attach the netting to the frame carefully. Use hooks, ties, or nails to fix the netting to the support. Make sure the netting is even and has no holes. Double-check all attachments for security.
Maintaining Your Bird Netting
Check your bird netting often for any holesor tears. Birds can get trapped if the net is damaged. Look for spots where the netting may have come loose from the frame or hooks. Early fixes save time and money.
Fix small holes using patch kitsor extra netting pieces. Replace any broken hooks or ties to keep the net tight. Ensure the net stays secure to protect your plants and property.
Clean the netting gently to remove dirt and debris. Use a soft brush or cloth with mild soap and water. Avoid harsh chemicals that can weaken the net. Let the net dry completely before reinstalling.
Common Installation Mistakes
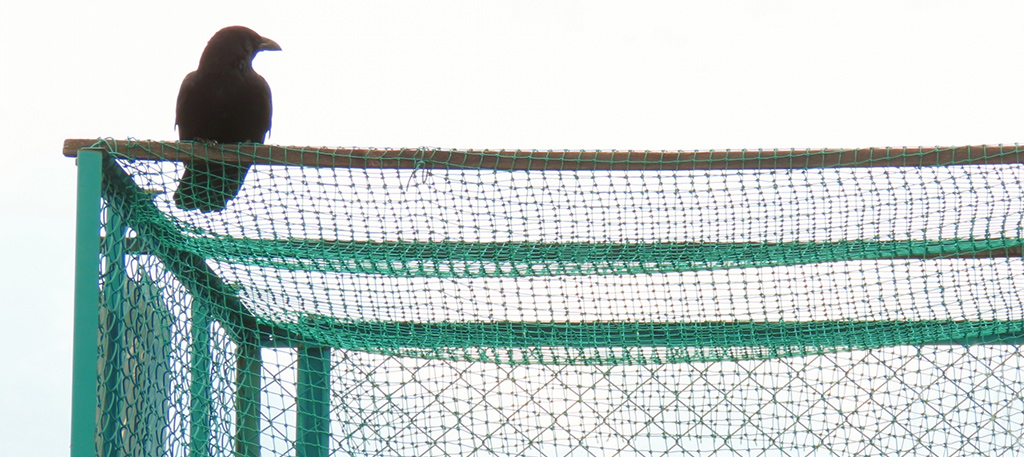
Loose nettingcan allow birds to enter and cause damage. Pull the netting tightly to keep it secure. Use strong hooks or staples to hold it firmly in place.
Check the netting for any gaps or holes. Even small openings let birds slip through. Overlap sections of netting to cover edges fully. Repair any tears quickly with patch material or tape.
- Stretch netting to remove sagging or slack
- Secure edges tightly to the frame or posts
- Overlap joints by at least 6 inches
- Inspect regularly for damage or wear
- Replace damaged sections promptly
Credit: www.fujinaga810.co.jp
Frequently Asked Questions
What Materials Do I Need To Install Bird Netting?
You need bird netting, zip ties or clips, scissors, and hooks or poles for support.
How Do I Secure Bird Netting Properly?
Attach netting tightly using zip ties or clips to hooks or poles for firm support.
Can Bird Netting Harm Birds Or Plants?
No, bird netting is safe if installed with proper spacing to avoid trapping birds.
Conclusion
Installing bird netting helps protect your plants and spaces easily. Choose the right net and tools before starting. Follow each step carefully for a secure fit. Check the net regularly for any damage or gaps. Proper installation keeps birds away without harm.
Protect your garden or area with this simple method. Enjoy a cleaner, safer environment free from bird problems. Bird netting offers an effective, low-cost solution anyone can do.