
Are you tired of uneven watering or dry patches in your lawn? Knowing how to adjust a Rainbird rotor can make all the difference in keeping your garden green and healthy.
Whether your sprinkler sprays too far or not far enough, a simple adjustment can save you water and improve your yard’s appearance. In this guide, you’ll learn easy, step-by-step tips to fine-tune your Rainbird rotor quickly. Keep reading to discover how a few small changes can transform your watering system and give your lawn the care it deserves.
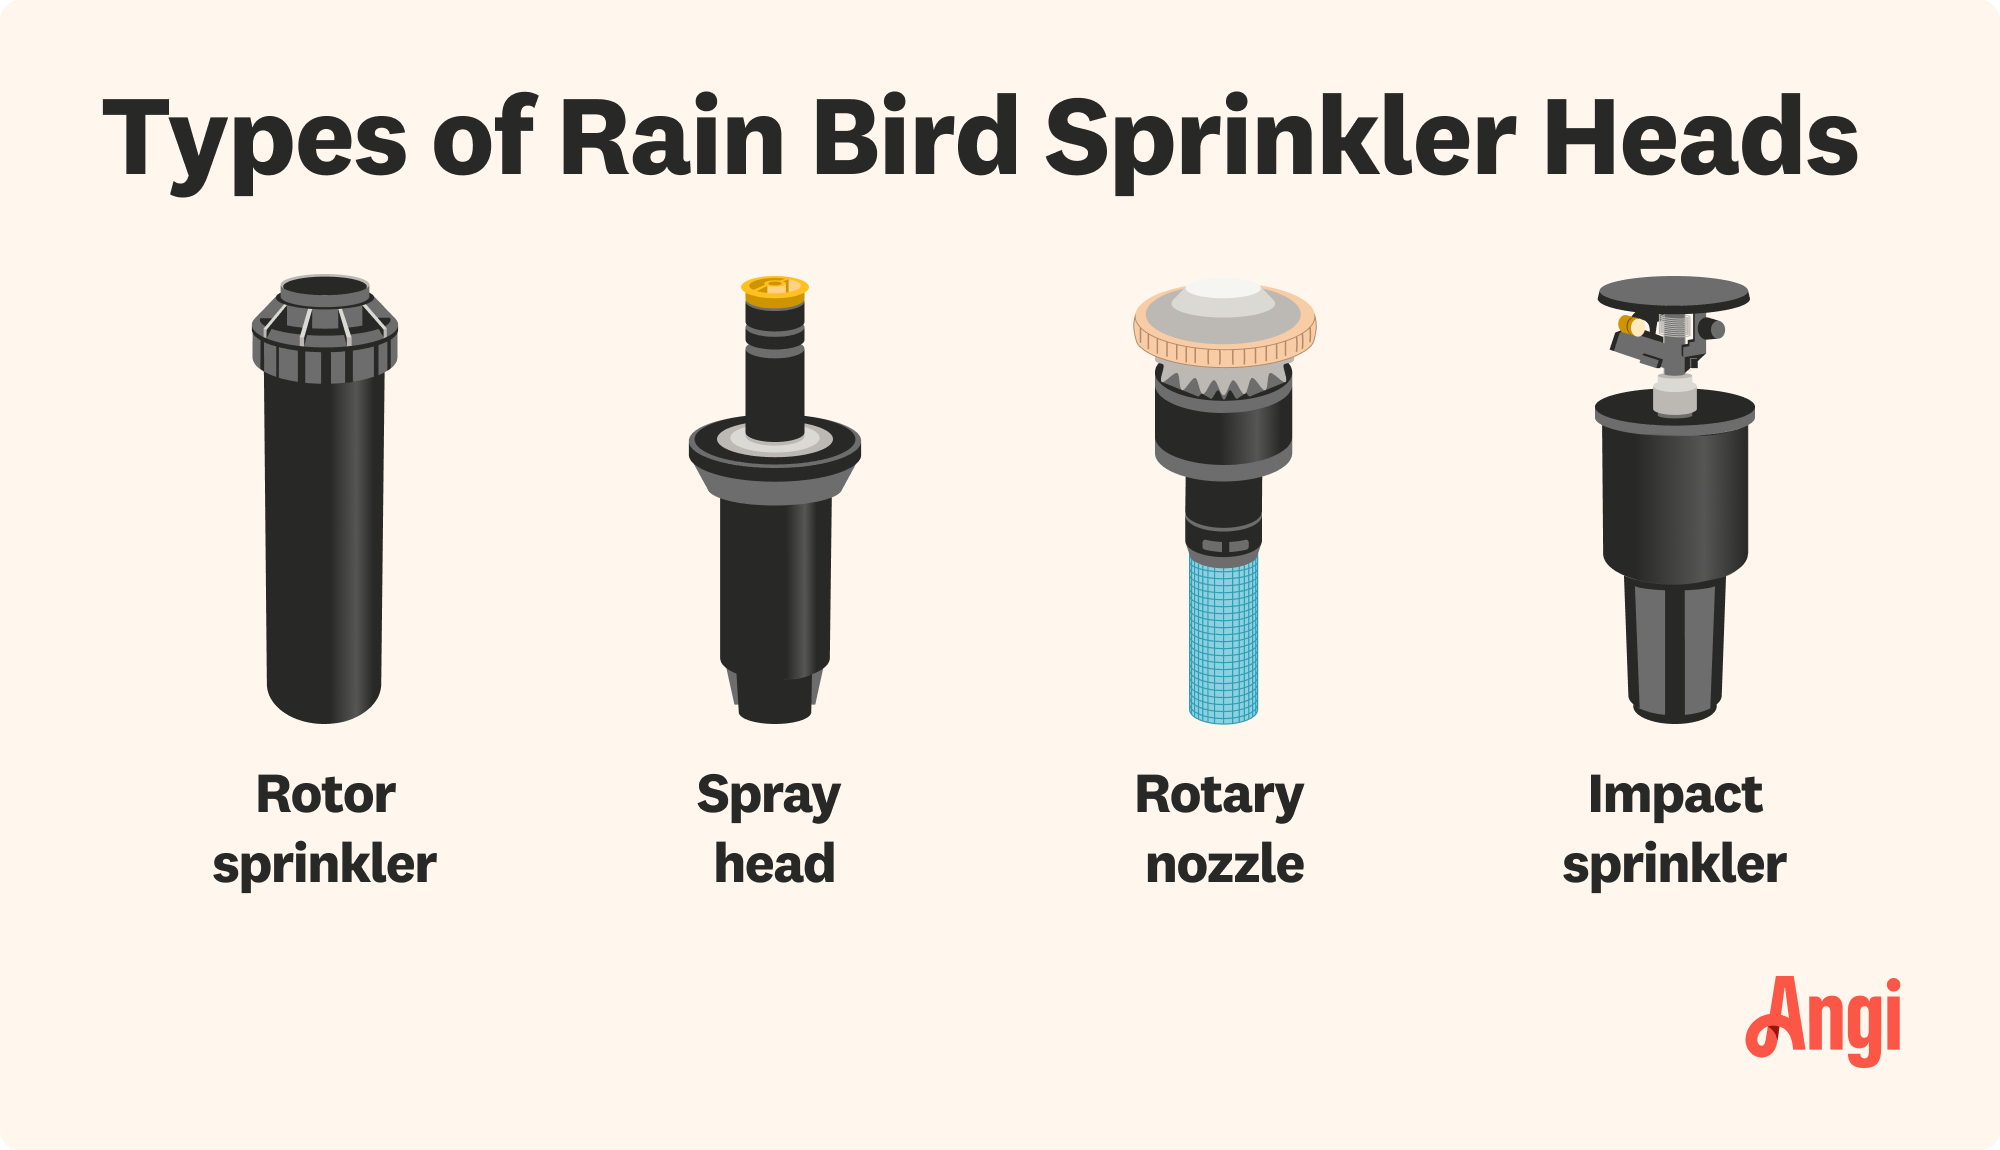
Credit: www.angi.com
Tools Needed
To adjust a Rainbird rotor, gather a few simple tools. A screwdriveris key for turning adjustment screws. A Rainbird adjustment keyfits perfectly on the rotor head for easy changes. Some models may need a wrenchto loosen or tighten parts. A ruler or tape measurehelps check the spray distance. Keep a clean clothhandy to wipe dirt off the rotor. Having these tools ready makes the task quick and smooth.

Credit: completeeq.com
Identifying Rotor Components
The Rainbird rotorhas several key parts that control water flow and spray. Knowing these parts helps with easy adjustments.
- Nozzle:The part where water sprays out.
- Body:The main casing holding all parts.
- Spray arc adjustment screw:Changes the angle of water spray.
- Radius adjustment screw:Controls how far water sprays.
- Top cover:Protects the inside parts from dirt.
- Pop-up stem:The part that rises when water is on.
Each part works together to water lawns evenly. Understanding these helps keep the sprinkler working well.
Adjusting Spray Distance
Find the small screw on top of the rotor. This screw is usually near the nozzle. Turn the screw clockwise to reduce spray distance. Turn it counterclockwise to increase spray distance. Use a flat screwdriver for easy turning. Be gentle to avoid damage.
Check the spray pattern after each adjustment. Spray should cover the desired area. Adjust again if needed. Keep children and pets away during adjustments. They can get wet or hurt.
Ensure the water pressure is correct. High pressure can affect spray distance. Use a pressure gauge if unsure. Contact a professional if problems persist.
Setting The Spray Arc
Locate the adjustment screwon the sprinkler head. It controls the spray arc. Use a flathead screwdriverto turn the screw.
Turn it clockwiseto reducethe spray arc. Turn it counterclockwiseto increasethe arc.
Check the spray pattern by running the sprinkler. Adjust slowly for best coverage.
- Make small turns to avoid over-adjusting.
- Ensure the spray covers the desired area.
- Keep the spray away from sidewalks or walls.
Repeat adjustments until the water covers the right space evenly.
Aligning Rotor For Even Coverage
Align the rotor to ensure even water coverageacross your lawn. First, check the rotor’s spray pattern by turning the sprinkler on briefly. Notice any dry spots or areas with too much water. Adjust the arc settingby twisting the screw or dial found on the rotor head. This controls how far the water sprays around the circle. Next, use the radius adjustmentto control how far the water shoots out. Turning this will increase or decrease the spray distance.
Walk around the sprinkler to confirm that water reaches all parts of the lawn evenly. Make small tweaks to the settings as needed. Proper alignment avoids wasted waterand keeps plants healthy.
Testing Adjustments
Start by turning the rotor’s water supply back on. Watch the rotor carefully to see how far it sprays. Adjust the arc or distance screw if the spray is too short or too wide.
Use the adjustment tool or a flat screwdriver. Turn the screw slowly in small steps. Check the spray after each turn to avoid over-adjusting.
Make sure the spray covers the needed area without wasting water. Look for even water distribution. If water pools or misses spots, adjust again.
- Test the rotor on a dry day to see true coverage.
- Adjust only one setting at a time for clear results.
- Stop when the water reaches all plants but no sidewalks or driveways.
Common Issues And Fixes
Common problems with a Rainbird rotor include uneven watering, low water pressure, and clogged nozzles. Fixing uneven watering often means adjusting the spray arc or radius. This ensures water covers the right area without waste.
Low water pressure can be caused by blocked pipes or valves. Checking and cleaning these parts can restore proper flow. Clogged nozzles reduce water output. Removing and rinsing the nozzle clears debris.
- Adjust the rotor’s arc by turning the adjustment screw.
- Clean or replace clogged nozzles for better spray.
- Check valves and pipes for blockages.
- Ensure the sprinkler head is not stuck or damaged.
- Test water pressure to confirm it meets system needs.

Credit: m.youtube.com
Maintenance Tips For Longevity
Regularly check the spray patternand coverageof the Rainbird rotor. Clear any clogged nozzlesusing a small needle or brush. Ensure the rotor head moves freely by removing dirt and debris around its base. Adjust the spray arccarefully to avoid watering sidewalks or driveways. Replace worn or broken parts promptly to keep the system running well.
- Clean rotor heads every few months
- Check water pressure to avoid damage
- Test adjustments after every change
- Store tools and replacement parts nearby
Frequently Asked Questions
How Do I Adjust The Spray Radius On A Rainbird Rotor?
Turn the screw on top of the rotor clockwise to decrease and counterclockwise to increase the spray radius.
Can I Change The Spray Pattern On A Rainbird Rotor?
Yes, adjust the arc by turning the adjustment screw or using the tool to set the desired spray angle.
What Is The Best Way To Fix A Rainbird Rotor Not Popping Up?
Check for debris around the rotor and clean it; also ensure water pressure is adequate for operation.
Conclusion
Adjusting a Rainbird rotor keeps your lawn healthy and green. Small changes can save water and improve coverage. Check the spray pattern and distance often. Turn the adjustment screws slowly and test after each change. This simple task helps avoid dry spots or overwatering.
Regular care makes your irrigation system work well. Try these tips to keep your sprinkler running smoothly.