
The world of custom sneakers and footwear art has exploded, transforming ordinary shoes into wearable masterpieces. Whether you’re an aspiring artist looking to personalize your kicks, a seasoned customizer seeking precision, or an entrepreneur aiming to launch your own shoe customization business, the airbrush is an indispensable tool. It offers unparalleled control, smooth gradients, and vibrant finishes that traditional hand-painting simply can’t match. But with a myriad of options on the market, choosing the right airbrush for shoes can feel overwhelming, like navigating a labyrinth of nozzles, compressors, and paint types.
This comprehensive buying guide is designed to cut through the noise, providing you with expert insights and practical advice. We’ll break down everything you need to know, from the core components of an airbrush system to the subtle nuances that differentiate a good tool from a great one. Our goal is to empower you with the knowledge to make an informed decision, ensuring your investment enhances your artistic capabilities and helps you achieve stunning results on every pair of shoes you customize.
By the time you finish reading, you’ll understand the critical factors that influence performance, durability, and ease of use in an airbrush system. We’ll explore various types of airbrushes and compressors, delve into common pitfalls to avoid, and provide a clear budget breakdown, complete with expert tips for securing the best deals. Get ready to elevate your shoe customization game – let’s find the perfect airbrush that aligns with your artistic vision and practical needs.
What to Look for When Buying an Airbrush for Shoes
Selecting the right airbrush system for shoe customization requires careful consideration of several key factors. Each component plays a crucial role in your overall experience, influencing everything from paint application to maintenance. Understanding these elements will help you assemble a setup that truly matches your skill level, artistic goals, and budget.
1. Airbrush Type: Single-Action vs. Dual-Action
The type of airbrush largely dictates your level of control and the kinds of effects you can achieve. This is arguably the most fundamental decision you’ll make.
- Single-Action Airbrushes: These are simpler to operate, making them excellent for beginners. With a single-action airbrush, pressing the trigger releases both air and paint simultaneously. The amount of paint is typically adjusted by a needle stop at the back of the airbrush or by swapping out different paint tips.
Why it matters for shoes: Ideal for applying base coats, solid colors, or large-area coverage. They are less fatiguing for broad applications and have a gentle learning curve. However, they offer less control over fine details and gradients, which can be limiting for intricate designs.
- Dual-Action Airbrushes: These offer independent control over air and paint flow. Pressing the trigger down releases air, while pulling it back simultaneously controls the amount of paint. This allows for immense versatility and precision, enabling you to vary line thickness and opacity in real-time.
Why it matters for shoes: Essential for detailed work, fine lines, sharp edges, shading, and intricate graphics. If you plan to create complex designs, photorealistic elements, or subtle transitions, a dual-action airbrush is almost a necessity. While they have a steeper learning curve, the investment in skill development pays off significantly for advanced customization.
2. Nozzle Size and Needle Compatibility
The nozzle (or fluid tip) and needle size determine the spray pattern and the types of paints you can use effectively. Airbrushes typically come with interchangeable nozzle/needle sets.
Common sizes for shoe customization:
- 0.2mm – 0.3mm: Excellent for ultra-fine lines, tiny details, intricate lettering, and delicate shading. Requires very thin paints.
- 0.3mm – 0.5mm: This is the sweet spot for most shoe customization work. It offers a good balance of detail capability and broader coverage. It can handle a wider range of paint viscosities, including most acrylic shoe paints, with proper thinning.
- 0.5mm – 0.8mm: Best for applying base coats, clear coats, or spraying thicker paints. Provides faster coverage but sacrifices fine detail.
Why it matters for shoes: Shoe paints, especially specialized acrylics for leather and fabric, can sometimes be thicker than typical illustration paints. Having an airbrush that can accommodate a 0.3mm or 0.5mm nozzle is crucial. A smaller nozzle (0.2mm) is great for tiny details but requires more diligent paint thinning and cleaning. Consider an airbrush that comes with multiple nozzle/needle sets or allows for easy swapping.
3. Compressor Type and Specifications
An airbrush is only as good as its air supply. The compressor provides the pressurized air needed to atomize the paint. For shoe customization, consistency and control are paramount.
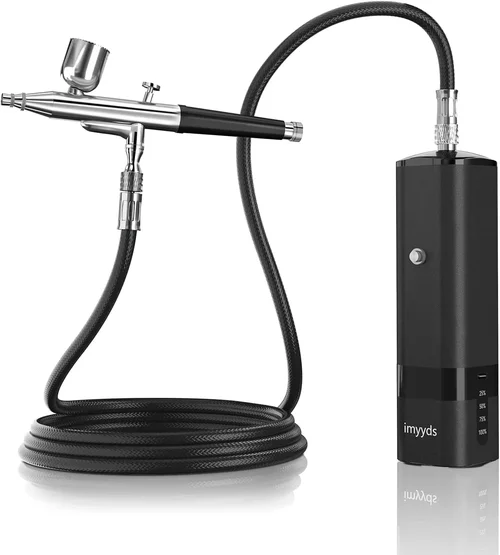
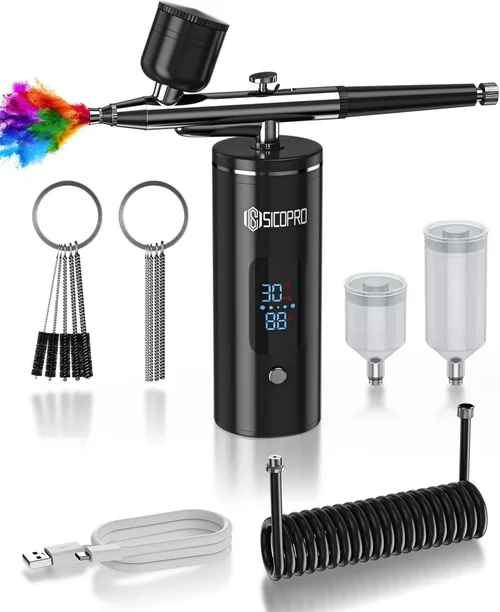
- Tankless Compressors: These are compact and often more affordable. They run continuously when air is demanded, which can lead to heat buildup and a shorter lifespan, but they are very portable.
- Compressors with a Tank: These are highly recommended. The tank stores compressed air, allowing the compressor motor to cycle on and off, reducing wear and tear, and preventing pulsation in the airflow. A consistent, pulsation-free airflow is critical for smooth, even paint application on shoes.
Key Specifications:
- PSI (Pounds per Square Inch): Represents the air pressure. For shoe customization, you’ll typically work in the 15-30 PSI range for details and 25-40 PSI for base coats. Ensure your compressor can comfortably reach and maintain these pressures. A maximum PSI of 60-80 is usually sufficient.
- CFM (Cubic Feet per Minute) or LPM (Liters per Minute): Indicates the volume of air delivered. For a single airbrush, around 0.5-1.0 CFM (or 15-30 LPM) is generally adequate.
- Air Regulator and Moisture Trap: Essential features. An air regulator allows you to precisely control the PSI output. A moisture trap filters out water vapor from the air, preventing unwanted sputtering and water spots on your delicate shoe designs.
- Noise Level: Consider this if you’ll be working in a shared living space. Tank compressors are generally quieter as they don’t run constantly. Look for models rated around 45-55 decibels (dB).
4. Feed Type: Gravity vs. Siphon vs. Side Feed
This refers to how paint is delivered to the airbrush’s mixing chamber.
- Gravity Feed: The most popular choice for shoe customization. The paint cup is mounted on top of the airbrush, using gravity to feed paint directly to the nozzle.
Why it matters for shoes: Excellent for small amounts of paint, finer control, lower air pressure operation, and easy cleaning. It’s efficient with paint and allows for quick color changes, which is ideal for intricate shoe designs where you might use many different colors in small quantities.
- Siphon (Bottom) Feed: The paint jar is attached below the airbrush, and air pressure siphons paint up to the nozzle.
Why it matters for shoes: Good for larger volumes of paint and base coats. However, they require higher air pressure to operate and are less efficient with small paint quantities, making them less ideal for detail work on shoes.
- Side Feed: The paint cup attaches to the side, often allowing it to swivel.
Why it matters for shoes: Offers some flexibility in positioning and can be gravity or siphon-fed depending on the cup type. Provides an unobstructed view of your work, similar to gravity feed, but might feel slightly less balanced for some users.
5. Build Quality & Durability
An airbrush is a precision instrument, and its construction quality directly impacts its performance and longevity. Investing in a well-built airbrush from reputable materials will save you headaches and money in the long run.
What to look for:
- Materials: Look for airbrushes made from durable metals like brass or stainless steel, often with chrome plating for corrosion resistance. Plastic components should be minimized, especially in critical areas like the nozzle and trigger mechanism.
- Precision Machining: High-quality airbrushes feature tightly machined parts that fit together perfectly, ensuring consistent airflow and preventing paint leakage. Poorly machined parts can lead to air leaks, paint splatter, and frustrating inconsistencies.
- Needle/Nozzle Construction: Needles should be made from hardened steel for durability and resistance to bending. Nozzles should be precisely formed and resistant to paint buildup.
- Ease of Disassembly and Cleaning: A well-designed airbrush allows for relatively easy disassembly for thorough cleaning. This is crucial for maintaining performance, especially when working with different types of shoe paints that can dry quickly.
Why it matters for shoes: Shoe customization often involves durable, sometimes thicker, acrylic paints. These can be tough on airbrushes if not cleaned properly. A durable, easy-to-clean airbrush will withstand repeated use and maintain its precision over time, which is vital for artists who regularly tackle complex projects.
6. Brand Reputation & Support
While often overlooked, the brand behind your airbrush can significantly impact your experience. Reputable brands have a history of producing reliable products and offering good customer support.
What to look for:
- Established Brands: Brands like Iwata, Harder & Steenbeck, Badger, Paasche, and Grex have decades of experience in the airbrush industry and are known for their quality. For compressors, brands like California Air Tools also stand out.
- Availability of Parts: A major advantage of well-known brands is the easy availability of replacement parts (needles, nozzles, O-rings). This ensures your airbrush can be repaired rather than replaced if a component wears out or gets damaged.
- Customer Service & Warranty: Good customer support can be invaluable, especially if you encounter issues or have technical questions. Check for reasonable warranties that cover manufacturing defects.
Why it matters for shoes: Customizing shoes can be demanding on your equipment. Knowing you can easily get replacement parts or professional support if something goes wrong provides peace of mind and protects your investment. A strong brand reputation often correlates with consistent quality and performance, which is crucial for achieving professional results.
7. Ergonomics and Comfort
You’ll be holding your airbrush for extended periods, so comfort is not a luxury—it’s a necessity. Ergonomics directly impact your control and reduce fatigue, especially during intricate work.
What to look for:
- Weight and Balance: A well-balanced airbrush feels like an extension of your hand. Neither too heavy nor too light, with the weight evenly distributed. Gravity-feed airbrushes tend to be more balanced as the paint cup is positioned centrally.
- Trigger Feel: The trigger should be smooth and responsive, allowing for precise control over air and paint. It shouldn’t be too stiff or too loose.
- Grip: Some airbrushes feature ergonomic grips or textured surfaces for better handling. Consider whether a traditional pencil grip or a pistol grip feels more natural for you.
Why it matters for shoes: Shoe customization often involves working on varied surfaces and angles, requiring dexterity and steady hands. An airbrush that is comfortable to hold and manipulate will minimize hand strain and allow you to work for longer periods with greater precision, preventing shaky lines or inconsistent coverage due to fatigue.
Different Types of Airbrush Setups for Shoe Customization
Understanding the various configurations available will help you match a setup to your specific needs and workflow for shoe customization. Here, we compare common types based on their components and suitability.

Common Buying Mistakes to Avoid
Even with thorough research, it’s easy to fall into common traps when purchasing an airbrush for shoe customization. Being aware of these pitfalls can save you money, frustration, and ultimately, help you make a smarter investment.
❌ Mistake: Buying the Cheapest Airbrush Kit Available
Why it’s bad: While tempting for beginners, ultra-cheap kits often come with unreliable compressors (tankless, noisy, inconsistent pressure) and poorly manufactured airbrushes (cheap materials, poor seals, easily bent needles). This leads to frustrating experiences, poor paint application, frequent clogs, and short tool lifespan. It can quickly discourage new artists.
What to do instead: Invest in a reputable entry-level or mid-range kit. Look for kits that include a dual-action, gravity-feed airbrush and, ideally, a compressor with a small tank. The slightly higher initial cost will be offset by better performance, reliability, and less wasted paint and time.
❌ Mistake: Neglecting Compressor Quality
Why it’s bad: Many focus solely on the airbrush itself, overlooking the compressor. A cheap compressor often provides inconsistent air pressure, pulsates, is excessively noisy, lacks a moisture trap, or overheats quickly. This leads to splattering, uneven coats, premature compressor failure, and a generally unpleasant working environment.
What to do instead: Prioritize a compressor with a tank, an air regulator for precise pressure control, and a moisture trap. Look for models with a low decibel rating if noise is a concern. A good compressor is the backbone of a reliable airbrush system, ensuring smooth, consistent airflow critical for shoe painting.
❌ Mistake: Choosing the Wrong Nozzle Size for Shoe Paints
Why it’s bad: Many beginner airbrushes come with a very small nozzle (e.g., 0.2mm), which is excellent for thin, watercolor-like paints. However, most acrylic shoe paints are thicker and require more thinning to pass through these tiny nozzles, leading to frequent clogging, spitting, and an unnecessarily steep learning curve.
What to do instead: Opt for an airbrush with a nozzle size between 0.3mm and 0.5mm, or one that comes with interchangeable nozzle/needle sets in this range. This size offers the best balance for most shoe customization, accommodating slightly thicker acrylics while still allowing for detailed work.
❌ Mistake: Ignoring Cleaning and Maintenance Requirements
Why it’s bad: Airbrushes require diligent cleaning after every use, especially when working with fast-drying acrylic shoe paints. Failing to consider the ease of disassembly and cleaning when buying can lead to endless frustration, permanent clogs, and damage to your precision tool.
What to do instead: Choose an airbrush that is designed for easy disassembly. Look for features like a cutaway handle (allowing access to the needle chuck without removing the entire handle) and robust construction that can withstand frequent cleaning. Factor in the cost of cleaning solutions and brushes into your budget.
❌ Mistake: Not Considering Future Needs and Scalability
Why it’s bad: Buying a system that’s too basic might save money upfront but can quickly become limiting as your skills grow. You might find yourself needing to buy a whole new setup much sooner than anticipated, leading to redundant expenses.
What to do instead: Think about your long-term goals. If you’re serious about shoe customization, invest in a system that can grow with you. This means a dual-action airbrush that supports interchangeable nozzles and a compressor with enough power and a tank that can handle extended use or even power a second airbrush if needed in the future.
❌ Mistake: Overspending on Features You Don’t Need
Why it’s bad: While it’s important not to buy too cheap, it’s equally important not to overspend on high-end features that a beginner won’t utilize. A professional-grade airbrush with complex adjustments might overwhelm a new user and drain their budget unnecessarily.
What to do instead: Match the system to your current skill level and intended use. A mid-range kit often provides the best balance of performance, features, and value for most enthusiasts. You can always upgrade specific components later as your skills and needs evolve.
Budget Guidelines: How Much Should You Spend?
The cost of an airbrush system for shoe customization can vary wildly, from under $100 for basic kits to well over $1000 for professional setups. Understanding what to expect at different price points will help you set a realistic budget and ensure you get the most value for your money.
Entry-Level ($80 – $180)
What to expect: At this price point, you’ll typically find basic starter kits. These usually include a single-action or very basic dual-action airbrush and a small, tankless diaphragm or piston compressor. The airbrush might be of moderate quality, suitable for learning basic techniques and applying solid base coats or simple gradients. Compressors are often noisy and lack advanced features like a pressure tank or precise regulators. They might be prone to pulsation.
Best for: Absolute beginners who want to dip their toes into shoe customization without a significant investment. Good for experimenting and understanding the fundamentals before committing to more advanced equipment.
Mid-Range ($200 – $450)
What to expect: This is often the sweet spot for most serious hobbyists and aspiring professionals. You can expect a good quality dual-action, gravity-feed airbrush (often from reputable brands like Badger, Paasche, or entry-level Iwata models) and a more robust compressor with a small to medium-sized tank, an air regulator, and a moisture trap. These compressors are quieter, offer consistent airflow, and can handle longer working sessions. The airbrushes provide decent precision and durability.
Best for: Intermediate users, those looking for a reliable setup for detailed shoe customization, and artists who plan to do consistent work. This tier offers excellent performance for the price and is suitable for creating a wide range of designs.
Premium ($450 – $800)
What to expect: Entering the premium tier means investing in higher-quality components. You’ll find top-tier dual-action airbrushes from leading brands (e.g., Iwata HP series, Harder & Steenbeck Evolution/Infinity) known for their superior precision, build quality, and ergonomic design. Compressors in this range are usually quiet, powerful, and come with larger tanks, advanced filtration, and precise digital controls. These systems are designed for intensive use and offer exceptional consistency.
Best for: Experienced customizers, small businesses, or serious enthusiasts who demand the highest level of performance, control, and durability. Ideal for intricate, professional-level shoe art and high-volume work where reliability is paramount.
Luxury ($800+)
What to expect: This category is for the ultimate professional setup. It typically involves combining a top-of-the-line airbrush (often specific models designed for extreme detail) with a high-performance, ultra-quiet, heavy-duty compressor (like California Air Tools or equivalent industrial models) that can run for hours without issue. These setups might include multiple airbrushes for different tasks, specialized accessories, and robust warranties. Materials are of the highest grade, and engineering is meticulously precise.
Best for: Established professional artists, studios, or those who view shoe customization as their primary income stream and require the absolute best in terms of precision, reliability, and long-term investment.
Expert Tips for Getting the Best Deal
Smart shopping can make a significant difference in your overall investment in an airbrush system for shoes. Here are some expert tips to help you find the best value and ensure a satisfying purchase.
1. Research and Compare Online Retailers
Online stores often have better prices and a wider selection than local shops due to lower overheads. Compare prices from reputable art supply stores, airbrush specialty sites, and major e-commerce platforms. Look for deals that include free shipping or bundled accessories.
2. Sign Up for Email Newsletters and Price Alerts
Many retailers offer discounts or exclusive promotions to their newsletter subscribers. Sign up for alerts from your favorite stores, and consider using price tracking tools that notify you when an item drops in price.
3. Consider Refurbished or Open-Box Items
Some manufacturers and retailers sell refurbished airbrush compressors or open-box airbrushes at a significant discount. These items are typically tested and certified to be in perfect working order, often coming with a limited warranty. This can be a great way to get higher-end equipment at a mid-range price.
4. Time Your Purchase with Sales Events
Major holidays (Black Friday, Cyber Monday, Prime Day, Memorial Day, etc.) are prime times for sales. Also, keep an eye out for back-to-school sales or end-of-year clearances from art supply retailers. Planning your purchase around these events can yield substantial savings.
5. Look for Bundles and Starter Kits
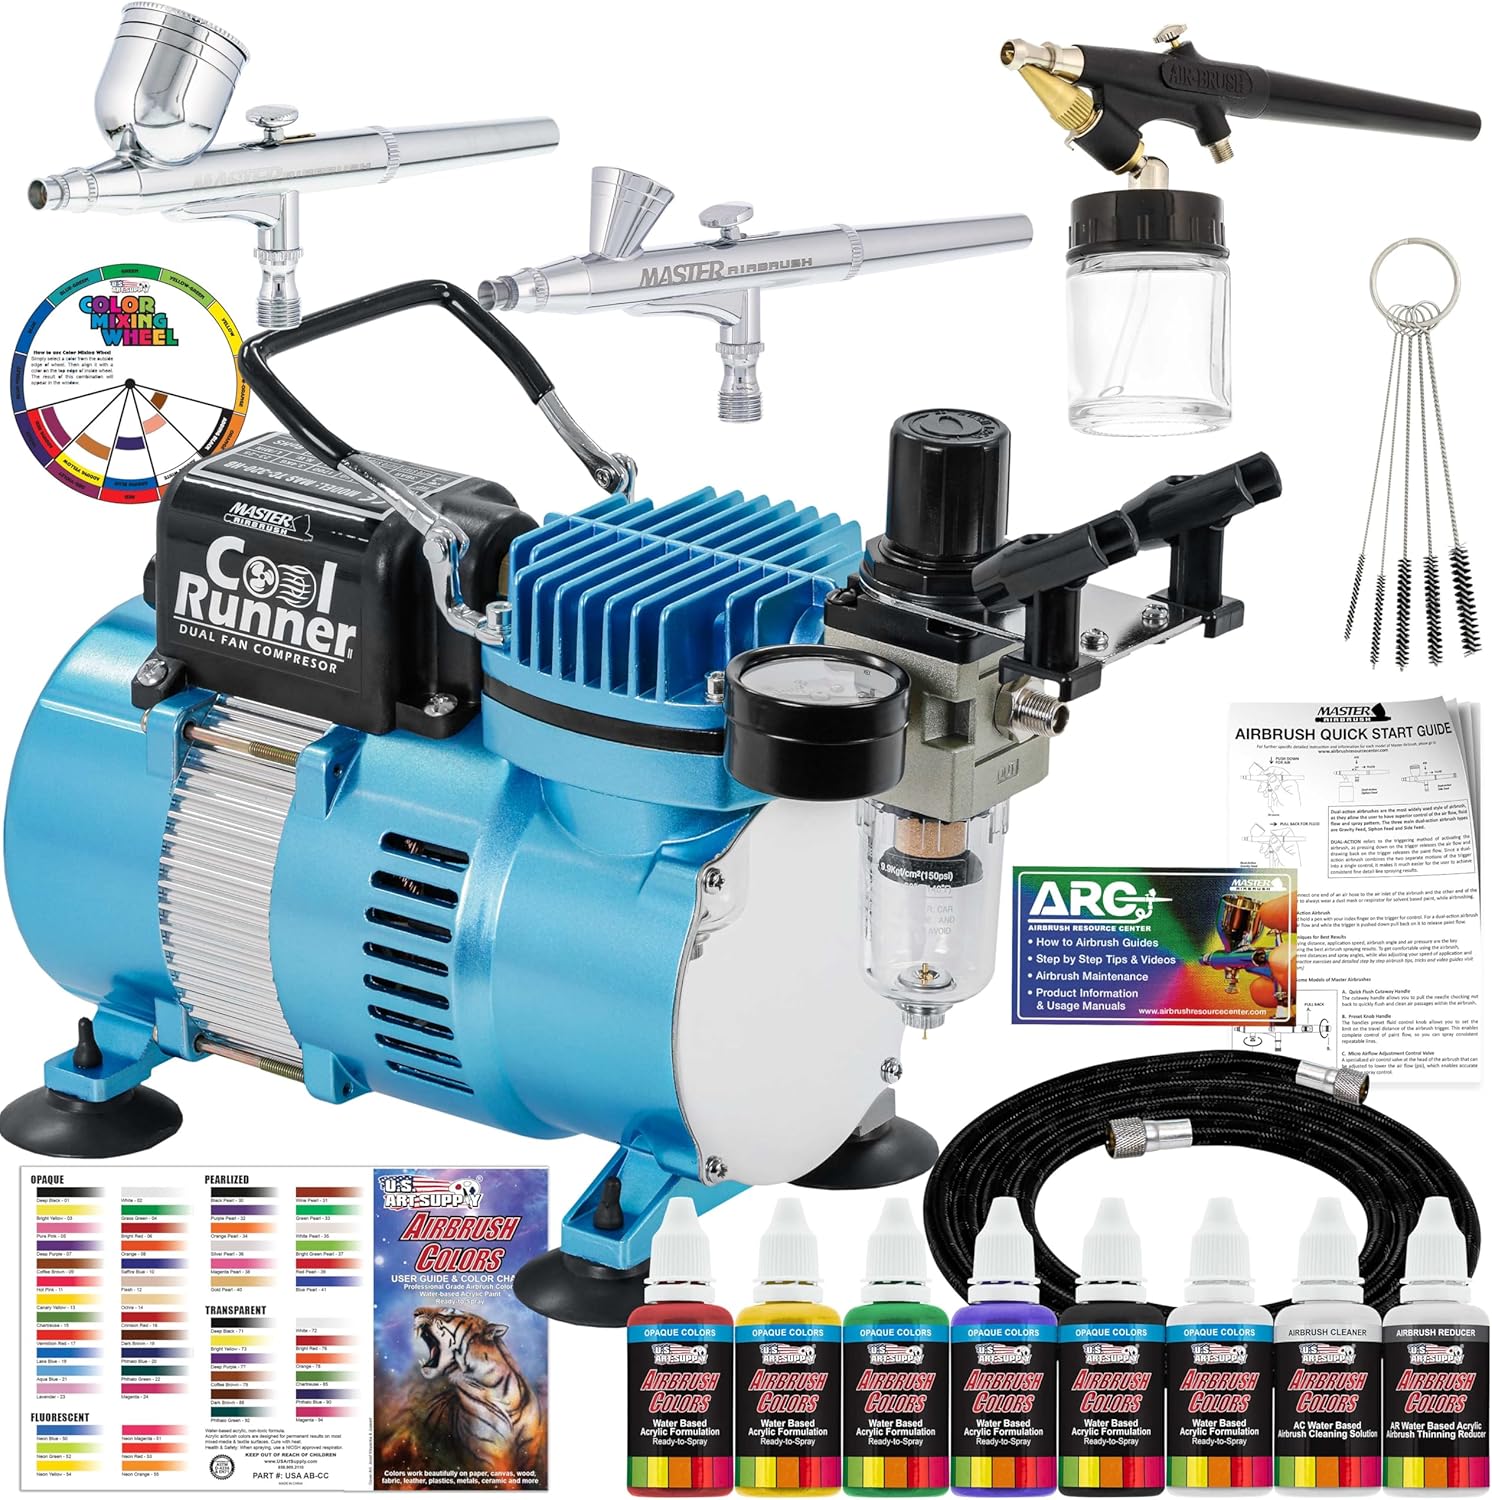
Often, buying a complete airbrush kit (airbrush, compressor, hose, cleaning supplies) can be more cost-effective than purchasing each component separately. Evaluate if the kit components meet your needs, as sometimes kits include lower-quality airbrushes paired with decent compressors, or vice versa.
6. Don’t Overlook Warranty and Return Policies
A good warranty protects your investment. Check the warranty period for both the airbrush and the compressor. Additionally, understand the retailer’s return policy. A generous return window allows you to test the equipment and ensure it meets your expectations before you’re fully committed.
7. Read User Reviews Extensively
Before making a final decision, dive deep into user reviews on independent forums, product pages, and social media groups dedicated to shoe customization or airbrushing. Look for common praises and complaints, and pay attention to comments regarding durability, ease of cleaning, and compatibility with shoe paints.
8. Consult with Experienced Customizers
Join online communities or local workshops for shoe customization. Experienced artists often have invaluable recommendations based on their real-world use of various airbrush systems. Their insights can help you avoid common pitfalls and point you toward reliable equipment.

Frequently Asked Questions
Q: What is the most important component of an airbrush setup for shoes?
A: While both are crucial, a high-quality compressor with a tank is arguably the most critical component. Consistent, pulsation-free airflow is foundational for smooth paint application on shoes. A decent airbrush can only perform as well as the air supply it receives.
Q: Can I use regular acrylic craft paints in my airbrush for shoes?
A: It’s generally not recommended. Regular craft acrylics are often too thick and contain large pigment particles that will clog your airbrush. You need specialized acrylic shoe paints (e.g., Angelus, Jacquard, AlphaFlex) designed for airbrushing or regular acrylics specifically formulated for airbrush use, thinned properly.
Q: How do I thin airbrush paints for shoes?
A: Always use the manufacturer’s recommended reducer or a high-quality airbrush-specific thinner. The ideal consistency is typically like milk or slightly thicker. Start with a 1:1 paint-to-thinner ratio and adjust as needed, testing on a scrap surface until it sprays smoothly without sputtering.
Q: Is a dual-action airbrush hard to learn for beginners?
A: Dual-action airbrushes have a steeper learning curve than single-action models, but they are not excessively difficult. With practice and patience, beginners can quickly grasp the independent control of air and paint. There are many excellent tutorials available online to help you master the technique.
Q: How often should I clean my airbrush?
A: You should perform a quick flush and clean after every color change and a thorough cleaning at the end of each painting session. This is especially important with fast-drying acrylic shoe paints to prevent clogs and maintain optimal performance.
Q: Do I need multiple airbrushes for shoe customization?
A: Not necessarily, especially when starting out. A single good quality dual-action airbrush with a 0.3mm or 0.5mm nozzle can handle most tasks. However, many advanced users eventually acquire a second airbrush: one with a smaller nozzle for fine details and another with a larger nozzle for base coats or quick coverage.
Q: What pressure (PSI) should I use for airbrushing shoes?
A: This varies based on paint consistency, nozzle size, and desired effect. For fine details, you might use 15-25 PSI. For general coverage or base coats, 25-40 PSI is common. Always start lower and gradually increase until you achieve the desired spray pattern and coverage.
Q: Can I use an aerosol propellant instead of a compressor?
A: While possible for very light, occasional use, aerosol cans are not recommended for serious shoe customization. They offer inconsistent pressure, run out quickly, are expensive in the long run, and can produce an uneven spray. A compressor is a far superior and more economical investment.
Q: What’s the best way to protect my customized shoes after airbrushing?
A: After your airbrushed paint has fully cured (follow paint manufacturer’s recommendations, usually 24-72 hours), apply a protective finisher or clear coat designed for footwear. These sealants enhance durability, protect against scuffs, and some offer UV protection against fading. Apply in thin, even coats with an airbrush for best results.
Our Final Recommendations
Choosing the right airbrush for your shoe customization journey is a pivotal decision that will impact your artistic output and enjoyment. Remember, there’s no single “best” airbrush; the ideal setup is one that perfectly aligns with your individual needs, skill level, and budget.
Best for Budget-Conscious Buyers
If you’re just starting and want to experiment without breaking the bank, look for an entry-level kit that includes a basic dual-action airbrush (often 0.3mm or 0.5mm nozzle) and a small, functional compressor. Prioritize kits that feature a compressor with at least a small air tank, even if it’s compact. This will provide more consistent airflow than a purely tankless model and prevent early frustration. Focus on getting a gravity-feed airbrush for paint efficiency.
Best Overall Value
For most serious hobbyists and those looking to elevate their shoe art, a mid-range setup offers the best balance of performance and cost. Aim for a reputable dual-action, gravity-feed airbrush from a well-known brand (e.g., with a 0.3mm or 0.5mm nozzle) paired with a piston compressor that has a 1-3 liter air tank, an adjustable regulator, and a moisture trap. This combination provides excellent control, consistent airflow, good durability, and room to grow your skills without needing an immediate upgrade.
Best Premium Option
For experienced customizers or those building a professional setup, invest in a top-tier dual-action airbrush known for its precision, robust construction, and ergonomic design. Pair this with a high-performance, quiet compressor that features a larger tank (3-6 liters), advanced filtration, and precise digital controls. Consider models that offer easy interchangeability of nozzle sizes to handle both ultra-fine details and broader coverage effectively. This investment will deliver unparalleled consistency and longevity.
Best for Beginners
Beginners will benefit most from a user-friendly setup that prioritizes ease of learning and reliable performance over extreme precision. A dual-action, gravity-feed airbrush with a 0.3mm or 0.5mm nozzle is highly recommended, as it allows for skill development that can easily transfer to more advanced work. Crucially, pair this with a compressor that has a tank and an air regulator to ensure a smooth learning experience without the frustrations of inconsistent air pressure. Look for kits that include basic cleaning supplies and a beginner’s guide.
Best for Advanced Users
Advanced users should focus on maximizing control, durability, and versatility. This means a high-precision dual-action airbrush with multiple interchangeable nozzle/needle sets (from 0.2mm to 0.5mm) for different tasks. Pair this with a powerful, ultra-quiet, and durable compressor designed for extended use, featuring a large tank, multiple air outlets (if you use more than one airbrush), and advanced air filtration. Ergonomics and ease of maintenance also become critical factors for those spending many hours at the workbench.
Conclusion: Making the Right Choice
The journey into shoe customization with an airbrush is incredibly rewarding, allowing you to transform footwear into unique expressions of art. By carefully considering the factors discussed in this guide – from airbrush type and nozzle size to compressor specifications and brand reputation – you are now well-equipped to make an informed decision that will serve your artistic endeavors for years to come.
Remember to prioritize consistent airflow from a quality compressor, choose an airbrush that offers the right balance of control for your intended detail level, and always factor in the ease of cleaning and maintenance. Your ideal airbrush setup is a personal choice, so take the time to evaluate your specific needs, skills, and budget. Don’t be afraid to start with a solid mid-range option and upgrade components as your expertise and demands grow.
With the right airbrush system in hand, coupled with practice and a passion for creativity, there’s no limit to the stunning designs you can bring to life on shoes. Go forth, customize, and let your artistry shine!