Have you ever wanted to bring the vibrant beauty of a parrot bird to life on paper? Drawing a parrot might seem tricky at first, but with the right steps, you can create a colorful masterpiece that stands out.
In this guide, you’ll discover simple techniques that make drawing a parrot easy and fun, even if you’re just starting out. Stick with me, and by the end, you’ll have the skills to impress yourself and others with your artwork.
Ready to turn your imagination into a stunning parrot drawing? Let’s get started!

Credit: www.youtube.com
Gathering Your Materials
Use smooth, thick paper for bright colors and easy shading. Thick paper stops colors from bleeding through. Rough paper gives texture but can be hard to erase.
Choose pencils with different hardness. Hard pencils (H, 2H) draw light lines. Soft pencils (B, 2B) make dark lines. A good eraser helps fix mistakes without tearing paper.
- Colored pencils are easy to use and blend well.
- Watercolor brushes help create soft, bright feathers.
- Markers give bold, clear colors but can bleed.
- Keep brushes clean and use light strokes for detail.

Credit: www.youtube.com
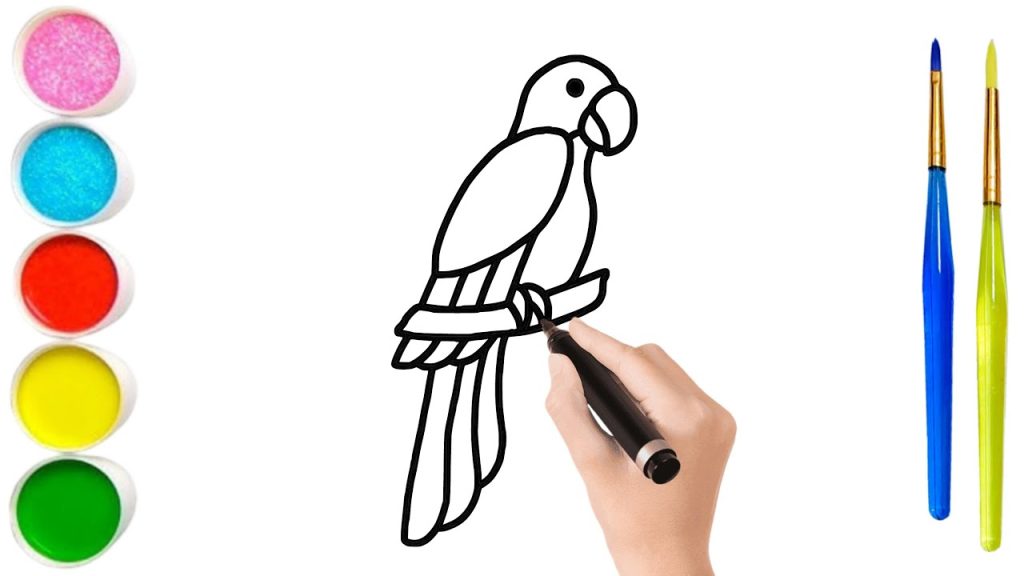
Sketching The Basic Shape
Start by drawing a simple oval shape for the parrot’s body. Keep it light and smooth. This will be the base of your sketch.
Next, sketch a small circle on top of the oval for the head. Draw a curved triangle shape for the beakattached to the head. Make sure the beak points slightly downward.
Position the wingsby adding two elongated shapes on each side of the body. For the tail, draw a few long, thin lines that fan out from the bottom of the oval. These lines show the tail feathers.
Adding Details And Features
Focus on the parrot’s feathers and beak to bring your drawing to life. Small lines and shapes create texture and depth. Details like eye highlights and wing patterns make the bird more realistic.
Sketching The Eyes And Facial Features
Draw big round eyes. Use circles. Add a small circle inside. This makes the eye shine. Create a curved line for the beak. Make it sharp and pointed. Add small lines for texture.
Defining The Feathers
Use long, curved lines for feathers. Draw them layered. This shows depth. Make feathers different sizes. Add tiny lines for detail. This gives a realistic feel.
Drawing The Claws And Perch
Draw long claws. Make them curved. Use bold lines. Show grip on a perch. Add texture to the perch. Use short lines. This makes it look real.
Inking And Refining The Drawing
Trace the sketch lines carefully using a fine-tipped pen. This step makes the drawing clear and sharp. Avoid pressing too hard to keep lines smooth. Let the ink dry before erasing pencil marks to prevent smudges.
Clean up mistakes gently with an eraser or white gel pen. Small corrections improve the overall look. Take your time to fix uneven lines or stray marks. This helps the drawing look neat and polished.
Add shadows and textures to bring the parrot to life. Use light strokes to show feathers and curves. Darken areas under wings and tail for depth. Textures create a realistic and interesting effect.
Coloring Your Parrot
Choose bright and lively colorsto make your parrot look real. Parrots often have green, red, blue, and yellowfeathers. Use colors that stand out and match the bird’s natural look.
Start with a light color base. Layercolors by adding darker shades on top. This creates depthand makes the feathers look soft and real. Blend colors gently for a smooth look.
- Use a white or light pencil to add highlightson feathers.
- Highlights show where light hits the parrot.
- Darken edges to add shadowsand depth.
- Blend shadows and highlights for a natural look.
Final Touches And Presentation
Carefully check your parrot drawing for any missing details or uneven lines. Make sure colors blend well and look natural. Look closely at the feathers and eyes to see if they need more shading or highlights.
Choose a frame that suits your artwork’s style. Simple wooden frames often work well with bird drawings. Use a mat board to give space between the drawing and glass. This protects your art and makes it look neat.
- Practice sketching different bird poses for variety.
- Try using colored pencils or watercolors next time.
- Focus on small feather details to improve texture.
- Use light strokes first, then add darker lines gradually.
- Keep your drawing tools sharp for better precision.

Credit: www.youtube.com
Frequently Asked Questions
How Do I Start Drawing A Parrot Bird?
Begin by sketching basic shapes like circles and ovals to outline the parrot’s head and body. This helps maintain proportions and guides detailed drawing later.
What Colors Are Best For Drawing A Parrot?
Use bright colors like green, red, yellow, and blue. These colors reflect a parrot’s natural, vibrant feathers and make your drawing lively and realistic.
How Can I Add Texture To Parrot Feathers?
Use short, curved strokes to mimic feather patterns. Layer different shades to create depth and make the feathers appear soft and realistic.
What Tools Are Ideal For Drawing Parrots?
Pencils, colored pencils, and fine-tip markers work well. They allow precision for details and vibrant colors to bring your parrot drawing to life.
Conclusion
Drawing a parrot bird can be fun and relaxing. Follow the steps one by one. Use simple shapes and add details slowly. Practice often to improve your skills. Don’t worry about mistakes; they help you learn. Enjoy creating colorful feathers and bright eyes.
Each drawing will look better than the last. Keep your pencils and colors ready. Drawing birds can bring joy and calm. Try different styles and make your own art. Keep drawing, and you will see progress soon.