If you want a lawn that stays green and healthy without wasting water, setting your Rainbird sprinkler head just right is key. But how do you make sure your sprinkler covers exactly the area you need?
You’re about to discover simple steps that anyone can follow to adjust your Rainbird sprinkler head perfectly. By the time you finish reading, you’ll know exactly how to save water, avoid dry spots, and keep your yard looking its best—all without frustration or guesswork.
Ready to take control of your irrigation? Let’s dive in.
Choosing The Right Sprinkler Head
Choosing the right Rainbird sprinkler headdepends on your lawn size and shape. Consider the spray radiusand water pressureavailable. Different models cover different areas, so pick one that fits your yard.
Sprinkler heads come in two main types: rotaryand fixed spray. Rotary heads turn to water a larger area slowly. Fixed spray heads water a small area quickly. Think about which type matches your garden’s needs.
Check the sprinkler head’s nozzle size. Smaller nozzles use less water but cover less space. Larger nozzles cover more but use more water. Balance water use and coverage for best results.
- Match sprinkler type to plant type and location.
- Use rotary heads for large, open areas.
- Use fixed spray heads for flower beds or small spots.
- Choose heads with adjustable spray angles for better control.
Gathering Necessary Tools
Gathering the right toolsis key before adjusting a Rainbird sprinkler head. Prepare these items to work smoothly:
- Flathead screwdriverto adjust the spray pattern.
- Adjustable wrenchfor loosening or tightening parts.
- Replacement nozzlein case the old one is damaged.
- Glovesto protect your hands from dirt and sharp edges.
- Towelfor cleaning the sprinkler head before work.
Keep these tools close to avoid interruptions. Clean the sprinkler head gently to see all parts clearly.
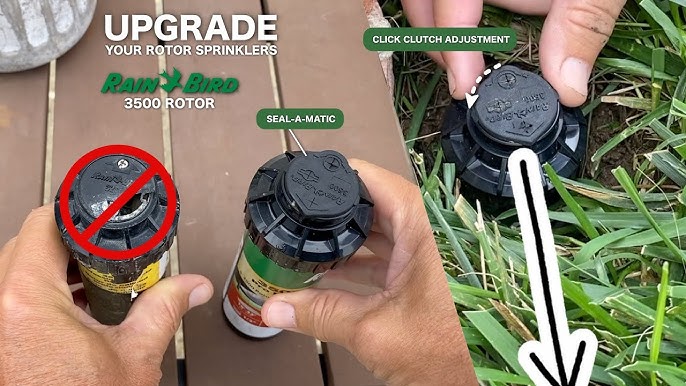
Removing The Old Sprinkler Head
Turn off the sprinkler system to stop water flow. Use a wrench to loosen the old sprinkler head by turning it counterclockwise. If it is stuck, try spraying some lubricant on the threads. Pull the old head straight out once it is loose. Check the riser pipe for dirt or damage. Clean the pipe threads with a cloth to remove debris. This helps the new sprinkler head fit well and prevents leaks. Keep all parts for reference or disposal.

Credit: www.rainbird.com
Installing The New Rainbird Sprinkler
Setting up the Rainbird sprinkler is simple. First, find the right spot. Ensure the area has no obstructions. Dig a small hole for the sprinkler. The hole should be deep enough for stability. Insert the sprinkler head carefully. Align it with the ground level. This ensures water sprays evenly.
Connect the sprinkler to the water pipe. Ensure the pipe is secure. Tighten any loose connections. This prevents leaks. Test the sprinkler by turning on the water. Check if the spray covers the area well. Adjust the nozzle for better coverage. Rotate it gently to change the direction. Make sure it sprays all parts of the garden.
Regularly check the sprinkler for dirt. Clean it to keep it working well. This maintains the efficiency of your sprinkler.
Adjusting Spray Pattern And Distance
Adjust the spray pattern by turning the screw on the sprinkler head’s top. Turn it clockwise to decrease the spray angle and counterclockwise to increase it. The spray distance changes by twisting the nozzle. Rotate it clockwise to shorten the water reach and counterclockwise to extend it.
Check the spray pattern after adjustments. Make sure water covers the intended area without overspray. Avoid watering sidewalks or driveways to save water.
- Turn screw to set spray angle
- Rotate nozzle to change distance
- Test spray coverage after changes
- Avoid watering non-plant areas

Credit: www.rainbird.com
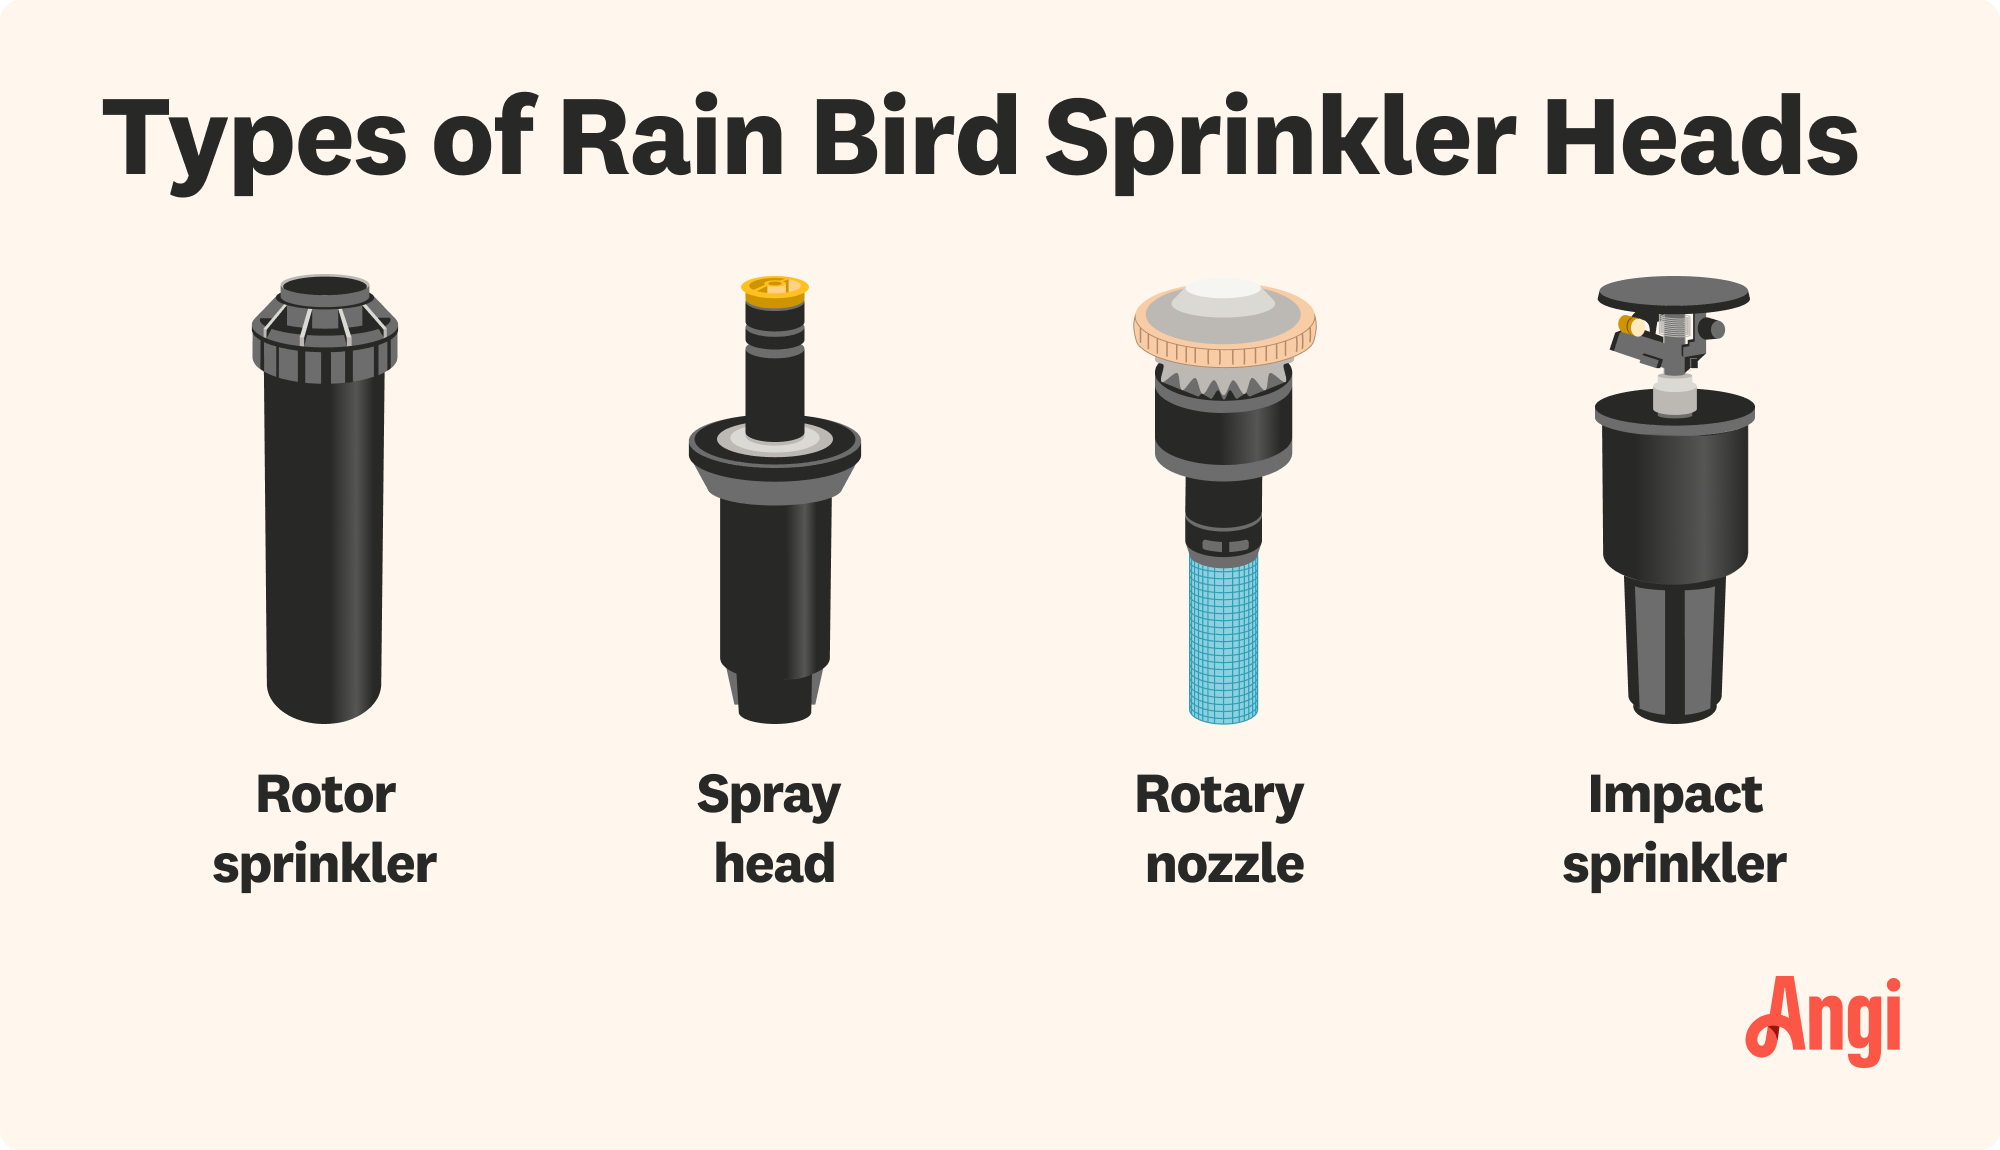
Credit: www.angi.com
Frequently Asked Questions
How Do I Adjust The Spray Distance On A Rainbird Sprinkler Head?
Turn the adjustment screw on top of the sprinkler head clockwise to reduce spray distance and counterclockwise to increase it.
Can I Change The Spray Pattern Of A Rainbird Sprinkler Head?
Yes, rotate the sprinkler head’s diffuser or use the pattern adjustment screws to set the desired spray shape.
How Often Should I Check My Rainbird Sprinkler Heads?
Inspect sprinkler heads every season to ensure proper function and adjust for changes in plant growth or weather.
Conclusion
Setting a Rainbird sprinkler head is simple and useful for your garden. Follow the steps carefully to adjust the spray distance and angle. Check the water pressure and test the sprinkler to ensure even coverage. Regular adjustments keep your lawn healthy and green.
A well-set sprinkler saves water and time. Try these tips today and enjoy a fresh, well-watered yard. Small changes make a big difference in your garden care.