Have you ever wanted to bring the magic of a hummingbird right into your home or garden? Imagine creating a beautiful hummingbird that looks so real, it could almost flutter away.
Whether you’re crafting for fun or looking to add a unique touch to your space, making your own hummingbird is easier than you think. In this guide, you’ll discover simple steps to create a stunning hummingbird that captures attention and sparks joy.
Ready to surprise yourself with what you can make? Keep reading, and let’s bring your hummingbird to life!

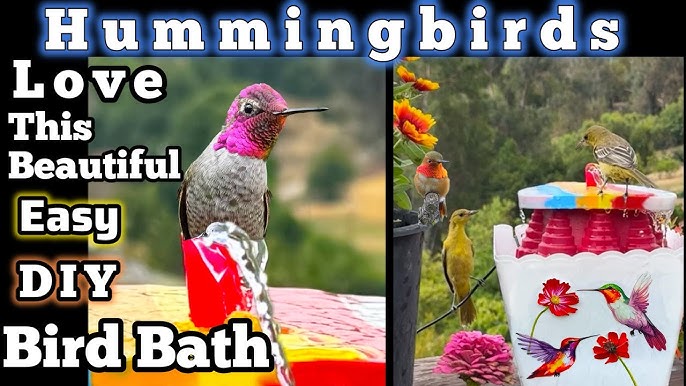
Credit: www.youtube.com
Materials Needed
Choose paperthat is thin but strong. Origami paper works best. It folds easily and holds shape well. Colored paper adds beauty to your hummingbird.
Essential toolsinclude:
- Scissors for cutting precise shapes
- Glue to keep parts in place
- A ruler for straight folds
- A pencil for marking fold lines
Optional decorative itemscan make your hummingbird special. Use:
- Glitter for sparkle
- Markers to add details
- Small stickers or gems for decoration
Basic Folding Techniques
Simple folds help beginners learn origami easily. Start with a square paper. Fold it in half carefully. Then unfold to see the crease line. Fold corners to the center crease. This makes triangle shapes. Practice folding edges sharply for clean lines.
Creating sharp creases is very important. Use your fingernail or a flat tool. Press down firmly along the fold. This makes the paper stay in place. Sharp creases help your hummingbird keep its shape.
- Use thin, square paper for easy folding.
- Fold slowly to keep paper neat.
- Press creases firmly for a crisp look.
- Unfold carefully to avoid tearing.
Step-by-step Craft Process
Gather simple materials like paper, scissors, and glue to begin crafting a hummingbird. Follow clear instructions to cut, fold, and assemble each part carefully. Watch your hummingbird take shape step by step with patience and creativity.
Folding The Body
Start with a square paper. Fold it diagonally to make a triangle. Fold the triangle’s corners to the middle. This shapes the hummingbird’s body. Ensure edges are neat and sharp. Smooth out any wrinkles carefully.
Shaping The Wings
Fold the paper’s sides outward for wings. Make sure they are even. Adjust them to look like a real bird’s wings. Bend the tips slightly for a natural look. Press gently to keep the shape intact.
Forming The Beak And Tail
Pinch the front point for the beak. Make it thin and long. For the tail, fold the back point upwards. Create a fan shape by spreading the edges. Secure folds by pressing down firmly.
Adding Details
Use bright markers and pensto add color and life to your hummingbird. Choose green, blue, red, and yellowfor a vibrant look. Draw small lines or dots to create feather details. This makes your bird look more real.
Attach small feathersto the wings or tail for texture. Use gluecarefully so the feathers stay in place. For a sparkly effect, sprinkle a little glitteron the wings. It catches light and adds charm.
- Use fine-tipped pens for small details
- Mix colors gently for smooth shading
- Glue feathers on flat surfaces only
- Apply glitter in thin layers
Display Ideas
Hanging mobiles bring movementand colorto any room. Use thin strings to hang your hummingbird from the ceiling. Place several birds at different heights for a dynamic look. Choose light materials so they sway gently with the air.
Shadow boxes create a 3D displaythat protects your hummingbird. Use a deep frame to add small flowers or leaves around it. This adds depthand interest. Hang it on the wall or place it on a shelf to catch light.
- Attach hummingbirds to gift boxes for a personal touch.
- Use ribbons or twine to secure the bird to the wrapping.
- Choose colors that match the gift wrap for a cohesive look.
- This makes your gift stand outand feel special.
Troubleshooting Common Issues
Torn paper can be fixed by using clear tape on the back side. Make sure the tape is smooth and covers the tear completely. Press gently to avoid wrinkles. For small tears, glue works well. Use a small brush to apply glue only on the torn edges. Let it dry before handling again.
Wing angles affect the hummingbird’s balance and look. Adjust wings by gently bending them to the desired position. Test the angle by holding the bird up and seeing if it stands or flies straight. Small changes can make a big difference.
| Problem | Solution |
|---|---|
| Weak joints | Apply extra glue and let it dry fully |
| Flimsy wings | Add a small strip of paper or thin wire inside |
| Loose body parts | Use tape or glue to hold parts firmly |
Creative Variations
Using different materialscan make your hummingbird unique. Try paper, fabric, or clay. Each material gives a new look and feel. Paper is easy to cut and fold. Fabric adds soft texture. Clay lets you shape small details.
Experimenting with sizeschanges the impact. Small hummingbirds look delicate and cute. Large ones can be bold and eye-catching. Mix sizes for a fun display.
Incorporating mixed mediabrings creativity. Combine paint with glitter or use feathers for wings. Glue beads or buttons for eyes. Mixed media adds color and texture that stand out.

Credit: www.tiktok.com
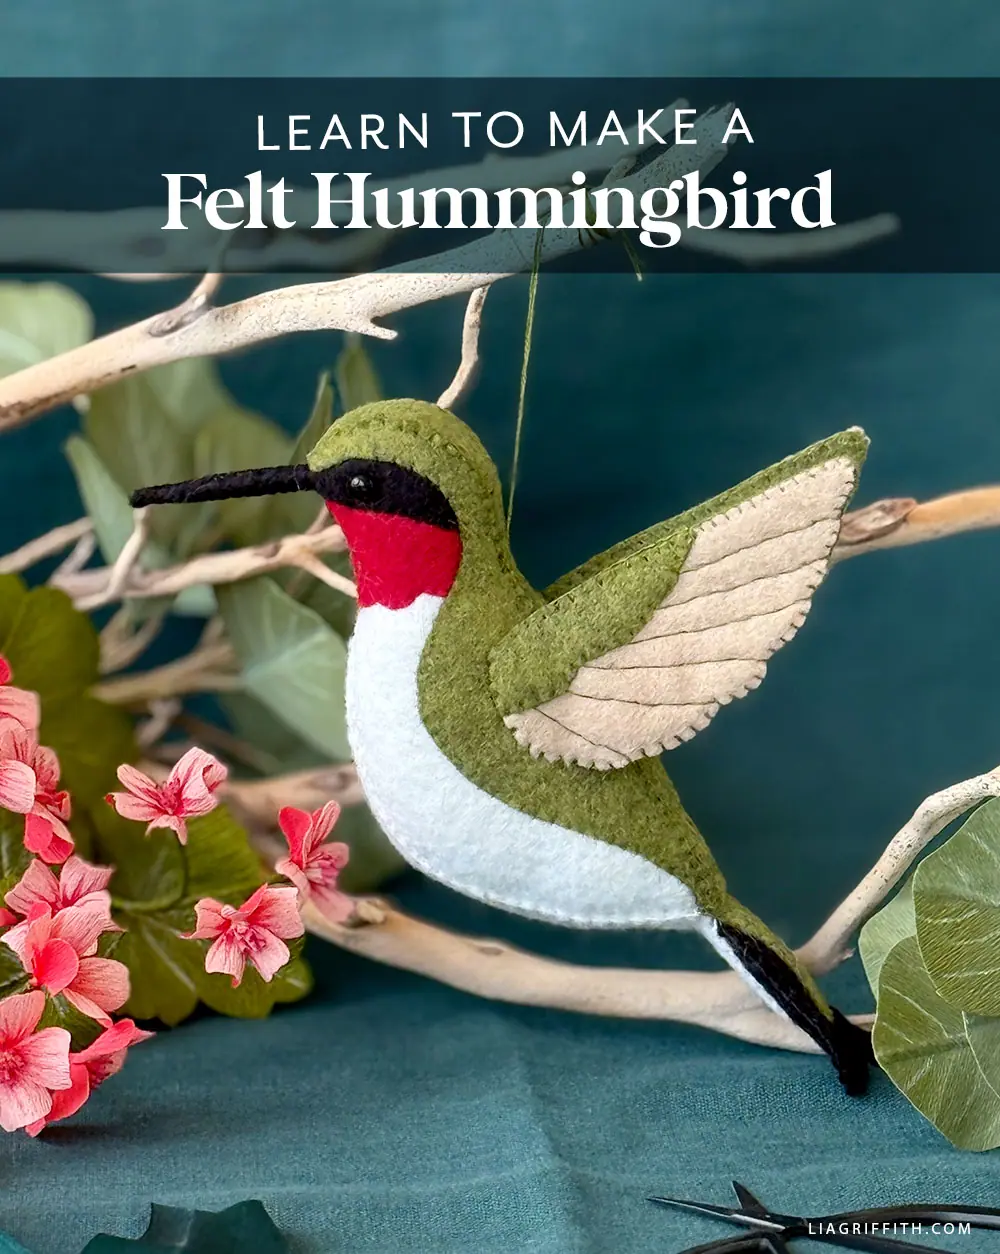
Credit: liagriffith.com
Frequently Asked Questions
What Materials Are Needed To Make A Hummingbird Craft?
You need paper, scissors, glue, colors, and a template to start your hummingbird craft.
How Long Does It Take To Make A Hummingbird Model?
It usually takes 20 to 30 minutes depending on your crafting skills and tools.
Can Kids Make A Hummingbird Craft Easily At Home?
Yes, kids can make it with simple steps and adult guidance for safety.
Conclusion
Creating a hummingbird is a fun and simple project. You can use common materials found at home. Follow the steps carefully to get the best result. This craft brings joy and adds beauty to any space. Enjoy watching your hummingbird come to life with your hands.
Keep practicing to improve your skills over time. Each hummingbird you make will be unique and special. Try different colors and sizes for variety and fun. Making hummingbirds can become a relaxing and creative hobby. Give it a try and see how much fun crafting can be!