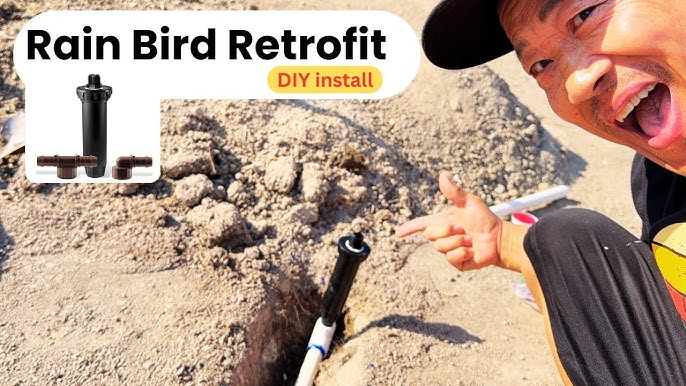
Are you looking to keep your lawn green and healthy without spending a fortune? Installing a Rainbird sprinkler head yourself is easier than you might think.
With the right steps, you can have your irrigation system up and running quickly, saving water and time. In this guide, you’ll discover simple, clear instructions that anyone can follow. By the end, you’ll feel confident managing your own sprinkler setup and giving your garden the care it deserves.
Keep reading to learn how to install a Rainbird sprinkler head like a pro.

Credit: www.youtube.com
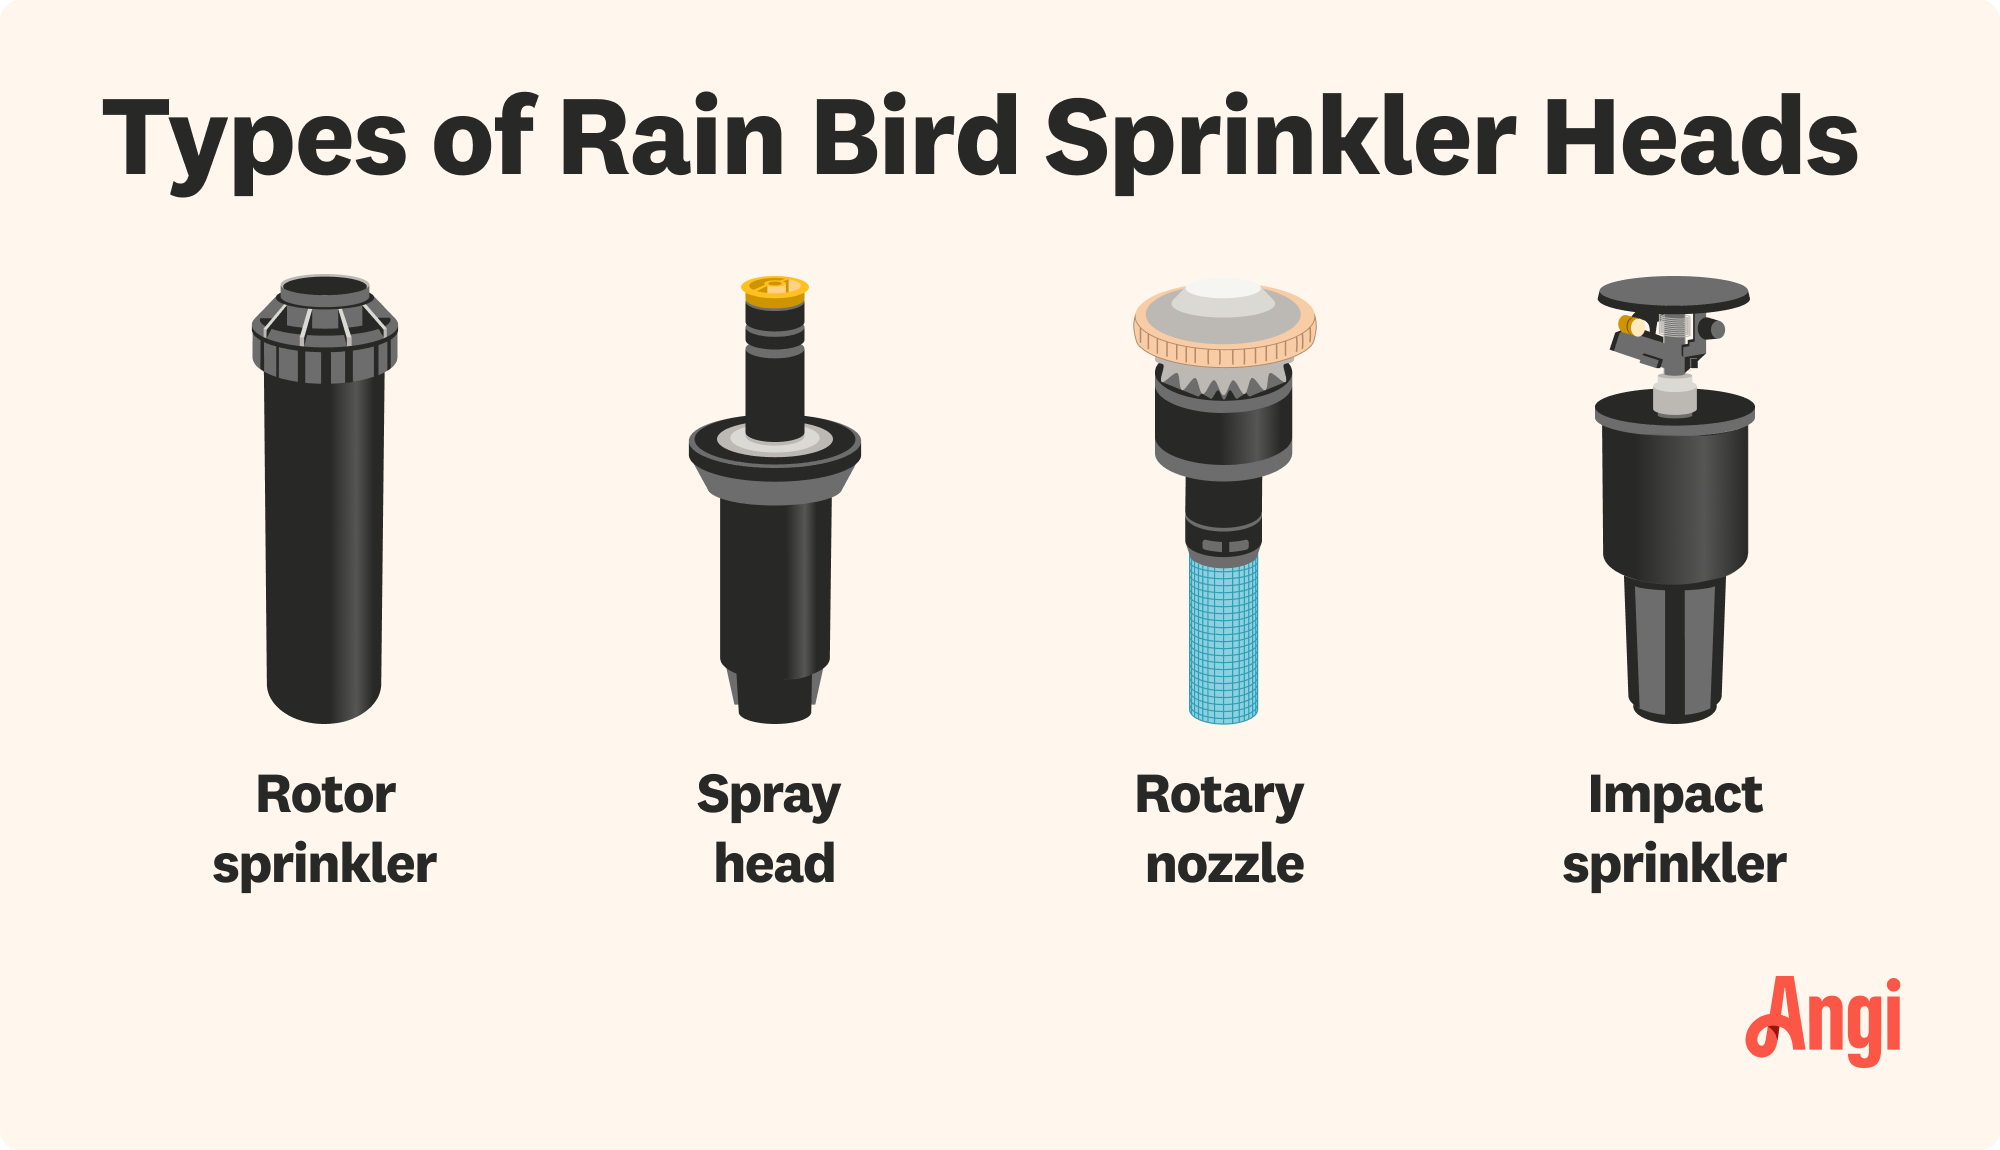
Tools And Materials Needed
Gather all tools and materialsbefore starting. You will need a Rainbird sprinkler head, a shovelto dig, and pipe cutterto trim pipes. Use a pipe wrenchor adjustable wrench for fittings. A Teflon tapehelps seal threads to prevent leaks.
Also, have some PVC pipeand PVC primer and cementready if you need to connect new piping. A measuring tapehelps place the sprinkler head accurately. Don’t forget glovesto protect your hands and safety glassesfor eye protection.
Preparing The Installation Site
Choose a flat spot for the sprinkler head. Remove grass and dirt carefully. Dig a hole wide enough for the sprinkler and pipe.
Clear away stones and roots to avoid damage. Make sure the area is level so water sprays evenly.
Check the pipe size to match the sprinkler head. Have tools like a shovel, gloves, and a wrench ready.
- Mark the spot clearly before digging.
- Keep the hole deep enough to bury the sprinkler base.
- Ensure no underground cables or pipes are in the way.
Preparing well helps the sprinkler work better and last longer.
Connecting The Sprinkler Head
Start by checking the sprinkler head and pipe threads. Use Teflon tape on the threads to prevent leaks. Screw the sprinkler head gently onto the riser or pipe. Tighten it by hand until snug. Avoid using tools that might crack the plastic.
Ensure the sprinkler head points in the right direction. Adjust the angle carefully before final tightening. Test the connection by turning on the water supply briefly. Look for any leaks around the connection area.
If leaks appear, turn off the water and reapply Teflon tape. Screw the head back carefully. Proper connection keeps your sprinkler working well and saves water.

Credit: www.youtube.com
Adjusting Spray Patterns
Adjusting the spray pattern of a Rainbird sprinkler head lets you control water flow. Start by locating the adjustment screw on top of the sprinkler. Use a flathead screwdriver to turn the screw gently. Turning clockwise narrows the spray, while counterclockwise widens it.
For fine-tuning, test the spray after each small adjustment. This helps avoid overwatering or dry spots. Make sure the spray covers your garden area evenly. Keep the sprinkler clean and free of debris for best results.
- Adjust screw slowly for desired spray width.
- Test spray pattern after each change.
- Ensure even coverage over plants.
- Clean sprinkler head regularly.
Testing And Troubleshooting
First, check the water flow. Ensure the sprinkler head is clean. Dirt can block water. Use a small brush to clean it. Next, adjust the spray pattern. Make sure it covers the right area. If it sprays too far, turn the screw. This will reduce the distance.
Look for leaks around the sprinkler. Leaks waste water and money. Tighten any loose parts. Replace broken pieces if needed. Test the system again. Watch for even water coverage. If some spots are dry, adjust again.
Listen for strange noises. Noises can mean problems. Check the pipes and connections. They should be tight and secure. If the sprinkler still doesn’t work, call an expert. They can help with difficult issues.
Credit: www.angi.com
Frequently Asked Questions
How Do I Install A Rainbird Sprinkler Head Correctly?
Turn off water, dig hole, connect pipe, attach sprinkler head, and test for leaks.
What Tools Are Needed To Install Rainbird Sprinkler Heads?
You need a shovel, pipe cutter, Teflon tape, wrench, and Rainbird sprinkler head.
How Deep Should The Rainbird Sprinkler Head Be Installed?
Install the sprinkler head so its top is level with the ground surface.
Conclusion
Installing a Rainbird sprinkler head is simple and quick. Follow each step carefully to avoid mistakes. Check all connections to prevent leaks. Test the sprinkler to ensure proper water flow. Adjust the spray pattern for best coverage. Regular maintenance keeps your system working well.
Enjoy a healthy, green lawn with ease. You now have the tools to install confidently. Keep your garden fresh and hydrated every day.