
Are you ready to give your lawn the perfect watering system? Installing a Rain Bird sprinkler head is easier than you might think, and it can save you time and water while keeping your grass green and healthy.
In this guide, you’ll discover simple, step-by-step instructions that anyone can follow—even if you’ve never done it before. By the end, you’ll have the confidence to set up your own sprinkler head quickly and correctly. Keep reading to transform your yard and enjoy a lush lawn with less effort!

Credit: www.youtube.com
Tools And Materials Needed
Gather all tools and materialsbefore starting. This makes the job easier.
- Rain Bird sprinkler head– the main item to install.
- Shovel– to dig the ground where the sprinkler goes.
- Pipe cutter or hacksaw– to cut the sprinkler pipe.
- Thread seal tape– to wrap around pipe threads and stop leaks.
- Adjustable wrench– for tightening connections.
- Sprinkler riser– to raise the sprinkler head above ground.
- Gloves– to protect your hands while working.
- Water source connection– to connect the sprinkler system to water.
Having these items ready helps install the sprinkler head quickly and correctly.
Choosing The Right Sprinkler Head
Choosing the right sprinkler headis key for good watering. Different heads cover different areas. Some spray water in a full circle, others only a part. Think about your lawn size and shape.
Consider the water pressurein your system. Low pressure needs a head that works well with less water force. High pressure needs a different type to avoid waste.
There are two main types of heads:
- Pop-up heads:Hide when not in use, good for lawns.
- Fixed heads:Stay out all the time, better for small areas or gardens.
Check the spray radius. This tells how far the water will reach. Match it to your yard’s needs to avoid dry spots or water waste.
Preparing The Installation Site
First, pick a spot for the sprinkler head. Make sure it is not blocked by anything. Check if the soil is soft and easy to dig. This helps with installation. Avoid rocky areas. They can make digging hard.
Clear the area of debris. Remove sticks, rocks, or leaves. Smooth the ground. This ensures a good fit for the sprinkler. Measure the distance to other sprinklers. Keep enough space between each one. This ensures even water coverage.
Mark the spot with a small flag or stick. This helps you remember where to dig. Test the water pressure. Ensure it’s strong enough for the sprinkler. If it’s weak, you might need adjustments. Good preparation makes installation easier.
Turning Off The Water Supply
Locate the main water valve for your sprinkler system. This valve stops water flow to the sprinkler heads. Usually, it is near your water meter or irrigation timer.
Turn the valve clockwise to close it. This will stop water pressureand prevent leaks. Check if water has stopped by opening a sprinkler head.
Open a nearby faucet or drain valve. This helps release any remaining water pressurein the pipes. It makes it safer to work on the sprinkler head.
Wear gloves and have a towel ready. Some water may drip when removing the sprinkler head.
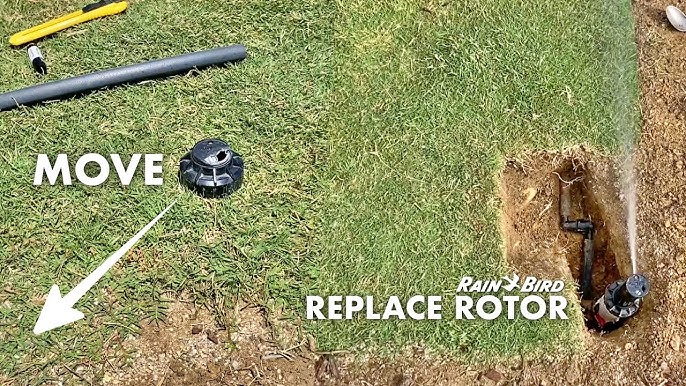
Removing The Old Sprinkler Head
Turn off the water supply to the sprinkler system first. This stops water flow and avoids mess.
Use a screwdriver or pliers to loosen the old sprinkler head. Twist gently to avoid breaking pipes.
Pull the sprinkler head straight up to remove it from the riser. Wiggle carefully if stuck.
Check the riser for dirt or damage. Clean or replace if needed to ensure a good fit.
Credit: www.youtube.com
Attaching The New Rain Bird Sprinkler Head
First, clean the end of the PVC pipe to ensure a good fit. Use a PVC primer and glue for a strong bond. Push the sprinkler head’s adapter firmly onto the pipe. Hold it in place for a few seconds to let the glue set.
Check that the sprinkler head is straight and at ground level. This helps water spray evenly and prevents damage. Tighten the collar or locking ring on the sprinkler head to secure it.
- Make sure the sprinkler head is stable and doesn’t wobble.
- Adjust the height if needed, so the head sits flush with the soil.
- Test the sprinkler by turning on the water to check for leaks.
Adjusting The Spray Pattern
To adjust your Rain Bird sprinkler head, first locate the spray adjustment screw. This is usually found at the top of the sprinkler head. Turn the screw clockwise to decrease the spray width. This will make the water spray narrower. Turn it counterclockwise to increase the spray width. This will widen the water spray.
Ensure the spray covers your garden evenly. Test the sprinkler to see the pattern. If the spray is uneven, adjust again. Check that the water reaches all plants. Adjust the screw until you get the desired pattern. Ensure no areas are too dry or too wet.
These simple adjustments help keep your garden healthy. Your plants will grow well with correct watering. Remember to adjust often. Seasons change and plants need different water amounts.
Testing The Sprinkler Head
Turn on the water supply slowly to check the sprinkler head. Watch for any leaks or uneven spray patterns. The sprinkler should pop up smoothly and spray water evenly in a circle or the set pattern.
Make sure the water pressure is not too high or too low. Too much pressure can damage the head. Low pressure might not water the area well.
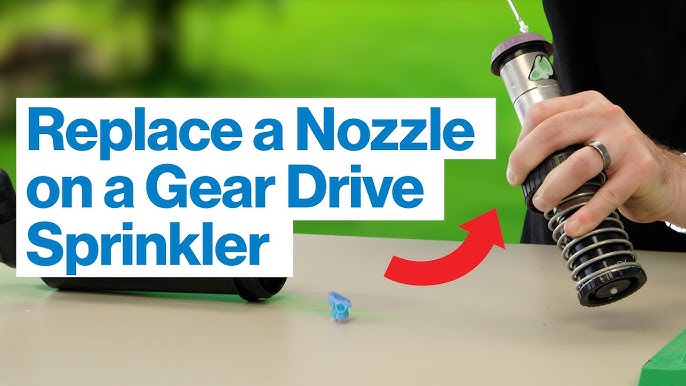
Adjust the spray distance and pattern if needed. Most Rain Bird heads have a small screw or dial for this. Use a screwdriver to turn it gently.
- Check for clogs or dirt blocking the nozzle.
- Clear debris to keep water flowing smoothly.
- Test the sprinkler for at least 5 minutes.
Fix any problems before finishing installation. A well-tested sprinkler saves water and keeps plants healthy.
Troubleshooting Common Issues
Low water pressurecan cause poor sprinkler performance. Check for clogged nozzles or blocked pipes. Clean or replace the nozzle if needed. Make sure the main water valve is fully open. Sometimes, reducing the number of sprinklers running at once helps improve pressure.
Uneven spray coverage may result from misaligned sprinkler heads. Adjust the sprinkler head direction to cover all areas evenly. Check for dirt or debris on the sprinkler head that may block water flow. Trim nearby plants that may block the spray.
Sprinkler head leaksoften come from damaged seals or cracked parts. Inspect the sprinkler head carefully. Replace worn-out seals or broken parts to stop leaks. Tighten connections if they are loose. Leaks waste water and reduce system efficiency.
Maintenance Tips For Longevity
Check sprinkler heads regularly for dirt and debris. Clean them gently with a soft brush or cloth. Avoid using hard tools that can damage parts. Make sure sprinkler heads pop up and retract smoothly. Adjust spray patterns to cover the lawn evenly.
Replace worn or broken parts quickly. Use only parts made for Rain Bird sprinklers. Inspect the water pressure to avoid damage. Too high pressure can break sprinkler heads. Low pressure reduces watering efficiency.
- Remove clogged nozzles by flushing water through the head.
- Lubricate moving parts lightly to prevent sticking.
- Check for leaks in the system and fix them.
- Store sprinkler heads indoors during winter to avoid frost damage.
Credit: www.youtube.com
Frequently Asked Questions
How Do I Install A Rain Bird Sprinkler Head Correctly?
Start by turning off the water supply. Dig a hole, connect the sprinkler to the pipe, and secure it.
What Tools Are Needed To Install Rain Bird Sprinkler Heads?
You need a shovel, pipe cutter, Teflon tape, and pliers for a smooth installation process.
How Deep Should I Bury A Rain Bird Sprinkler Head?
Bury the sprinkler head so the top is just above the ground for proper water flow.
Conclusion
Installing a Rain Bird sprinkler head is simple and quick. Follow each step carefully to avoid leaks or damage. Check all connections for a secure fit before use. Test the sprinkler to ensure it sprays evenly. Regular maintenance helps your system work well longer.
Enjoy a healthy, green lawn with proper watering. Now you can install your sprinkler with confidence and ease.