Have you ever wanted to draw a bird in flight but felt unsure where to start? Imagine capturing the beauty and freedom of a bird soaring through the sky with just a few simple lines.
You don’t need to be an expert artist to create a stunning flying bird. In this guide, you’ll discover easy steps that anyone can follow to draw a bird flying, even if you’re a complete beginner. Ready to bring your drawing to life and impress yourself with what you can create?
Keep reading, and let’s make your next sketch something truly special.

Credit: www.youtube.com
Materials Needed
To draw an easy bird flying, gather a few simple materials. You will need pencilsfor sketching light lines. A black pen or markerhelps to outline the bird clearly. Use colored pencils or crayonsto add color and life to your drawing.
Keep a good eraserhandy to fix mistakes. Having a sharpenerkeeps your pencils ready for fine details. A clean sheet of drawing paperworks best for smooth lines and colors.
- HB or 2B pencils
- Black pen or marker
- Colored pencils or crayons
- Eraser
- Pencil sharpener
- Drawing paper
Basic Bird Shapes
Start by drawing simple shapes to form the bird’s body. Use an ovalfor the main body. Add a small circlefor the head. Connect these shapes with a short line for the neck.
Sketch two triangleson each side of the body for wings. Draw a small triangleat the back for the tail feathers.
Use light lines to keep the shapes simple. These basic shapes help create a good bird outline. They make it easier to add details later. Keep the shapes smooth and clear for a natural look.
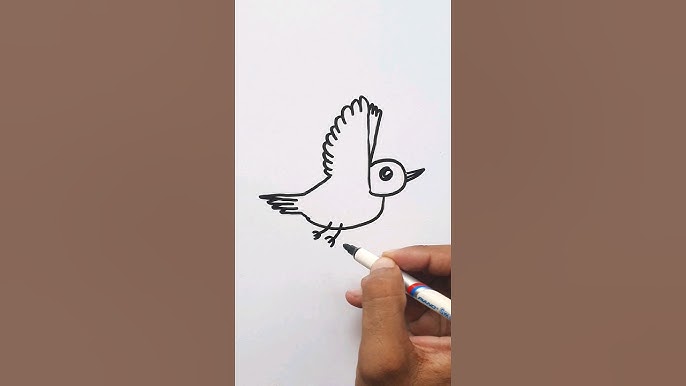
Sketching The Wings
Start by drawing two curved lines that form the wing shape. These lines create the main structure for the wings. Then, add smaller lines inside to show the feathers. Make the feathers long and thin for a natural look.
Keep the wing shape smooth and flowing. Wings usually have a top curve and a bottom curve. The top curve is larger and rounder. The bottom curve is shorter and more pointed.
- Draw the wing outline with soft curves.
- Add lines inside for feathers.
- Feathers should get smaller near the tip.
- Keep the wing wide to show movement.
Adding Details
Start by drawing the bird’s feathers. Use short, curved lines for wings. Add small lines for texture on the wings. Draw a round eyeon the bird’s head. Make the eye big and clear. Add a small dot inside for shine.
Next, sketch the bird’s beak. Make it triangular and short. Use straight lines for the beak. Add a few lines for detail. Draw the bird’s tail. Use longer lines here. Make the tail look fluffy.
Finally, add some background. Draw small clouds around the bird. Use soft circles for clouds. This makes the bird look like it’s flying high.
Final Touches And Coloring
Use soft, light strokesto outline your bird’s features. Erase any unnecessary lines gently to keep the drawing clean. Color your bird using bright and natural colorslike blues, greens, or yellows. Choose colors that match the bird you want to draw or your favorite ones.
Color the wings with lighter shadesand add darker tones at the edges for depth. Use a small brush or pencilto fill in the eyes, beak, and feet carefully. This brings your bird to life.
- Shade the body softly for a smooth look.
- Blend colors gently to avoid harsh lines.
- Highlight the wings with bright spots for shine.
- Keep the background simple to focus on the bird.

Credit: www.youtube.com

Credit: www.youtube.com
Frequently Asked Questions
What Materials Do I Need To Draw An Easy Flying Bird?
You only need paper, pencil, eraser, and colored pencils or markers for drawing a flying bird.
How Can I Draw Bird Wings Simply And Quickly?
Use curved lines and simple shapes like ovals or triangles to sketch the bird’s wings fast.
What Is The Easiest Way To Show Bird Flight In A Drawing?
Draw wings spread wide and add small motion lines to show the bird is flying.
Conclusion
Drawing a bird flying can be fun and simple. Start with basic shapes and add details slowly. Practice each step to improve your skills. Soon, you will create birds that look lively and free. Keep trying, and enjoy the process of drawing.
Art grows with patience and practice every day. Let your creativity take flight with each new sketch.