If your lawn isn’t getting the water it needs, your Rainbird 1800 sprinkler head might need a quick adjustment. You don’t have to call a professional or buy a new sprinkler to fix it.
With just a few simple steps, you can make sure your sprinkler sprays evenly and covers every corner of your yard. Keep reading, and you’ll learn exactly how to adjust your Rainbird 1800 sprinkler head so your lawn stays green and healthy all season long.
Tools Needed
Gathering the right toolsmakes adjusting your Rainbird 1800 sprinkler easier. You will need:
- Flathead screwdriver– to adjust the spray distance and radius.
- Needle-nose pliers– helps in removing the sprinkler head if needed.
- Water source– to test the sprinkler after adjustments.
- Towel or cloth– to clean dirt from the sprinkler head.
Having these handy will save time and ensure smooth adjustment.
Credit: topnotchlandscapelighting.com
Identify Sprinkler Components
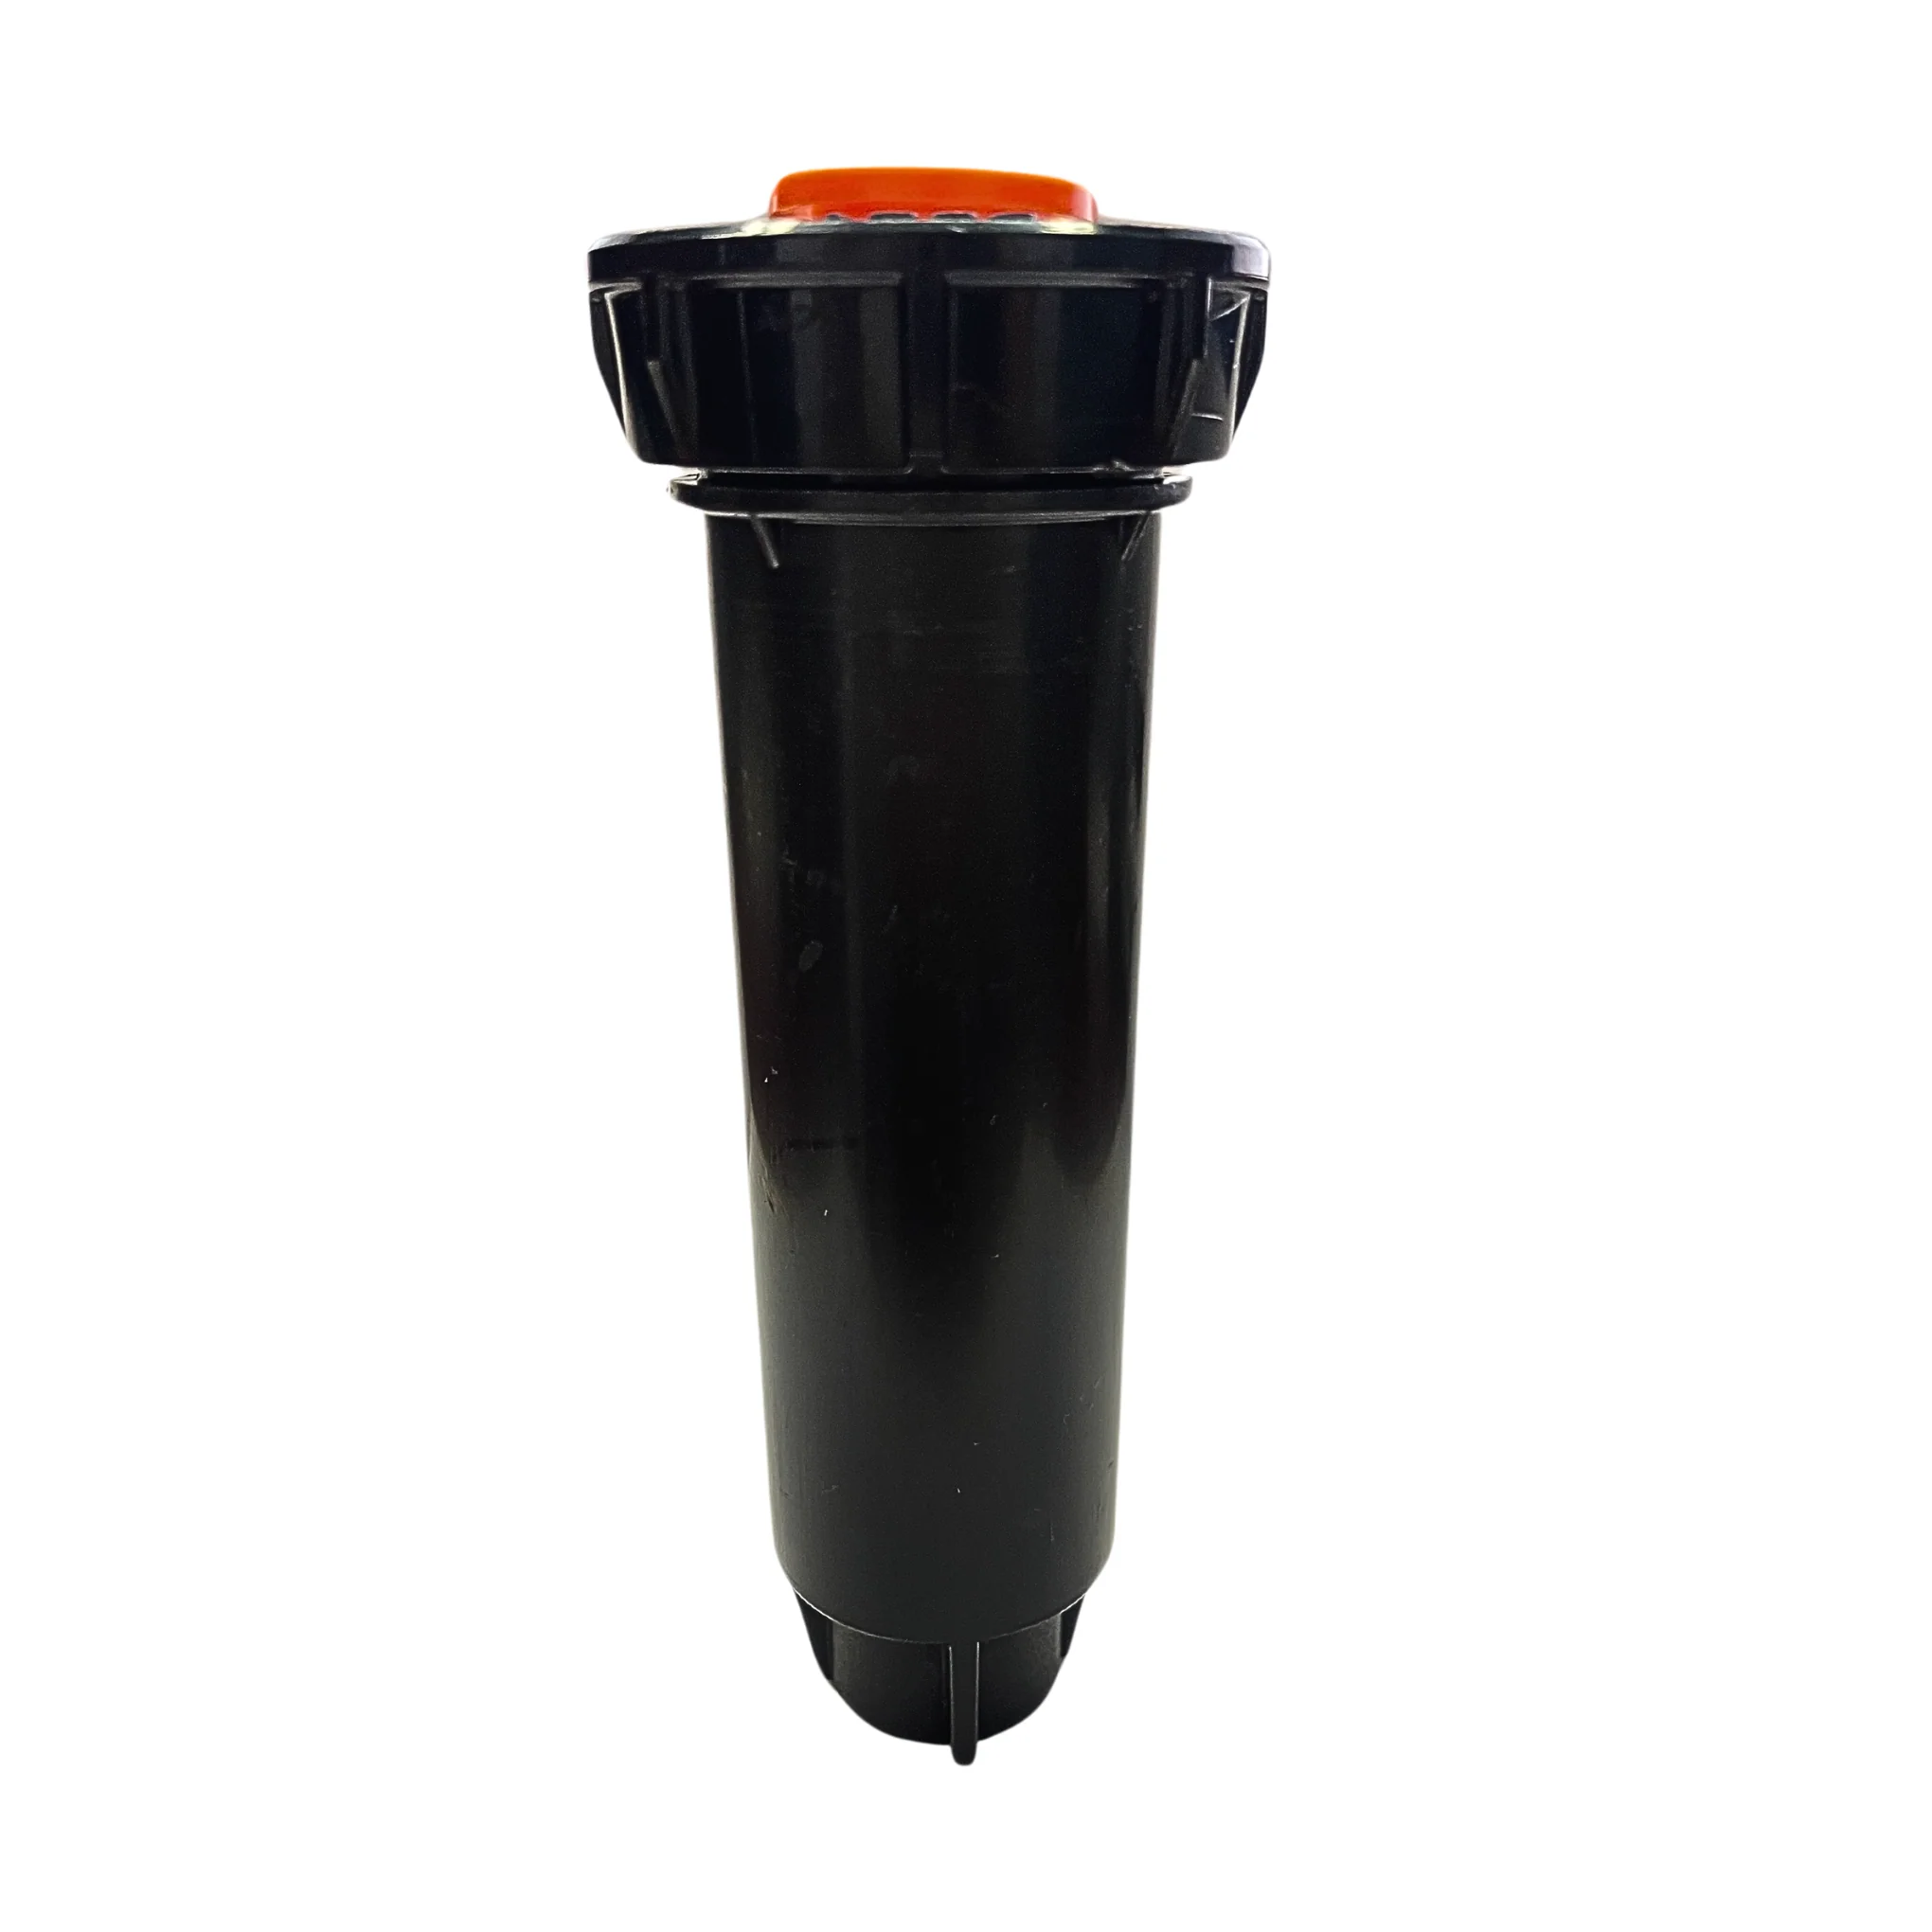
The Rainbird 1800 sprinkler head has several important parts. The spray nozzlecontrols the water flow and pattern. The deflectorhelps spread the water evenly. The adjustment screwchanges the spray distance. The arc adjustmentcontrols how far the sprinkler turns. The riseris the part that pops up when the water starts. The capcovers the top and holds everything in place.
Knowing these parts helps make precise adjustments easier. Each component plays a key role in how the sprinkler works.
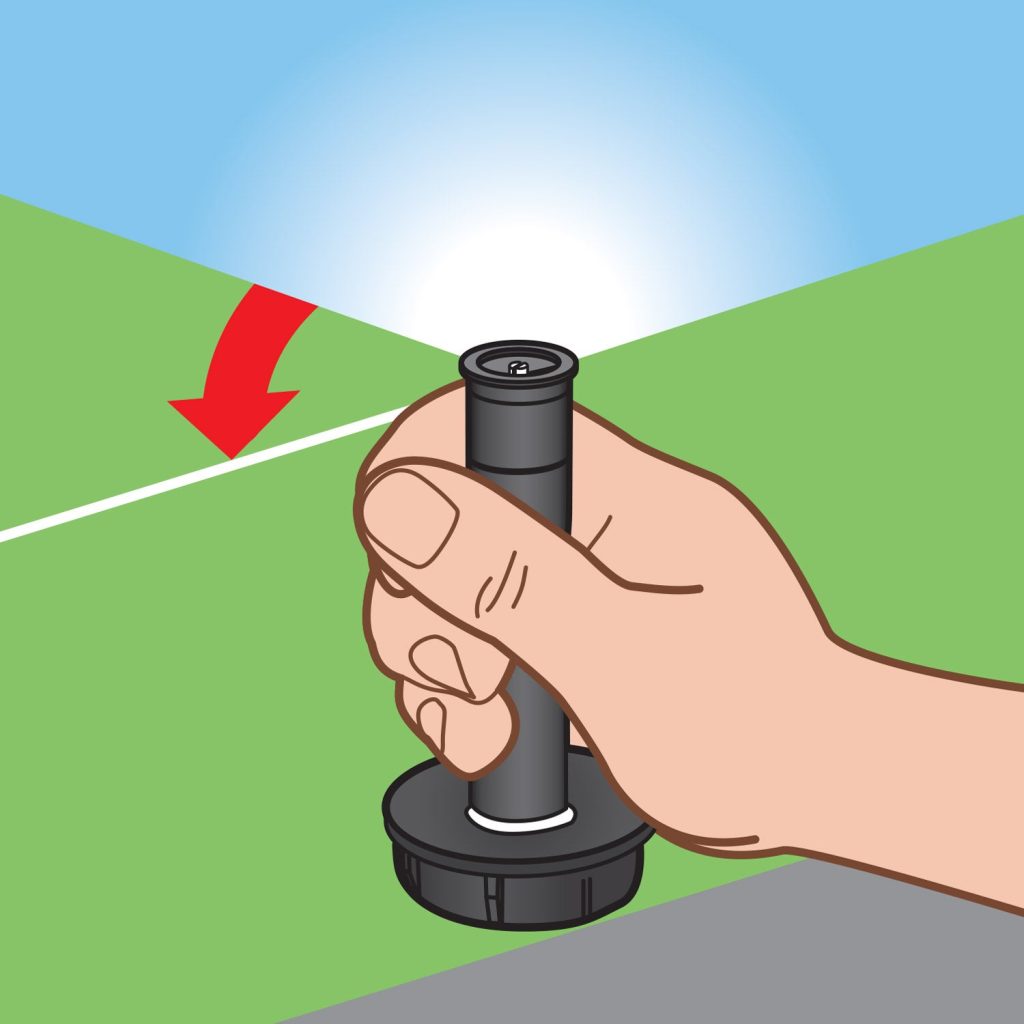
Adjust Spray Distance
Adjusting the spray distanceon a Rainbird 1800 sprinkler head is simple. Locate the small screwon top of the sprinkler. Turn this screw clockwiseto reducethe spray distance. Turn it counterclockwiseto increasethe distance.
Make changes in small steps. Test the spray after each adjustment. This helps avoid watering the wrong areas.
- Use a flat-head screwdriverfor turning the screw.
- Adjust the spray distance based on your lawn size.
- Check the spray pattern after adjusting.

Credit: www.rainbird.com
Set Spray Pattern
Use the adjustment screw on the top of the Rainbird 1800 sprinkler head. Turn it gently with a flat-head screwdriver. Turning the screw clockwise narrows the spray. Turning it counterclockwise widens the spray.
To set the spray pattern, locate the arc adjustment ring. It controls the angle of water coverage. Rotate the ring to match the desired spray arc. For example, set it to 90° for a quarter circle.
- Adjust spray distance with the screw on the nozzle.
- Change spray arc by turning the arc adjustment ring.
- Test the spray pattern by running the sprinkler.
- Make small adjustments for precise watering.
Modify Spray Radius
Adjust the spray radiusby turning the screw on top of the Rainbird 1800 sprinkler head. Use a flathead screwdriverto turn it clockwise to reducethe spray radius. Turn it counterclockwise to increasethe spray radius. Small turns make big changes, so adjust slowly. Check the spray pattern after each turn to get the right radius. This helps water reach the right areas without wasting water. Make sure the sprinkler is on when adjusting for best results. Avoid forcing the screw to prevent damage. This simple step helps save waterand keeps your lawn healthy.

Credit: www.rainbird.com
Check Water Pressure
Always make sure the water pressure is correct. Low pressure can affect the sprinkler head. High pressure can damage it. Use a pressure gauge to check. Attach it to the faucet or hose. Turn on the water and read the gauge. The ideal range is between 30 and 50 psi. If the pressure is too high or low, adjust accordingly. A pressure regulator can help. Install it to maintain steady pressure. This ensures the sprinkler works properly.
Test And Fine-tune
Start by turning on the sprinkler system to see the spray pattern. Watch closely for any dry spots or areas with too much water. Use the adjustment screw on top of the Rainbird 1800 head to change the spray arc. Turn it clockwise to reduce the coverage area. Turn it counterclockwise to increase it.
Fine-tune the spray distance by twisting the nozzle. Rotate it to shorten or lengthen the water reach. Make small changes and check the results each time. This helps avoid overwatering or missing parts of your lawn.
- Test the spray pattern after each adjustment.
- Adjust slowly to avoid damage.
- Ensure even water coverage.
- Check for leaks or blockages.
Common Issues And Fixes
The Rainbird 1800 sprinkler head may face common issues like poor spray pattern or low water pressure. Clogged nozzlesoften cause uneven watering. Remove the nozzle and rinse it under water to clear debris.
Incorrect spray distancehappens if the adjustment screw is not set right. Turn the screw clockwise to reduce the spray radius and counterclockwise to increase it.
Sprinkler head stuckin the up or down position may result from dirt buildup around the stem. Clean the area gently with a soft cloth and apply a little lubricant if needed.
- Check for broken or worn parts; replace if damaged.
- Ensure water pressure meets Rainbird’s recommendations (20-50 PSI).
- Adjust the arc by rotating the collar around the nozzle.
Frequently Asked Questions
How Do I Adjust The Spray Distance On A Rainbird 1800?
Turn the adjustment screw clockwise to reduce distance, or counterclockwise to increase spray range.
What Tool Is Needed To Adjust Rainbird 1800 Heads?
A flathead screwdriver or the Rainbird adjustment key fits the screw for changes.
How To Change The Spray Pattern On Rainbird 1800?
Rotate the arc adjustment screws to set the desired spray angle and coverage area.
Conclusion
Adjusting your Rainbird 1800 sprinkler head keeps your lawn healthy. It helps save water and avoids dry spots. Small changes make a big difference in watering. Follow the steps carefully for best results. Regular checks prevent problems and keep the system working well.
A well-adjusted sprinkler means a greener, happier garden. Try it today and see the improvement yourself. Easy, simple, and worth the effort.