Have you ever wanted to preserve a bird you admire, turning it into a lasting keepsake? Learning how to taxidermy a bird might seem tricky, but with the right steps, you can do it yourself.
Imagine holding a beautifully preserved bird that captures its natural beauty forever. This guide will walk you through the process clearly and simply, so you can bring your own creation to life. Ready to discover the secrets behind successful bird taxidermy?
Keep reading and unlock the skills you need.
Gathering Tools And Materials
Gathering the right tools and materialsis key for taxidermy. A sharp scalpel or knifehelps in skinning the bird carefully. You need a pair of scissorsto cut feathers and soft tissue. Thin wireshapes the bird’s pose. A foam mannequinor body form holds the skin in place. Gloveskeep hands clean and protect the specimen. Needles and threadhelp sew the skin back together. Preservativeslike borax stop decay. A containerstores these safely.
Having a clean workspace and good lighting makes the task easier. Prepare all items before starting. This saves time and helps keep the process smooth.

Credit: www.gothamtaxidermy.com
Preparing The Bird
Start by gently cleaning the bird to remove dirt and debris. Use a soft brush or cloth. Avoid wetting the feathers too much. Carefully remove any blood or stains with a damp cloth.
Next, examine the bird for any damage. Check feathers, wings, and feet. Trim broken feathers carefully with scissors. This helps the bird look neat after taxidermy.
Remove the internal organs to prevent decay. Make a small cut along the bird’s belly. Take out all soft tissues. Be gentle to keep the skin and feathers intact.
Apply a preservative powder inside the skin. This stops bacteria and keeps the bird dry. Use borax or a similar product for best results.
- Handle the bird softly to avoid damage.
- Keep the feathers clean and dry.
- Work in a clean, well-lit space.
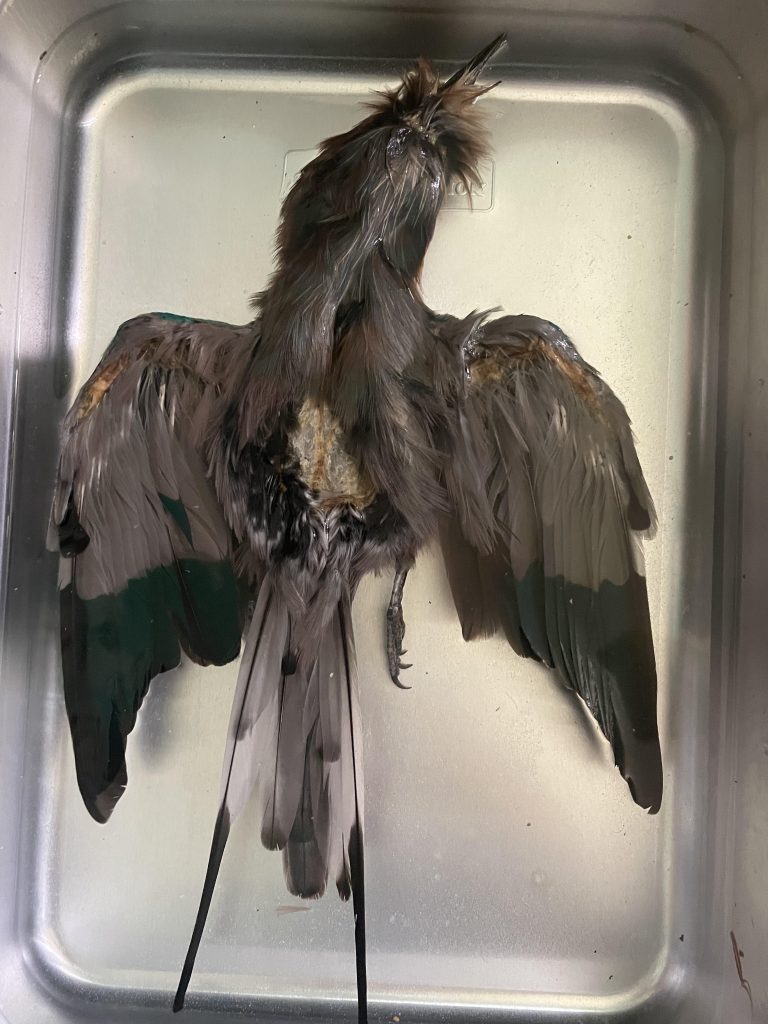
Skinning And Cleaning
Careful skinning helps keep the bird’s feathers intact. Use a sharp knife to make a small cut near the bird’s chest. Gently pull the skin away from the body. Take care not to tear the skin or feathers.
Remove all fat and flesh from the inside of the skin. This step stops decay and keeps the bird fresh. Use tweezers to get rid of small bits of tissue. Rinse the skin in cold water to clean it well.
Dry the bird’s skin by patting it gently with a cloth. Avoid rubbing as it can damage feathers. Let it air dry in a cool place. This helps the skin keep its shape.
- Use sharp, clean tools for better results.
- Handle feathers carefully to avoid damage.
- Keep the workspace clean to prevent contamination.
Credit: corvusoddities.com
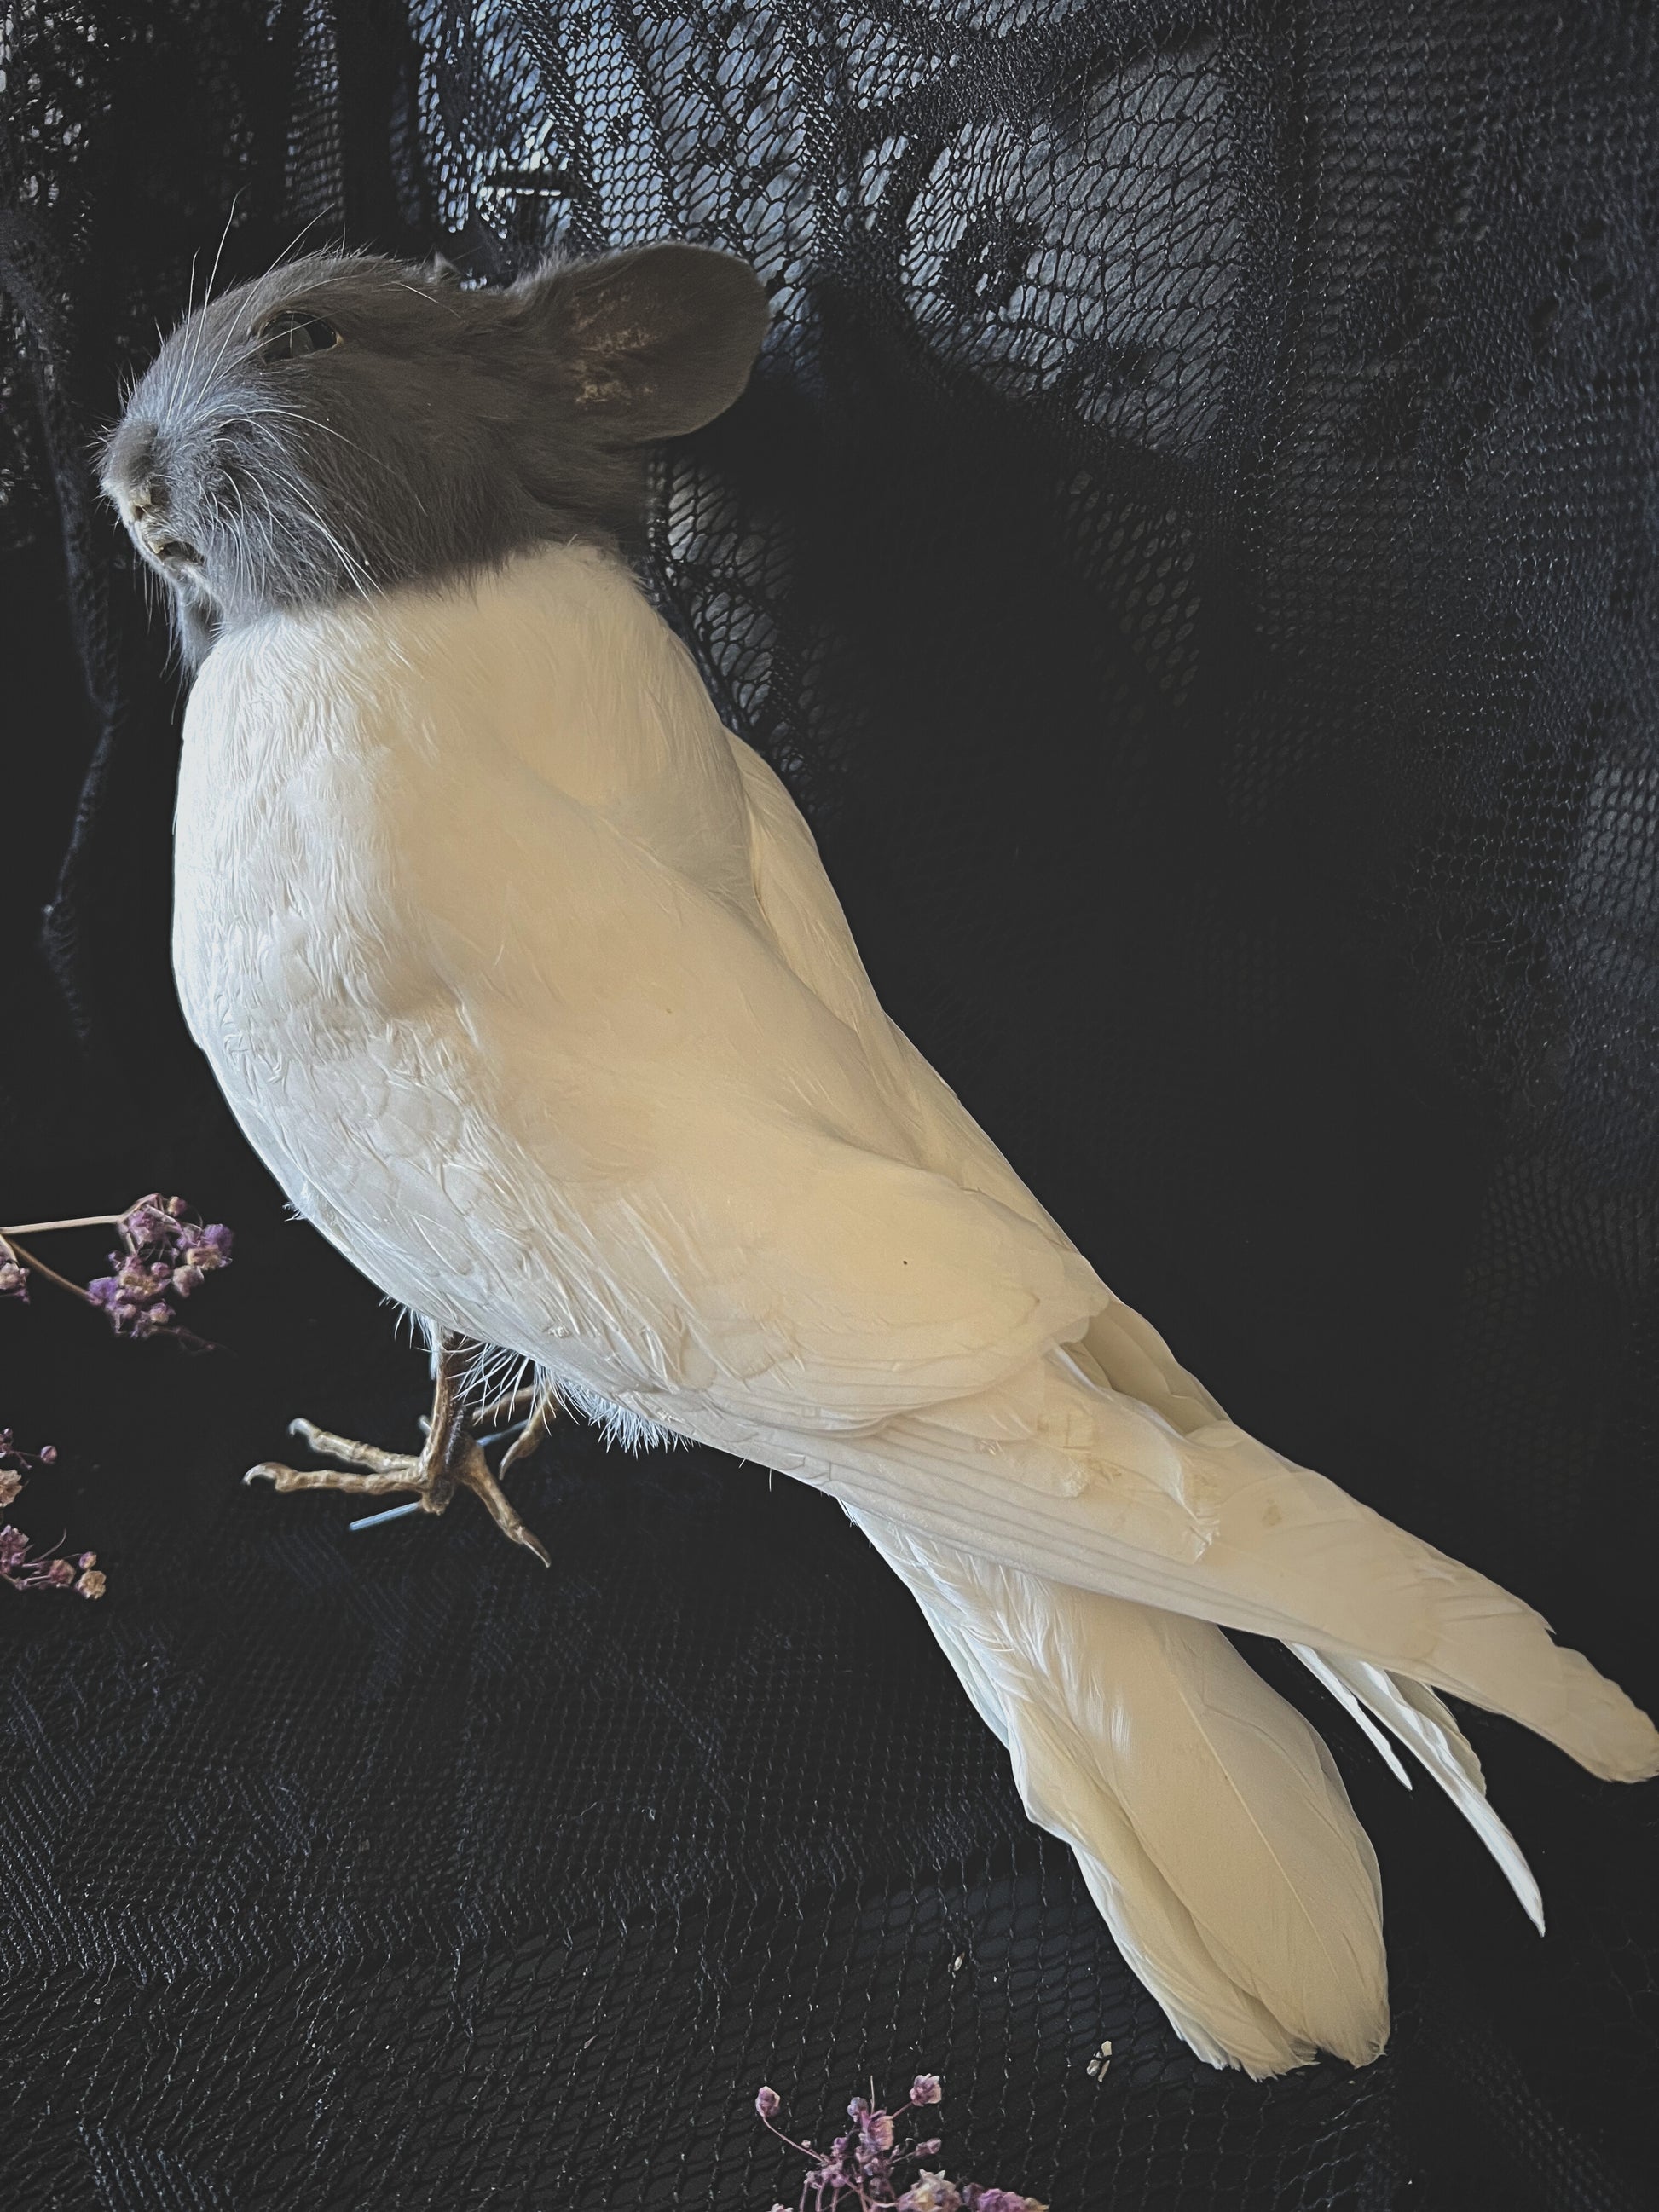
Mounting The Bird
Prepare the bird by cleaning it well. Use gentle soap and water. Dry the feathers carefully. Feathers must be clean for a good mount.
Next, position the bird as desired. Decide on the pose early. Use wire to hold the shape. Bend the wire to fit the body.
Attach the bird to a sturdy base. A strong base keeps the mount stable. Use screws to fasten the bird securely. Make sure it’s balanced.
Finally, adjust the feathers. Arrange them neatly and naturally. A well-arranged bird looks real. Take your time with this step.
Check your work. Ensure everything is tight and secure. A neat mount is important. Double-check for loose ends.
Finishing Touches And Preservation
Make sure the bird is completely dry before moving on. Use a soft brush to clean dust from feathers gently. Apply a thin layer of preservative to stop decay. This helps keep colors bright and feathers firm.
Use pins to shape feathers and hold them in place. Let the bird sit in a dry area with good air flow. Avoid direct sunlight to prevent fading. Check the bird regularly for any signs of mold or damage.
- Handle feathers with care to avoid breaking them.
- Use a clear sealant spray to protect the surface.
- Store the bird in a dust-free case or display.
- Keep the environment cool and dry for best preservation.

Credit: www.reddit.com
Frequently Asked Questions
What Tools Do I Need To Taxidermy A Bird?
Basic tools include sharp knives, wire, stuffing material, needles, and pins for shaping.
How Long Does The Bird Taxidermy Process Take?
It usually takes several hours to a few days, depending on skill and bird size.
Can Beginners Taxidermy Birds Safely At Home?
Yes, with patience and good instructions, beginners can taxidermy small birds safely.
Conclusion
Taxidermying a bird takes patience and care. Follow each step slowly and carefully. Use the right tools and materials for best results. Practice helps improve your skills over time. Preserve the bird with respect and attention. Enjoy the process and learn from mistakes.
Your finished work will show your effort. Keep trying, and you will get better. This craft can bring lasting memories to life.