Is your Rainbird controller acting up or not watering your garden as it should? Knowing how to reset your Rainbird controller can save you time, money, and a lot of frustration.
Whether you’re dealing with scheduling errors or system glitches, a simple reset might be the quick fix you need. In this guide, you’ll learn step-by-step how to reset your Rainbird controller easily and get your irrigation system back on track.
Keep reading—you’ll be surprised how simple it is to restore control and keep your garden thriving.
Rainbird Controller Basics
The Rainbird controllermanages your irrigation system efficiently. It lets you set watering times, durations, and zones. Most models have a digital displayand easy-to-use buttons.
Common features include:
- Multiple programsfor different watering schedules
- Manual overridefor instant watering
- Rain sensor inputto stop watering during rain
- Battery backupto save settings during power loss
Typical issues users face are:
- Controller not starting or responding
- Incorrect or lost programming after power cuts
- Zones not watering correctly
- Display showing error codes

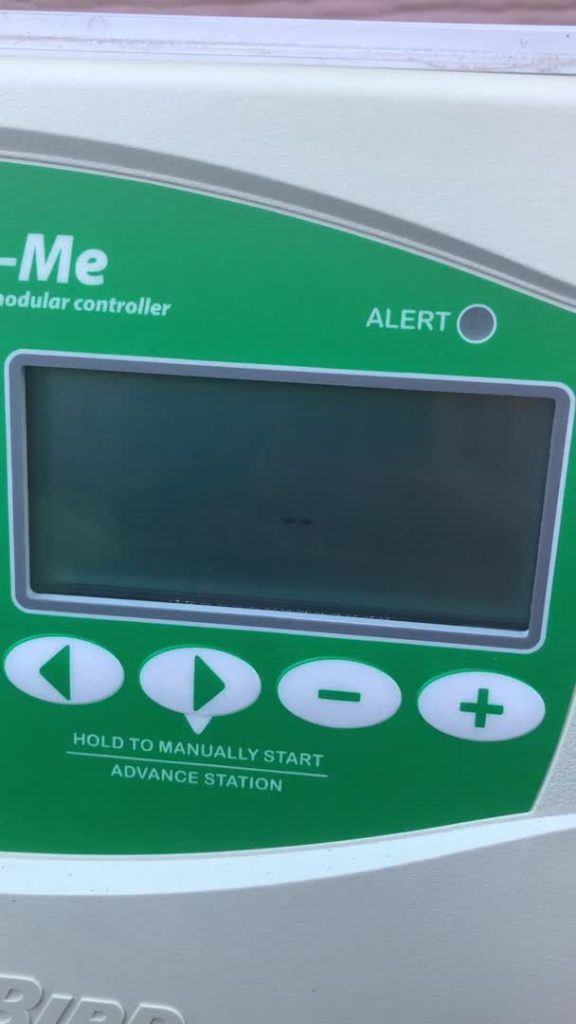
Credit: www.facebook.com
When To Reset Your Controller
Signs of malfunction include the controller not responding or programs not running as set. The display may freeze or show errors. Sprinklers might water at wrong times or not at all. Resetting can fix these common problems.
Resetting the controller clears errors and restores factory settings. It helps the system run smoothly and saves water by fixing timing issues. A reset can also improve the controller’s lifespan by removing glitches.
Preparing For Reset
Begin by turning off the Rainbird controller and disconnecting power. Clear any active programs to avoid errors during reset. Have the user manual nearby for quick reference if needed.
Gathering Tools
Find the right tools for the job. You might need a small screwdriver. Check if any extra wires are needed. Prepare a paper and pen for notes. Keep everything handy for easy access.
Backing Up Settings
Write down all current settings. This helps you remember later. List the watering times and zones. Note any special instructions. Take a photo of the settings screen. This ensures nothing gets lost. Backup files on your computer if needed.
Step-by-step Reset Guide
The soft resetclears temporary errors without deleting saved settings. Press and hold the reset button on the controller for about 5 seconds. The lights will blink, showing the reset is done. The controller restarts with all previous schedules intact.
A hard reseterases all settings and returns the controller to factory defaults. Press and hold the reset button for 10 seconds or more. Wait until the controller restarts and all lights turn off, then back on. You will need to reprogram your watering schedules after this reset.
Resetting via the app is quick and easy. Open the Rainbird app and connect to your controller. Find the reset option in the settings menu. Choose soft or hard reset. Confirm the reset command. The controller will restart automatically, applying your chosen reset type.
Post-reset Setup
After resetting the Rainbird controller, restoring your saved programs is key. Use the controller’s menu to find the program settings. Enter each program’s start time, run time, and watering days. Check that all zones have the correct settings to avoid overwatering or underwatering.
Testing the system ensures it works properly. Manually start each zone to confirm water flows. Watch for leaks or blockages in the sprinkler heads. Adjust the run times if needed based on the test results. This helps keep your garden healthy and green.
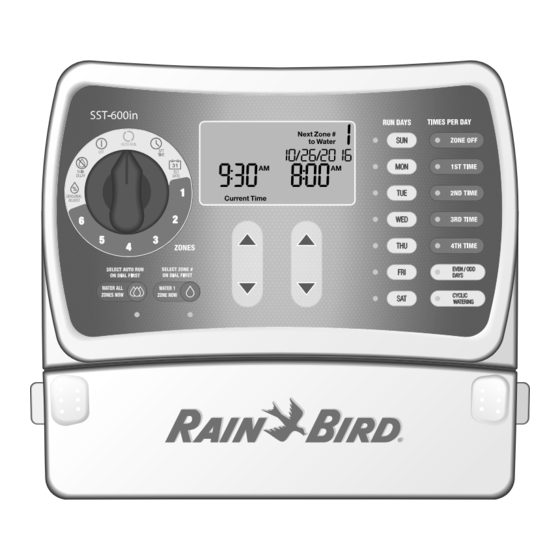
Credit: www.manualslib.com
Troubleshooting After Reset
Common problems after resetting a Rainbird controller include zones not watering, incorrect time settings, and programs not saving. Check if the controller is firmly connected to powerand the battery is functional. Sometimes, the reset may erase custom schedules, so reprogramming is needed.
Look for loose wiresor damaged valvesthat could stop watering. The display might show error messagesthat hint at specific issues. Water pressureproblems can also affect operation.
Seek professional help if the controller won’t turn onafter reset or keeps resetting itself. If valves or wiring seem broken, a technician can fix them safely. Persistent electrical faultsor complex programming errorsalso need expert attention.
Maintaining Your Rainbird Controller
Keeping your Rainbird controllerupdated ensures it works well. Check for firmware updates often. Updates fix bugs and add features. This helps your controller stay reliable.
Simple care can stop many problems before they start. Here are some preventive care tips:
- Keep the controller dry and clean.
- Use a cover to protect from rain and dust.
- Check wires and connections regularly.
- Reset the controller if it acts strangely.
- Replace batteries once a year to avoid power loss.

Credit: www.manua.ls
Frequently Asked Questions
How Do I Reset A Rainbird Controller Quickly?
Turn off the controller, press and hold the reset button for 5 seconds, then release.
Can Resetting Erase My Rainbird Watering Schedule?
Yes, resetting clears all saved programs and restores factory settings.
What If My Rainbird Controller Won’t Reset?
Check power supply and connections; try a manual reset using the reset button again.
Conclusion
Resetting your Rainbird controller helps fix many common problems. Follow the steps carefully to avoid mistakes. You can reset the controller anytime to refresh its settings. Regular resets keep your irrigation system running smoothly. Remember to check the manual for model-specific instructions.
Quick resets save time and prevent system errors. Keep your garden healthy with a properly working controller. Simple actions like these make maintenance easier for you. Now you can manage your irrigation system with more confidence.