Setting up your Rainbird timer might seem tricky at first, but it doesn’t have to be. Imagine having your garden watered automatically, saving you time and keeping your plants healthy without lifting a finger.
That’s exactly what a properly set Rainbird timer can do for you. In this guide, you’ll discover simple, step-by-step instructions to get your timer working perfectly. By the end, you’ll feel confident controlling your watering schedule like a pro. Ready to make your garden care easier and more efficient?
Let’s dive in.
Credit: www.homedepot.com
Rainbird Timer Basics
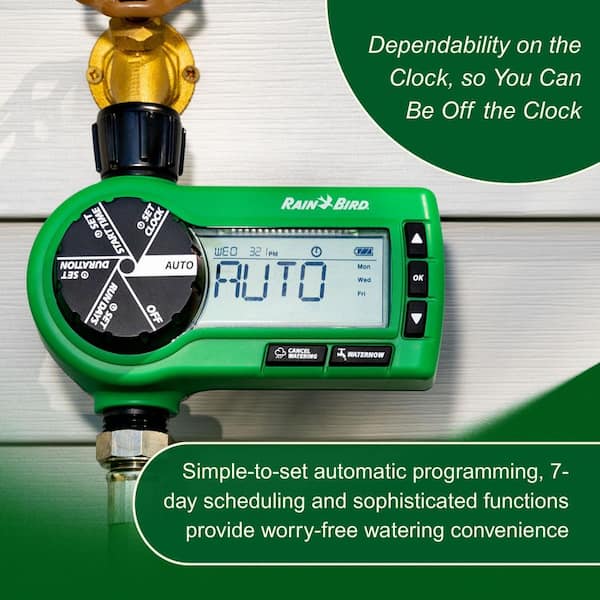
The Rainbird timerhelps control watering schedules easily. It saves water and keeps plants healthy. The timer has simple controls for setting start times and watering length. It works with many types of irrigation systems.
Key featuresinclude:
- Multiple start times for flexible watering
- Easy manual watering option
- Rain delay to avoid watering on rainy days
- Battery backup to keep settings during power loss
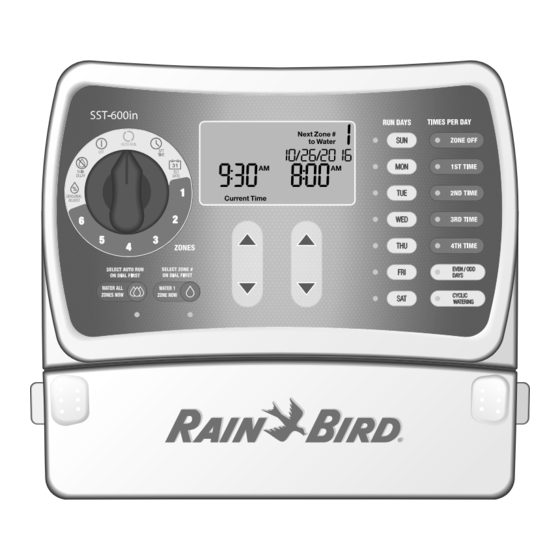
Types of timersvary by use and complexity:
| Type | Description | Best For |
|---|---|---|
| Mechanical | Simple dial, easy to set | Small gardens, low cost |
| Digital | More precise control, multiple programs | Medium to large gardens |
| Smart | Connects to phone, adjusts to weather | High-tech gardens, water saving |
Preparing For Setup
Gather all tools and materials before starting the Rainbird timer setup. Ensure the water supply is off and the timer is within reach. Clear the area for easy access and a smooth installation process.
Gathering Tools
Collect all the necessary tools for setting up the timer. You will need a screwdriver and pliers. Make sure the tools are in good condition. Lay them out on a clean surface. This helps to keep everything organized. Proper tools make the setup easier.
Checking Water Supply
Ensure your water supply is reliable. Check for any leaks in the pipes. Verify the pressure is strong enough. Weak water pressure can affect the timer’s performance. Confirm the water source is clean. Dirty water might clog the timer. Ensure everything is working correctly before proceeding.
Step-by-step Timer Setup
Start by attaching the Rainbird timer to your faucet or water source. Make sure the connection is tight to avoid leaks. Use Teflon tape if needed for a secure fit.
Connect the timer’s output to your irrigation system or garden hose. Check all fittings for a snug fit to prevent water loss.
| Task | How to Do It |
|---|---|
| Set Current Time | Use the buttons on the timer to set the correct time. |
| Choose Water Days | Select the days you want the system to run. |
| Set Water Duration | Decide how long each watering session will last. |
| Start Time | Pick a time for watering to begin. |
Credit: www.manualslib.com
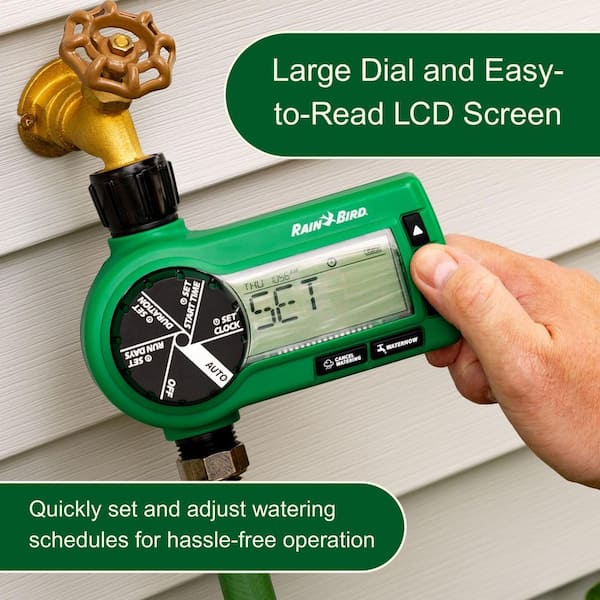
Customizing Watering Settings
Setting a Rainbird timer allows you to control watering times easily. Adjust schedules to match your garden’s needs and save water efficiently. Simple buttons help customize watering length and frequency without hassle.
Setting Duration
Set how longeach watering session lasts. Too short may not water plants well. Too long can waste water. Use the timer to pick minutes or hours. Make changes based on plant needs or weather.
Adjusting Frequency
Choose how often the timer waters your garden. It can be daily, every few days, or weekly. More frequent watering suits dry plants. Less frequent is good for plants that need less water.
Choosing Start Times
Select the time when watering begins. Early morning or late evening works best. These times reduce water loss from evaporation. Set multiple start times if needed for different zones.
Troubleshooting Common Issues
Timer Not Startingmay be caused by dead batteries or loose wiring. Check the power source first. Replace batteries if needed. Ensure all wires connect firmly to the timer. Resetting the timer can fix minor glitches.
Inconsistent Wateringoften happens due to incorrect program settings. Verify the start times and watering duration. Look for clogged sprinkler heads or damaged pipes. Clean or repair as necessary. Weather sensors might delay watering; check their settings.
Display Problemslike blank or flickering screens usually point to low power. Replace batteries or fix power supply issues. Dirt or moisture inside the timer can cause errors. Open and dry the unit carefully. Reset the timer if the display stays faulty.
Maintenance Tips
Cleaning the Timerhelps keep your Rainbird timer working well. Dirt and dust can block buttons and screens. Use a soft cloth to wipe the surface gently. Avoid using water or harsh chemicals. Check the timer’s cover and hinges for dirt too. Cleaning prevents damage and extends the timer’s life.
Seasonal Adjustmentsare needed as the weather changes. Adjust watering times to match the season. Water less in cool months and more in hot months. Change the start times if the sun rises earlier or later. This saves water and keeps plants healthy.
Battery Replacementis important for timers with backup power. Check the battery every year or when the timer loses settings. Use the battery type recommended in the manual. Replace batteries quickly to avoid losing programmed schedules.

Credit: www.instagram.com
Frequently Asked Questions
How Do I Set The Current Time On A Rainbird Timer?
Turn the dial to the current time. Align the arrow with the correct hour and minute.
How Can I Program Watering Start Times On Rainbird Timer?
Press the program button. Set desired start times using the dial and confirm each setting.
How Do I Adjust Watering Duration On A Rainbird Timer?
Select the zone. Turn the dial to set the watering time for that zone, then save.
Conclusion
Setting your Rainbird timer is simple and saves water. Follow the steps carefully for best results. Check your timer regularly to keep your garden healthy. Adjust the schedule based on weather and seasons. A well-set timer helps plants grow strong and green.
Enjoy the convenience of automatic watering every day. This guide makes your watering routine easy and effective. Keep your garden happy with a Rainbird timer.