
If your lawn isn’t getting the water it needs, your Rainbird Sprinkler Heads 1800 might need a simple adjustment. You don’t have to guess or call a professional to fix it.
With a few easy steps, you can control where and how far your sprinklers spray, saving water and keeping your grass green. In this guide, you’ll learn exactly how to adjust your Rainbird Sprinkler Heads 1800 quickly and easily. Stick with me, and by the end, you’ll have the confidence to make your sprinkler system work perfectly for your yard.
Tools Needed
To adjust Rainbird Sprinkler Heads 1800, gather some basic tools. You will need a screwdriver, usually flathead or Phillips, to turn the adjustment screws. A Rain Gaugehelps check water coverage. Keep a clean clothhandy to wipe dirt from the sprinkler head. Sometimes, a needle-nose plieris useful to pull out the sprinkler riser if stuck. Having a small wrenchcan help loosen tight parts. A step laddermay be required for sprinklers placed high in the garden. These tools make the adjustment easy and quick.
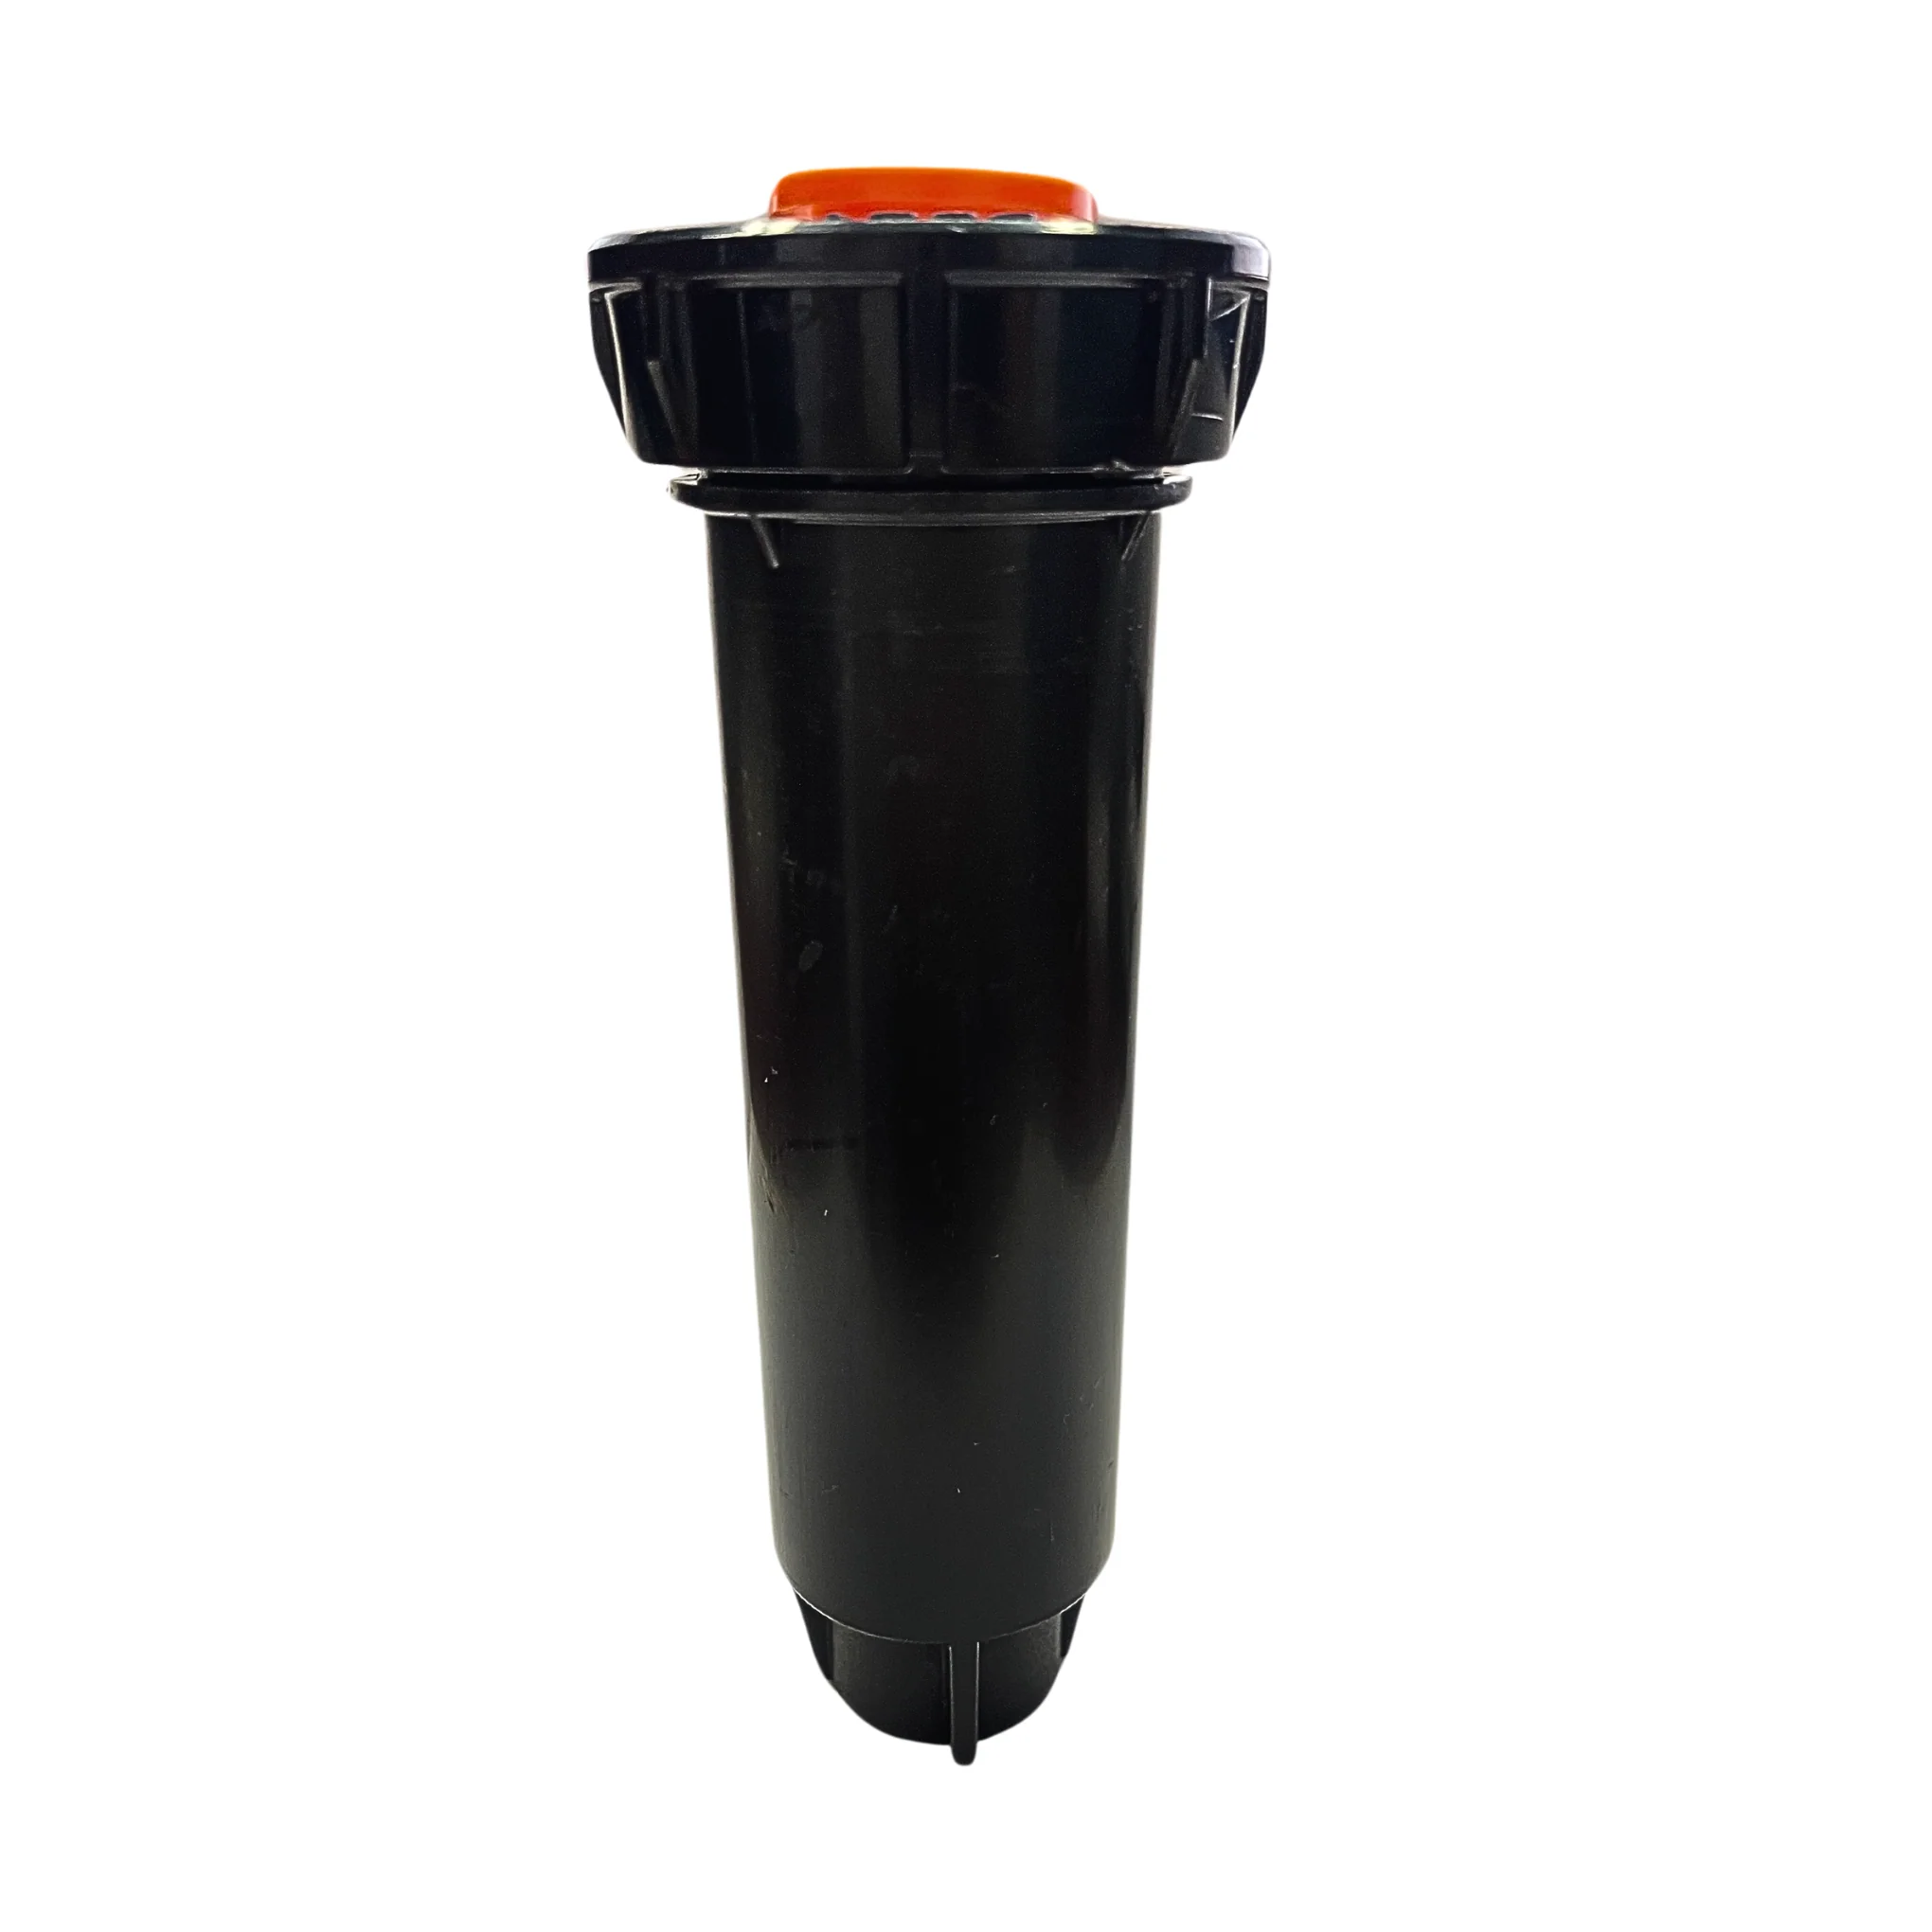
Identify Sprinkler Components
Rainbird 1800 sprinkler heads have several key parts. The spray nozzlecontrols water flow and pattern. The top capholds the nozzle in place. The sprinkler bodyhouses the internal parts and connects to the water source. The adjustment screwchanges the spray distance and pattern. The riseris the part that pops up from the ground when watering.
Each part works together to make the sprinkler water your lawn evenly. Knowing these parts helps you adjust the spray to cover the right area. You can twist the nozzle or turn the screw to change the spray shape and reach.
Turn Off Water Supply
Find the water valve near your sprinkler system. It usually looks like a small wheel or lever. Turn the valve clockwise to stop the water flow. This step is crucial before adjusting any sprinkler head. Ensuring the water is off prevents accidental spraying. It also helps avoid water waste. Once the valve is turned off, you can safely adjust the sprinklers. Remember, always turn off the water first. This keeps your yard dry and safe during adjustments.
Locate Adjustment Screws
First, find the sprinkler head you want to adjust. Most Rainbird 1800 heads have two adjustment screws. One screw controls the spray distance. The other screw controls the spray arcor angle.
Look for a small flat-head screwnear the top or side of the sprinkler head. This screw changes the spray radius. The second screw is often on the sprinkler’s collarand controls the rotation arc.
- Use a flat-head screwdriverto turn screws.
- Turn clockwise to reducespray.
- Turn counterclockwise to increasespray.
- Adjust slowly and check spray pattern.
Adjust Spray Distance
To adjust spray distanceon a Rainbird 1800 sprinkler head, locate the screw on topof the nozzle. Turning this screw clockwisewill reduce the spray distance. Turning it counterclockwisewill increase the spray distance.
Make small turns and test the spray after each adjustment. This helps avoid over-adjusting. Use a screwdriveror a quarterto turn the screw easily.
Spray distance can vary based on water pressure. Check the spray after changes to get the right reach for your lawn.

Credit: www.rainbird.com
Set Spray Arc
The spray arccontrols how far the water sprays around the sprinkler. To set the arc, locate the small screw on top of the sprinkler head. Turn this screw slowly with a flathead screwdriver. Turning it clockwise will reduce the spray arc, and turning it counterclockwise will increase the arc. Adjust until the water covers the desired area.
The radiusmeans how far the water sprays from the sprinkler head. To adjust it, find the screw at the top of the nozzle. Turn this screw clockwise to shorten the spray radius. Turn it counterclockwise to lengthen the radius. Small changes can make a big difference in watering.
The arc rangecan be changed by adjusting the arc screw or using the arc adjustment collar on the sprinkler head. The collar moves to set the start and stop points of the spray. Move it gently to set the correct range. Check the spray pattern to make sure it matches your garden’s needs.
Check Spray Pattern
Start by turning on the sprinkler system. Watch the spray pattern closely. Check if water covers the intended areas evenly. Uneven spray might mean the head needs adjustment.
Look for signs like water spraying onto sidewalks or driveways. This wastes water and can cause damage. Adjust the head to stop water from going where it is not needed.
- Clear dirt or debris from the nozzle to improve spray.
- Use the adjustment screw on the sprinkler head to change spray angle.
- Turn the screw slowly to widen or narrow the spray pattern.
- Test spray again after adjustment for better coverage.
Test The Sprinkler
Start by turning on the sprinkler system. Watch the water spray from each head closely. Check if the spray covers the intended area evenly.
Look for any heads that:
- Spray water too far or too short
- Spray in the wrong direction
- Have uneven or weak water flow
Note any heads that need adjustment. This helps ensure your lawn gets water where it needs.
Common Issues And Fixes
Leaking sprinkler headswaste water and cause muddy spots. Check the sprinkler head for cracks or damage. Dirt can block the seal, so clean it gently. Tighten the head if it feels loose. Replace broken parts to stop leaks quickly.
Uneven water distributioncan harm your plants. Adjust the spray pattern to cover all areas evenly. Check if the head is clogged or tilted. Clear any dirt from the nozzle and make sure the head pops up straight. Adjust the arc and radius settings on the 1800 model to control water spread.

Credit: www.rainbird.com
Credit: topnotchlandscapelighting.com
Frequently Asked Questions
How Do I Adjust The Spray Distance On Rainbird 1800 Heads?
Turn the screw on top of the sprinkler head clockwise to reduce distance, or counterclockwise to increase it.
Can I Change The Spray Pattern On Rainbird 1800 Sprinklers?
Yes, rotate the diffuser screw to adjust the spray arc between 40° and 360° for custom coverage.
What Tools Are Needed To Adjust Rainbird 1800 Sprinkler Heads?
A flat-head screwdriver is usually enough to adjust the spray distance and pattern easily.
Conclusion
Adjusting Rainbird Sprinkler Heads 1800 is simple with clear steps. Check the direction and spray distance carefully. Turn the adjustment screws slowly to avoid mistakes. Test the sprinkler after each change to see results. Proper adjustment saves water and keeps your lawn healthy.
Taking time to set it right pays off in the long run. Your garden will get even watering without waste. Keep the sprinkler heads clean for best performance. Small efforts create big differences in lawn care.