If you’ve ever needed to stop water from spraying in one area of your lawn, capping a Rainbird sprinkler head is a simple fix that you can do yourself. Imagine saving water, avoiding muddy patches, and keeping your garden healthy—all without calling a professional.
In this guide, you’ll learn step-by-step how to cap your Rainbird sprinkler head quickly and easily. Whether you want to redirect water or temporarily shut off a zone, this article will help you get the job done right. Keep reading, and you’ll have full control over your irrigation system in no time.
Tools Needed
A flathead screwdriver and a Rainbird sprinkler cap are essential for the job. Having a pair of pliers can also help with tight parts. These simple tools make capping quick and easy.
- Flathead screwdriverto loosen or tighten screws.
- Pliersto grip and remove parts carefully.
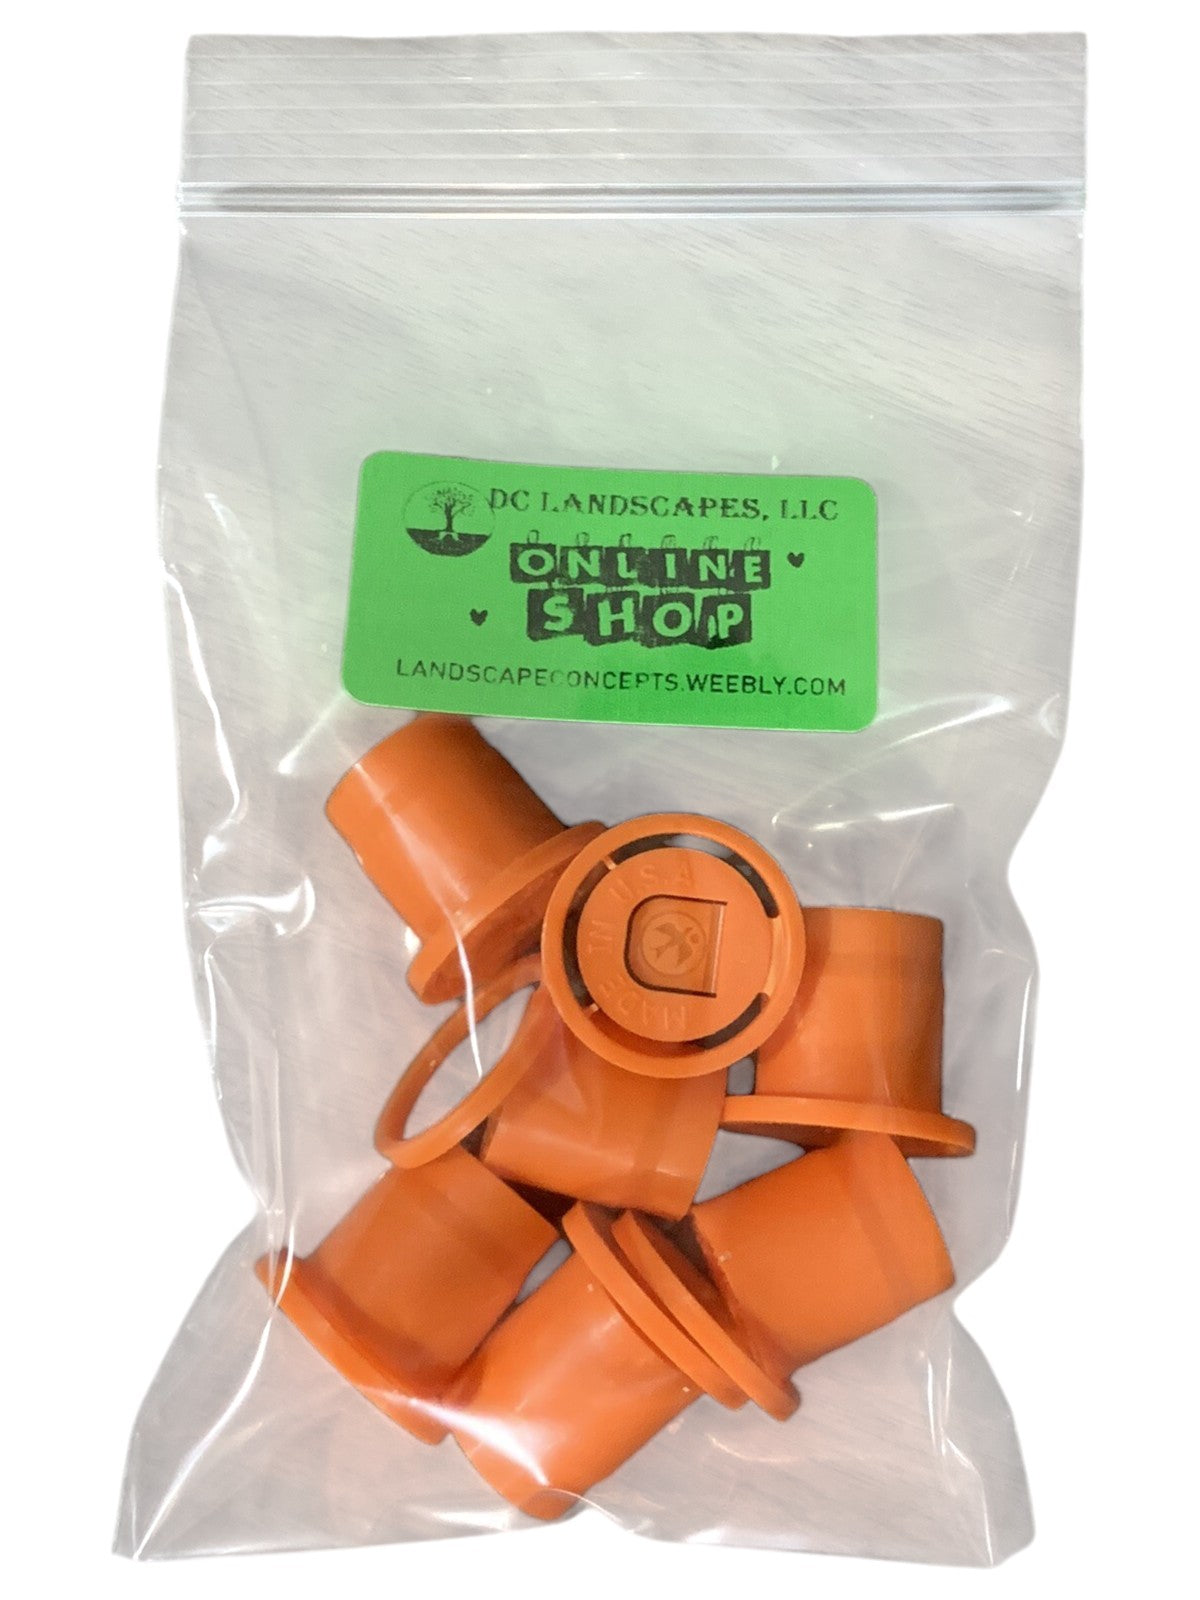
- Replacement capsuitable for Rainbird sprinkler heads.
- Work glovesto protect your hands during the process.
- Bucket or containerto catch any water that may spill.
- Towel or clothfor cleaning and drying the area.

Credit: www.amazon.sg
Locate The Sprinkler Head
Find the sprinkler head by following the green sprinkler pipes. The head usually sticks out from the ground. It may be hidden by grass or dirt. Gently move any plants or soil covering it.
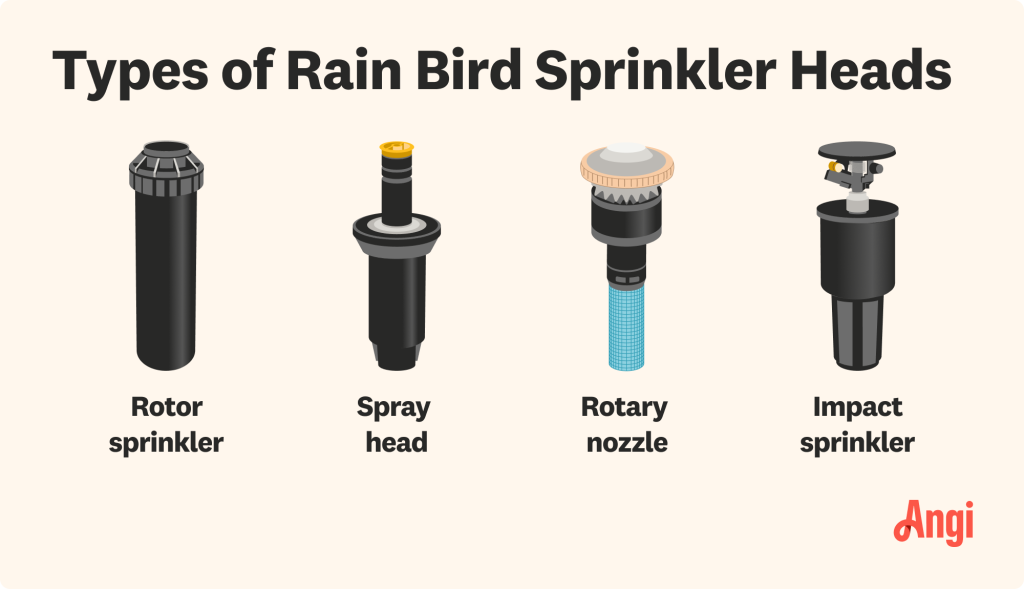
Check the sprinkler head for brand name or model number. Rainbird heads often have a small logo on top. This helps confirm you are working on the right part.
Look around the sprinkler head for damage or leaks. This will tell you if the head needs capping or repair. Clear away any dirt or grass blocking the head.
Remove The Existing Cap
Start by turning off the water supply to the sprinkler system. Gently pull the existing cap straight up from the sprinkler head. Use a flat-head screwdriver if the cap is tight or stuck. Twist and lift carefully to avoid damaging the head. Clean the area around the sprinkler head. Remove any dirt or debris that may block the new cap. Check the threads on the sprinkler head for damage. Replace or repair if threads are worn out. Keep the removed cap for future use if possible. This step ensures a smooth fit for the new cap.
Choose The Right Cap
Selecting the correct cap is essential for your sprinkler system. Rainbird sprinkler heads come in different sizes. Check the size of your sprinkler head first. Measure it if necessary to ensure accuracy. Caps need to fit snugly without gaps. Loose caps might lead to water leaks or damage. Many caps are available in stores or online. Plastic caps are popular and easy to find. Metal caps are also durable but can be costly. Consider your budget and needs before purchasing.
Some caps have special features like filters. These help to keep dirt out and improve performance. Choose a cap with the features you need. Make sure it’s made for Rainbird sprinklers. Compatibility is key for best results. Always double-check the packaging and instructions.
Install The New Cap
Make sure the sprinkler head is clean and dry before placing the cap. Align the new cap with the top of the sprinkler head carefully. Press the cap firmly until it snaps or twists into place. Check if the cap fits snugly to stop water flow. Avoid forcing the cap, as it may damage the sprinkler.
If the cap does not fit properly, try a different size or model made for Rainbird sprinklers. Tighten gently by hand, no tools needed. Test the sprinkler system to ensure the cap blocks water fully.

Credit: www.youtube.com
Credit: irrigationpro.store
Frequently Asked Questions
How Do I Cap A Rainbird Sprinkler Head Safely?
Turn off the water first. Unscrew the sprinkler head. Attach the cap tightly to avoid leaks.
Can I Reuse A Capped Rainbird Sprinkler Head Later?
Yes. You can remove the cap anytime to use the sprinkler again. Just unscrew the cap carefully.
What Tools Do I Need To Cap A Rainbird Sprinkler Head?
You only need a wrench or pliers to unscrew the head and a Rainbird cap to cover it.
Conclusion
Capping a Rainbird sprinkler head is simple and quick. Follow the steps carefully to avoid leaks and damage. Use the right tools to make the job easier. Proper capping saves water and keeps your system working well. Try to check the system regularly for any issues.
Small fixes like this help your garden stay healthy. Now you know how to cap a Rainbird sprinkler head with ease.