Are you tired of dragging hoses around and worrying if your lawn is getting enough water? Setting up your Rainbird sprinkler system can solve that problem quickly and easily.
With the right steps, you can have your yard watered perfectly without any hassle. In this guide, you’ll learn exactly how to set your Rainbird sprinkler system so it works efficiently and saves you time and effort. Keep reading, and soon your lawn will be the greenest on the block.
Choosing The Right Sprinkler System
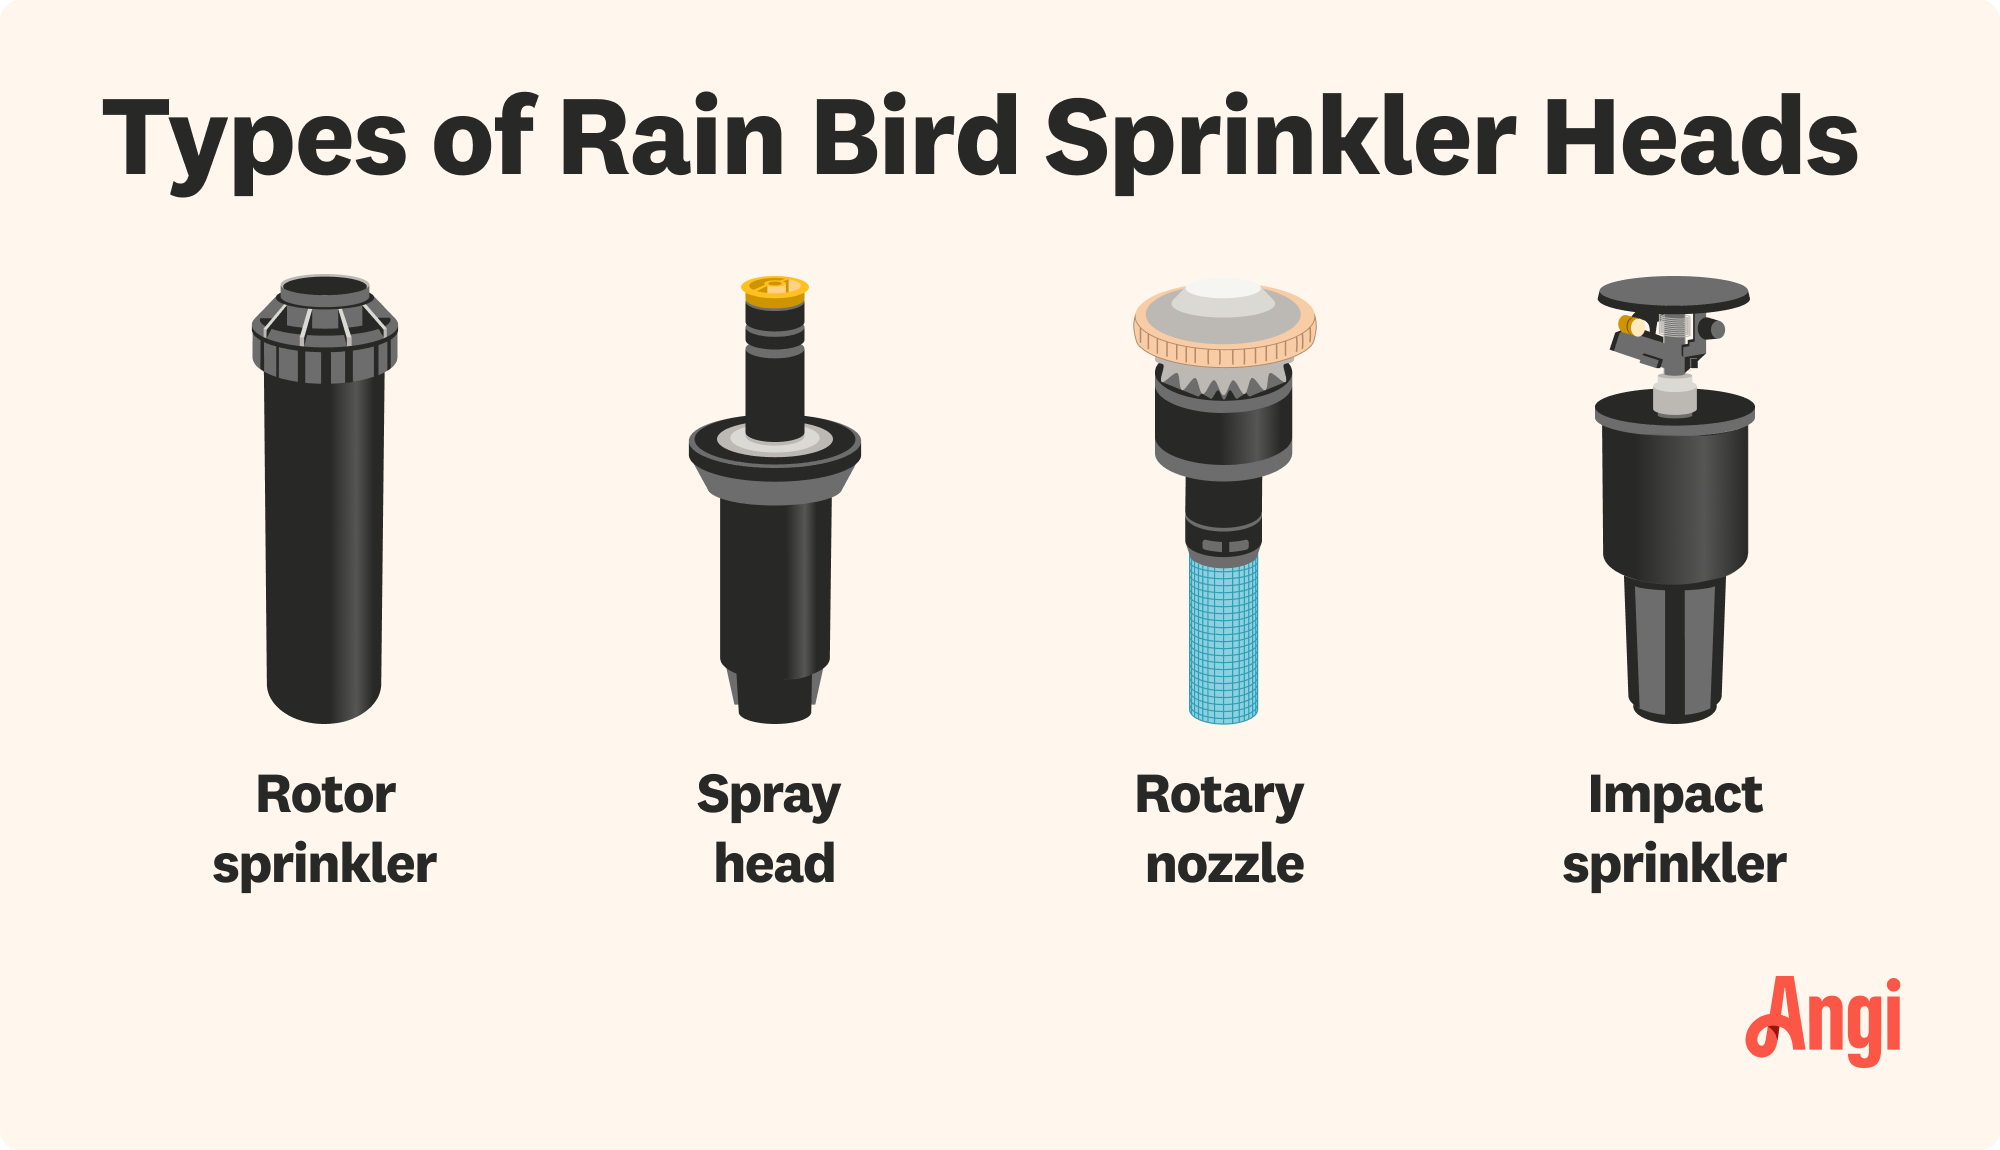
Rainbird sprinklerscome in different types. Choose from rotor, spray, and dripsystems. Rotors cover large areas with slow-moving water. Spray sprinklers work well for small to medium spaces. Drip systems save water by targeting plants directly.
Knowing your lawn sizehelps pick the right sprinkler. Small lawns need fewer sprinklers. Large lawns need more or sprinklers with wider range. Measure your lawn to match the sprinkler coverage.
Water pressure matters a lot. Too low pressure means sprinklers won’t work well. Too high pressure can damage the system. Check your home’s water pressure before buying. Most Rainbird sprinklers work best at 30 to 50 PSI.
Planning The Layout
Start by drawing a simple map of your lawn. Mark the shape and size clearly. Include all areas that need watering.
Place sprinkler heads so their spray covers the whole lawn. Each head should overlap slightly with the next. This avoids dry spots.
Keep sprinkler heads away from obstacles like trees, fences, and walls. These can block water and cause uneven watering. Make sure heads are easy to reach for maintenance.
Installing The System
Begin by choosing the best location for the Rainbird sprinkler system. Connect pipes and attach sprinkler heads securely. Finally, test the system to ensure even water coverage.
Gathering Tools And Materials
Start by collecting all necessary tools. You’ll need a shovel, pipe cutter, and wrench. Make sure to have PVC pipes and sprinkler heads. A measuring tape is important to measure distances. Check for connectors and fittings. A hose might be useful too. Gather these items before starting.
Digging Trenches And Laying Pipes
Dig trenches where the pipes will go. Keep them straight and deep. Ensure they are wide enough for the pipes. Lay the pipes carefully in the trenches. Make sure pipes are connected well. Use connectors to join pipes securely. Cover pipes gently with soil.
Connecting Sprinkler Heads
Attach sprinkler heads to the pipes. Ensure they fit snugly. Tighten them with a wrench. Position heads properly. They should face the lawn. Check for leaks in the connections. Adjust the heads if needed.
Credit: www.angi.com
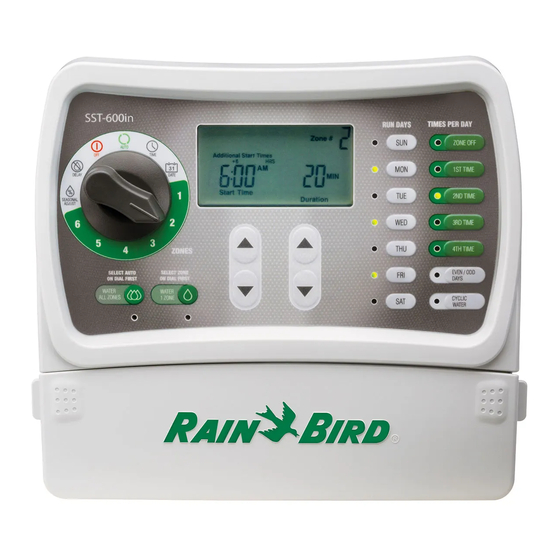
Setting The Controller
Start by setting the clock on the controller to the correct time. This helps the system water your garden at the right moments. Use the buttons to enter the current time and day of the week.
Programming watering schedules means choosing the days and times for watering. You can set different zones to water at different times. This saves water and helps plants grow better.
Adjust the durationto decide how long each zone waters. Set the frequencyto control how many days between waterings. Shorter duration but more frequent watering often works best.
Rain sensors stop the system from watering during rain. This saves water and prevents overwatering. Connect the sensor to the controller and test it to make sure it works.
Testing And Adjusting
Check the sprinkler system by running it and watching the water reach all areas. Look for spots that are dry or get too much water. Adjust the sprinkler heads so water spreads evenly. Uneven watering can harm plants and waste water.
- Move sprinkler heads to cover dry spots.
- Replace broken or clogged nozzles.
- Trim plants blocking water spray.
Change the spray pattern to fit your garden shape. Most Rainbird sprinklers allow easy adjustment of spray angle and distance. Turn the adjustment screw to widen or narrow the spray. This helps water only the areas that need it.

Credit: www.instagram.com
Maintenance Tips
Regular system checkskeep your sprinkler running smoothly. Look for leaks or broken sprinkler heads. Clear any debris blocking water flow. Test the timer to ensure it turns on and off at set times. Check water pressure to avoid damage. Fix small problems quickly to save water and money.
Seasonal adjustmentshelp save water and protect plants. Turn off the system during winter to avoid frozen pipes. Adjust watering schedules in spring and fall. Water less in cooler months. Increase watering during hot summer days. Change the timer settings as needed.
Troubleshooting common issuesis easier with some quick checks. Sprinklers not turning on? Check the timer and power source. Low water pressure? Look for leaks or clogged heads. Uneven watering? Adjust sprinkler heads or check the zone settings. Keep spare parts handy for fast repairs.

Credit: store.rainbird.com
Frequently Asked Questions
How Do I Program A Rainbird Sprinkler System Timer?
Set the current time, choose watering days, and adjust start times using the control panel buttons.
What Is The Best Watering Schedule For Rainbird Sprinklers?
Water early morning, 2-3 times a week, for about 20-30 minutes each session.
How Can I Manually Run My Rainbird Sprinkler System?
Press the “Manual Start” button to run the system immediately for one zone or cycle.
Conclusion
Setting your Rainbird sprinkler system is simple with clear steps. Check all parts before starting to avoid problems. Follow the guide to place sprinklers and connect pipes properly. Adjust the timer for watering times that suit your plants. Test the system to make sure water reaches all areas.
Regular checks keep your lawn healthy and green. Enjoy a well-watered yard with less effort. Taking these steps saves water and time. Your garden will thank you for the care.