Are you tired of noisy birds nesting under your eaves and causing damage to your home? Installing bird netting under your eaves is a simple and effective way to keep these pesky visitors away.
In this guide, you’ll discover easy-to-follow steps that anyone can do, even if you’re not a DIY expert. By the end, you’ll have the knowledge to protect your home and enjoy peace and quiet. Keep reading to find out how you can quickly and affordably install bird netting and solve your bird problems for good.
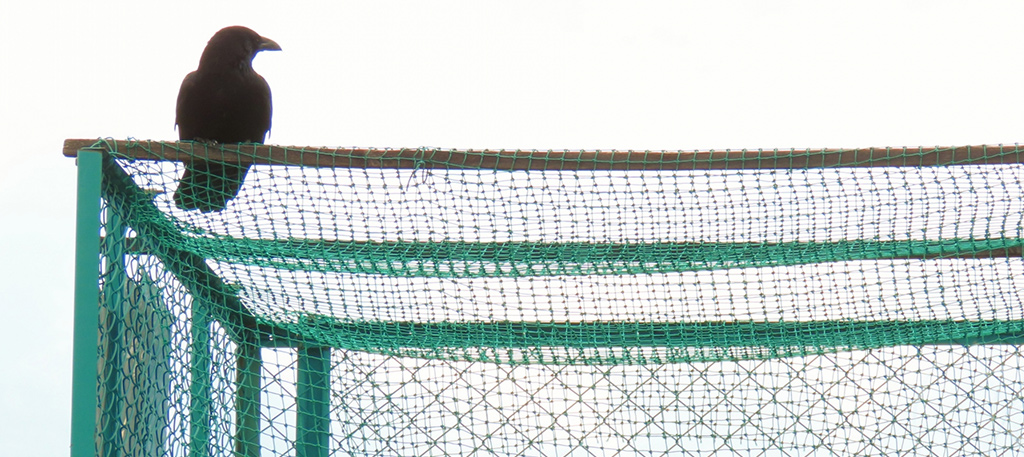
Choosing The Right Bird Netting
Choosing the right bird nettingis key to effective protection. Opt for netting made of durable polyethyleneor polypropylene. These materials resist weatherand UV rays, lasting many seasons.
Mesh size matters. Use mesh with holes between 1/2 inchand 1 inch. This size stops birds but lets air and light pass through.
Weight of the netting impacts ease of installation. Lightweight netting is easier to handle but less strong. Medium-weight netting balances strength and ease.
- Durable materials:Polyethylene, Polypropylene
- Mesh size:1/2 to 1 inch
- Weight:Medium for best balance
- Color options:Black or green blend with eaves
Tools And Materials Needed
To install bird netting under eaves, gather these essential tools and materialsfirst. You will need:
- Bird netting:Choose durable, weather-resistant material.
- Staple gun and staples:For securing the netting to wood surfaces.
- Measuring tape:To measure the area accurately.
- Scissors or utility knife:For cutting the netting to size.
- Ladder:To reach the eaves safely.
- Gloves:To protect your hands while handling netting.
- Hammer and nails or screws with a drill:For extra support if needed.
- Zip ties or cable clips:To secure loose ends neatly.
Having all these items ready makes the installation faster and safer.
Preparing The Installation Area
Clear the area under the eaves of any dirt or debris. Check for loose nails or damaged wood. These can make the netting fall or tear. Measure the length and width of the space. This helps to buy the right amount of netting material. Choose a dry day for installation. Wet or windy weather can make the job hard and unsafe.
- Wear gloves to protect your hands from sharp edges.
- Use a sturdy ladder to reach the eaves safely.
- Have all tools ready: scissors, staples, or hooks.
Make sure the surface is dry before starting. This helps the netting stick better. Plan where you will attach the netting. It should cover all gaps where birds can enter. Take your time to prepare well. It makes the installation easier and lasts longer.

Credit: www.facebook.com
Step-by-step Installation Process
Begin by measuring the eaves to fit the bird netting precisely. Secure the netting tightly under the eaves using hooks or staples to keep birds away. Check the edges carefully to prevent any gaps where birds might enter.
Install Netting Brackets
First, attach brackets under the eaves. Use a drill for this task. Make sure brackets are evenly spaced. Proper spacing ensures net stability. Check bracket alignment carefully.
Cut Netting To Size
Measure the area under eaves. Use scissors to cut the netting. Ensure netting covers the entire area. Leave extra netting for adjustments. Double-check measurements before cutting.
Secure Netting
Attach the netting to brackets. Use zip ties or clips for this. Ensure netting is taut and secure. Trim excess netting if needed. Verify each connection is tight.
Inspect Your Work
Look for gaps or loose sections. Adjust the netting if necessary. Check all brackets and ties. Ensure netting is firmly in place. A thorough inspection is crucial.
Maintaining And Inspecting Netting
Check the bird netting often to make sure it stays strong and tight. Look for any holes or tears that birds could use to get in. Fix small holes quickly to stop bigger problems. Make sure the netting is attached well under the eaves, so it does not sag or fall off.
Clean the netting from leaves and dirt regularly. This keeps it working well and stops damage. Watch for signs of wear from sun or weather. Replace parts that look weak or broken to keep birds out.
- Look for holes or tears in the netting
- Check that netting is tight and secure
- Remove debris like leaves and dirt
- Replace worn or damaged sections
- Inspect after storms or strong wind

Credit: www.facebook.com

Credit: www.fujinaga810.co.jp
Frequently Asked Questions
How Do I Install Bird Netting Under Eaves Properly?
Start by measuring the eaves, cut the netting to size, then secure it tightly with staples or hooks.
What Tools Are Needed To Install Bird Netting Under Eaves?
You need scissors, a staple gun or hooks, measuring tape, and a ladder for safe installation.
How Long Does Bird Netting Last Under Eaves?
High-quality bird netting can last 3 to 5 years with proper care and weather protection.
Conclusion
Installing bird netting under eaves keeps birds away and protects your home. It is a simple task anyone can do with the right tools. Secure the netting tightly to stop birds from nesting. Check the net regularly for damage or gaps.
This small effort saves you from bigger problems later. Bird netting works best when installed carefully and maintained well. Enjoy a bird-free space with less mess and noise. Your home stays clean and safe. Easy steps, lasting results.