Have you ever wanted to draw a bird but felt unsure where to start? Imagine creating a simple, charming bird drawing that anyone can follow, step by step.
Whether you’re a beginner or just looking for a quick and fun art project, this guide is made for you. By the end, you’ll have your own beautiful bird sketch to be proud of. Ready to discover how easy and enjoyable drawing can be?
Let’s dive in and bring your bird to life!

Credit: www.facebook.com
Materials Needed
Gather a few basic materials to start drawing your bird. A pencilis needed for sketching. Use an eraserto fix mistakes easily. A sharpenerhelps keep your pencil point fine.
Choose plain drawing paperwith a smooth surface. Colored pencils or crayons are good for adding color later. A ruler can help draw straight lines if needed.
- Pencil
- Eraser
- Sharpener
- Drawing paper
- Colored pencils or crayons
- Ruler (optional)

Credit: www.facebook.com
Basic Shapes For The Bird
Start with simple basic shapesto draw the bird easily. Use a circlefor the bird’s head. Draw an ovalfor the body. Connect the head and body with a short curved line. Add a small triangleshape for the beak. Use thin linesto mark the bird’s tail and wings. These shapes help to keep the bird’s form simple and clear.
Keep the shapes light. It is easier to erase and change later. Shapes are the building blocksof your bird drawing. They help you see the bird’s basic formbefore adding details.
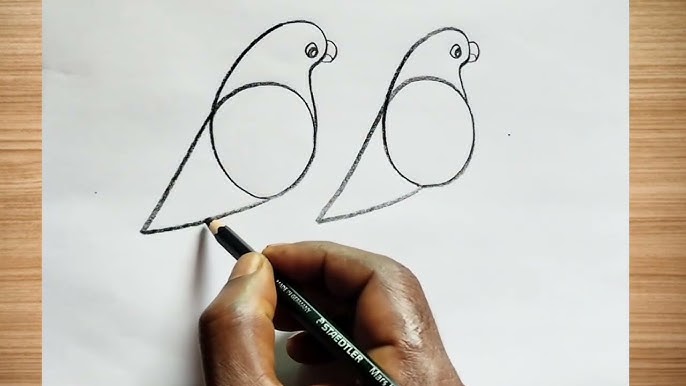
Drawing The Bird’s Body
Start by drawing a small oval for the bird’s head. Below it, sketch a bigger oval for the body. The body shape should be round and smooth.
Connect the head and body with two short lines for the neck. Keep the lines light so you can erase later.
The bird’s body looks like an egg shape tilted slightly. This gives a natural look.
- Use soft pencil strokes to outline shapes.
- Keep shapes simple and clear.
- Draw lightly to fix mistakes easily.
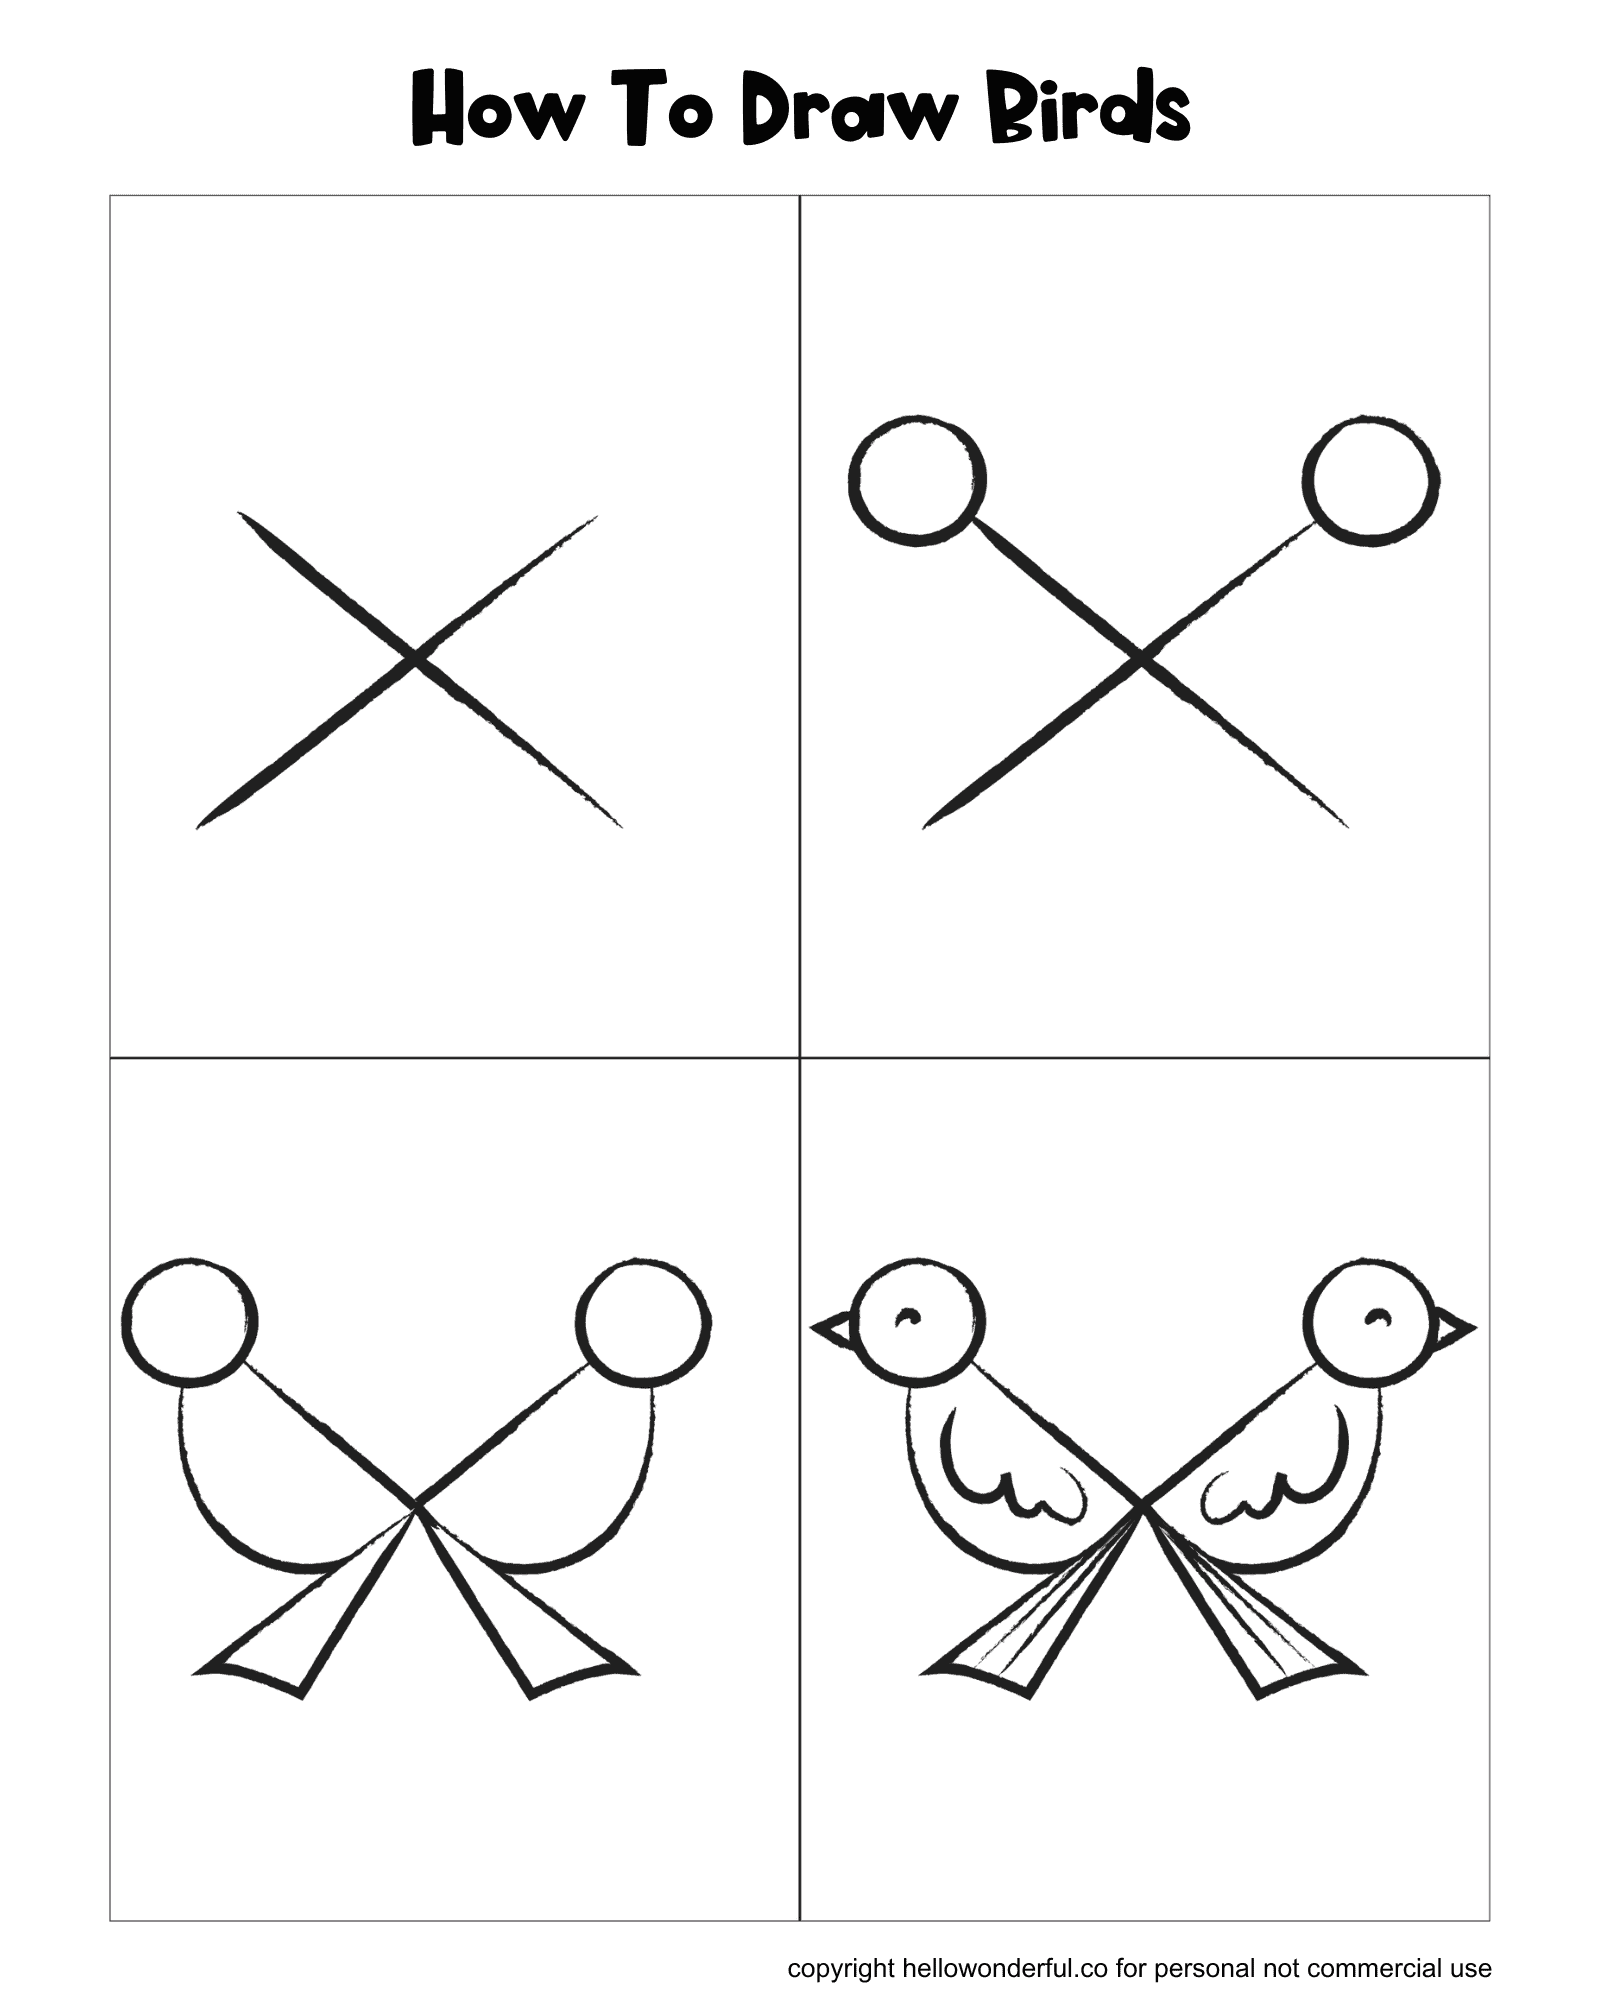
Credit: www.hellowonderful.co
Adding Details And Features
Start by drawing the bird’s eyes. Make them small and round. Add a tiny dot inside each eye to show the pupil. Next, sketch the beak. Draw a small triangle for the beak. It should point downward.
Now, focus on the wings. Draw curved lines for the wings. Make them look like half circles. Add some feathersby sketching small lines inside the wings. This gives texture to the bird.
Finally, draw the tail. Use straight lines for the tail feathers. The tail should be at the back of the bird. Make sure everything looks neat and clear. Your bird is ready!
Final Touches And Coloring
Use soft colors to bring your bird to life. Choose light shades for the feathers. Darker tones can highlight the wings and tail.
Color the beak and feet with bright colors like orange or yellow. This makes them stand out.
- Start with light strokes to avoid mistakes.
- Blend colors gently for a smooth look.
- Use a fine tip for small details.
- Let the colors dry before adding more layers.
Outline the bird with a thin black pen to make it clear. Erase extra pencil marks carefully to keep the drawing neat.
Frequently Asked Questions
What Tools Do I Need To Draw A Simple Bird?
You need a pencil, eraser, paper, and optional colored pencils or markers.
How Long Does It Take To Draw A Simple Bird?
It usually takes about 10 to 20 minutes, depending on your practice.
Can Beginners Easily Follow These Bird Drawing Steps?
Yes, the steps are simple and designed for beginners to follow easily.
Conclusion
Drawing a simple bird step by step is fun and easy. You only need a few basic shapes and lines. Practice each step slowly and carefully. Soon, your bird will look great on paper. Keep trying, and don’t worry about mistakes.
Every drawing helps you improve your skills. Enjoy the process and watch your art grow. Drawing can be a relaxing and happy activity. So, grab your pencil and start creating your own birds today!