Setting up your Rainbird sprinklers can transform your garden into a lush, green paradise without wasting water or time. But if you’re unsure how to get started, it might feel overwhelming.
Don’t worry—this guide will walk you through each step clearly and simply. By the end, you’ll know exactly how to set your sprinklers for the perfect watering schedule. Ready to make your lawn healthier and your life easier? Let’s dive in.

Credit: www.rainbird.com
Choosing The Right Rainbird Sprinkler
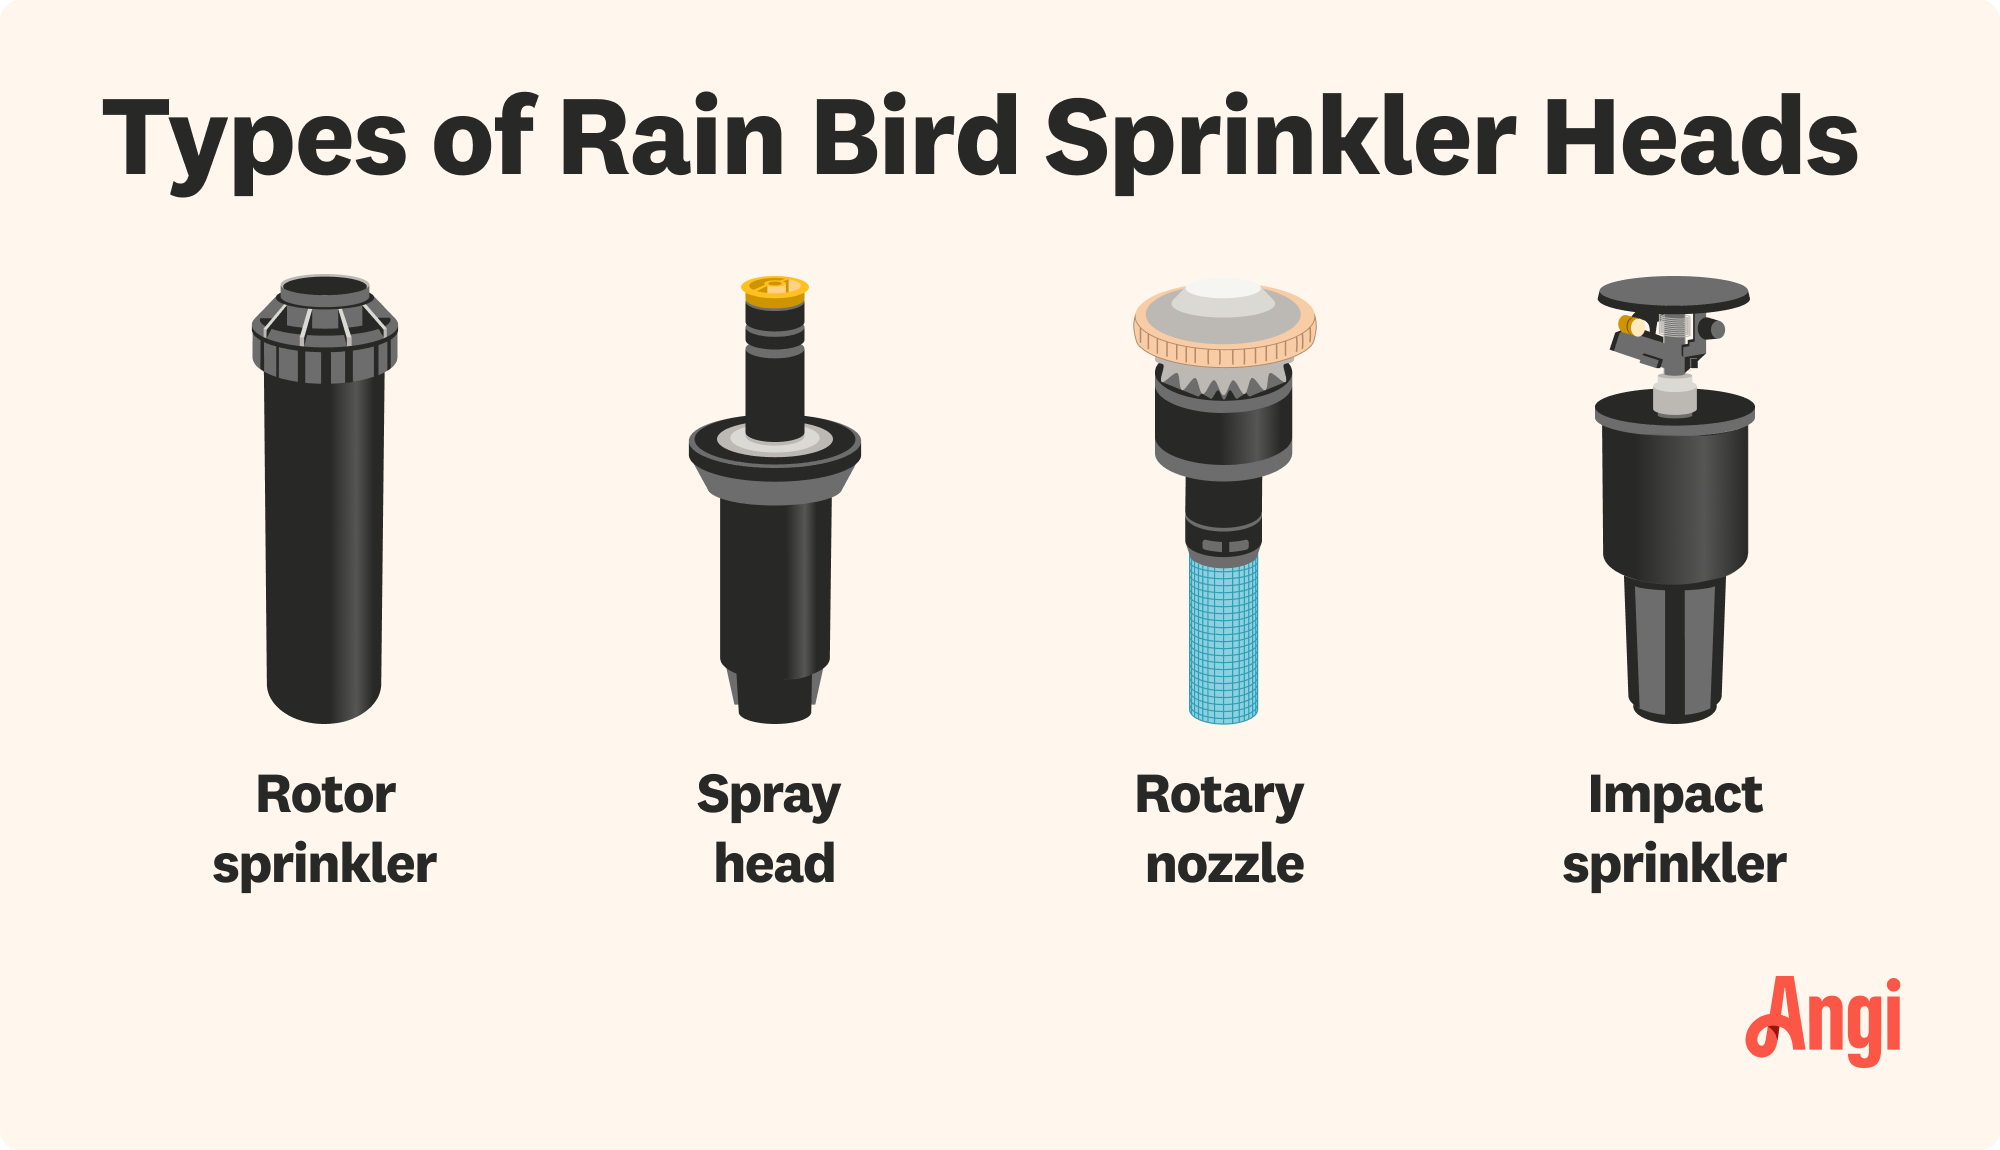
Rainbird offers various sprinkler typesto suit different lawn sizes and needs. Pop-up sprinklers are best for large, flat areas. They stay hidden when off, then rise to spray water. Rotor sprinklers cover wider areaswith a rotating spray. Fixed spray sprinklers work well for small, narrow spaces. They spray a steady, fixed pattern.
Choosing the right sprinkler depends on your lawn size, shape, and water pressure. Soil type matters too. Sandy soils need more frequent watering. Clay soils hold water longer but drain slowly. Also, consider plant types and sun exposure. Lawns with trees or shrubs may need adjusted spray patterns.
Planning Your Sprinkler Layout
Measure your lawn carefully to know the exact size. Use a tape measure or a measuring wheel for accuracy. Write down the length and width of your lawn in feet or meters. This helps to plan how many sprinklers you need and where to place them. Divide the lawn into smaller zones if it is big or has different shapes.
Map out water coverage zones by drawing your lawn on paper or using a computer program. Mark areas that need more water, such as flower beds or gardens. Group plants with similar water needs together to save water. Each sprinkler should cover one zone to avoid water waste and dry spots.
| Zone | Lawn Area (sq ft) | Water Needs | Sprinkler Type |
|---|---|---|---|
| Front Lawn | 500 | Medium | Rotary |
| Flower Beds | 150 | High | Fixed Spray |
| Backyard | 700 | Low | Rotary |
Installing The Sprinkler System
Begin by planning the sprinkler layout to ensure even water coverage. Connect the pipes securely and install the Rainbird sprinklers at the marked spots. Test the system to check for leaks and proper water flow before covering the pipes.
Gathering Necessary Tools
Start by collecting all the essential tools. You need a shovel, pipe cutter, and a measuring tape. Also, gather a screwdriver and Teflon tape. Ensure all tools are within reach. This makes the process easy.
Setting Up Sprinkler Heads
Place the sprinkler heads in planned spots. They should cover all garden areas. Adjust the heads for proper water spray. Test them to ensure coverage. Make sure they are secure in the ground.
Connecting Pipes And Valves
Connect the pipes to water valves. Use Teflon tape for tight seals. This prevents water leaks. Cut pipes to fit your garden layout. Attach each pipe securely. Ensure the water flows smoothly.
Credit: www.angi.com
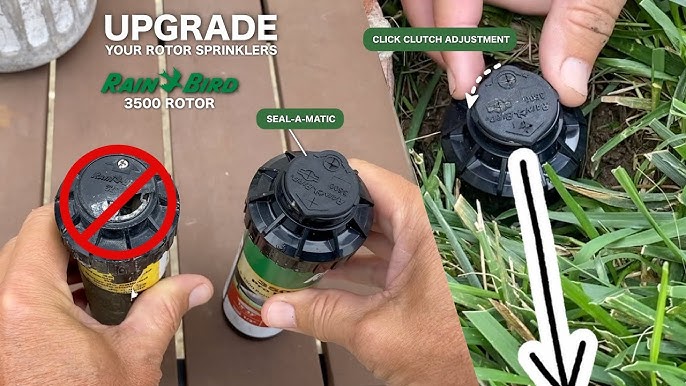
Adjusting Sprinkler Settings
Setting spray distance and anglecontrols where water lands. Turn the sprinkler head to adjust the spray radius. Use the screw on top to change the spray angle. A smaller angle waters a focused area, while a wider angle covers more ground.
Programming the timerhelps save water and time. Set the start time, duration, and frequency on the control panel. Choose the days you want the sprinkler to run. This keeps your lawn hydrated without waste.
Testing water pressureensures the sprinkler works well. Watch the spray pattern closely. If water pressure is low, the spray will be weak or uneven. Check your home’s water supply or clean clogged nozzles to fix this.
Maintaining Your Sprinkler System
Keeping your sprinkler system clean helps it work well. Dirt and debris can block the sprinkler heads. Use a soft brush or cloth to wipe them gently. Check the filters often and rinse them under water to clear any dirt.
Sprinkler heads may not spray evenly sometimes. Clear any visible dirt or grass blocking the spray. If water pressure seems low, check for leaks or broken pipes. Adjust the sprinkler heads to cover the right areas without wasting water.
| Season | Adjustment Tips |
|---|---|
| Spring | Test system, clear clogs, set watering schedule |
| Summer | Water early, increase frequency, watch for dry spots |
| Fall | Reduce watering, clean heads, prepare for winter |
| Winter | Turn off system, drain pipes to prevent freezing |

Credit: m.youtube.com
Frequently Asked Questions
How Do I Adjust Rainbird Sprinkler Spray Distance?
Turn the adjustment screw on the sprinkler head to change spray distance. Small turns make fine adjustments.
What Is The Best Time To Set Rainbird Sprinklers?
Early morning or late evening is best to reduce water loss from evaporation and wind.
How Often Should I Check Rainbird Sprinkler Settings?
Check settings monthly to ensure coverage and avoid overwatering or dry spots in your lawn.
Conclusion
Setting Rainbird sprinklers is simple with clear steps. Adjust each sprinkler head for even water coverage. Check the timer to save water and money. Regularly inspect your system to avoid leaks or clogs. Proper setup keeps your lawn green and healthy.
A well-maintained sprinkler system makes watering easy and stress-free. Start today to enjoy a vibrant, lush garden all season long.