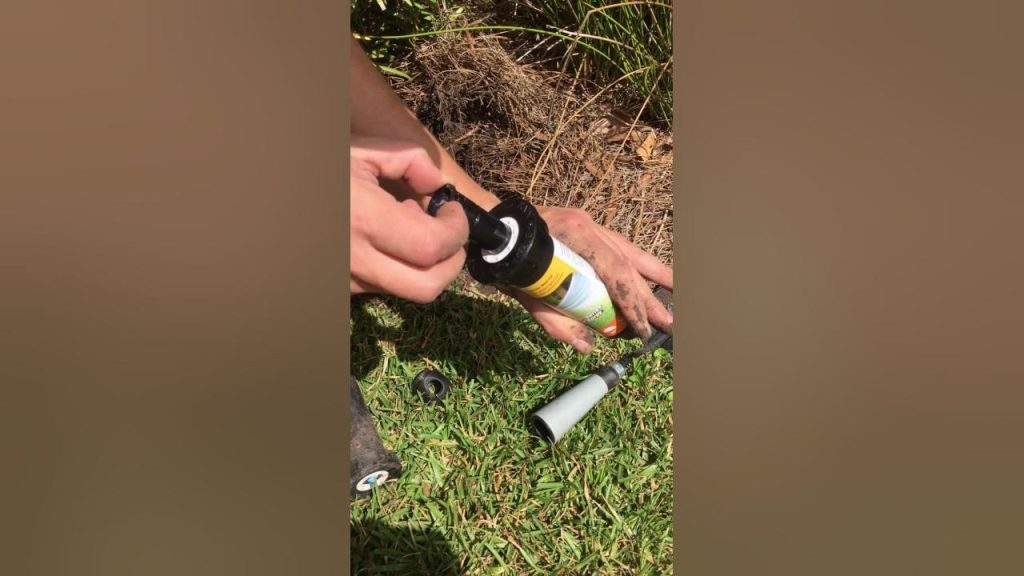
Are you looking to keep your lawn lush and green without wasting water? Installing a Rain Bird 1800 sprinkler head is one of the best ways to do just that.
It’s reliable, easy to use, and perfect for watering your garden evenly. But if you’ve never installed one before, the process might seem a bit tricky. Don’t worry—this guide will walk you through every step, so you can set up your sprinkler quickly and confidently.
By the end, you’ll know exactly how to install your Rain Bird 1800 and enjoy a healthier, thriving yard. Keep reading to get started!
Tools And Materials Needed
Essential toolsinclude a flathead screwdriver and a shovel. A pair of pliers helps with tight fittings. A utility knife is useful for cutting tubing.
To connect the sprinkler head, use Teflon tape. PVC pipe and fittings are needed to link the sprinkler to the water supply. The Rain Bird 1800 sprinkler head itself is required.
- Flathead screwdriver
- Shovel
- Pliers
- Utility knife
- Teflon tape
- PVC pipe
- PVC fittings
- Rain Bird 1800 sprinkler head

Credit: www.youtube.com
Preparing The Installation Site
First, find the sprinkler zone you want to install the Rain Bird 1800 head. This zone controls the water flow in a specific area of your lawn. Use the irrigation system map or turn on each zone to see which area it waters.
Clear the area around the spot where you will place the sprinkler head. Remove grass, rocks, and debris to make space. This will help install the sprinkler properly and avoid damage.
- Check for underground pipes or wires before digging.
- Mark the exact spot for the sprinkler head.
- Make sure the area is flat for even water distribution.
Shutting Off The Water Supply
Locate the main valvenear the water meter. Check for a wheel or lever type valve. Ensure it’s easy to turn. Turn it clockwise to stop the water. A firm twist usually does the trick. This ensures no water flows to the sprinklers.
After shutting off, check nearby faucets. Turn them on briefly. No water should come out. If water flows, recheck the valve position. Repeat the steps if necessary. It’s vital for successful installation. The system needs to be completely dry.
Removing The Old Sprinkler Head
Start by turning off the water supply to the sprinkler system. This prevents water from spraying out while you work. Use your hand or a wrench to gently unscrew the old sprinkler head. Turn it counterclockwise until it comes free. Be careful not to damage the riser, which is the pipe sticking up from the ground.
Check the riser for cracks or damage once the head is removed. A damaged riser can cause leaks or poor water flow. If the riser looks good, clean any dirt or debris from the threads. This helps the new sprinkler head fit tightly and work well.
Installing The Rain Bird 1800 Head
Attach the new Rain Bird 1800 sprinkler head by screwing it onto the riser. Ensure it fits tightly to avoid leaks. Use a cloth or gloves to grip it firmly and prevent damage. Do not overtighten as it may cause cracks.
Adjusting the height of the sprinkler head is key for proper watering. Turn the head clockwise to lower it. Turn counterclockwise to raise it. The head should sit just above the grass or soil for best coverage.
- Check sprinkler head level with surrounding ground.
- Adjust height for obstacles like plants or walkways.
- Test spray pattern after adjustment to confirm coverage.

Credit: www.rainbird.com
Setting The Spray Pattern And Radius
Use the small adjustment tool to set the spray pattern. Turn it left or right to control the arc. This controls how far the sprinkler sprays water.
Adjust the radius by turning the radius screw. This changes the distancewater travels. Smaller radius saves water and reduces overspray.
- Place the sprinkler head in the ground.
- Turn the water on.
- Watch the spray pattern and distance.
- Use the tool to make small changes.
- Test again until you get the right coverage.
Check if water reaches all areas you want to water. Make sure water does not spray on walkways or driveways.
Turning On The Water And Testing
Turn the water supply back on slowly to avoid pressure spikes. Watch the sprinkler head carefully as water flows through it. This helps prevent damage from sudden water bursts.
Check all connections for leaks. Small drips can waste water and reduce sprinkler efficiency. Tighten fittings if needed to stop leaks.
Observe the sprinkler’s spray pattern. Make sure it covers the intended area evenly. Adjust the head direction if some spots are dry or overwatered.
- Look for wet patches beyond the lawn area.
- Note areas that stay dry and adjust the spray.
- Ensure water reaches all plants uniformly.
Maintenance Tips For Longevity
Cleaning the sprinkler head often helps it work well. Dirt and debris can block water flow. Use a soft brush or cloth to wipe the head. Check the nozzle for clogs and clear them gently. Keeping the head clean stops uneven watering and damage.
Seasonal changes need sprinkler adjustments. In colder months, turn off the sprinkler to avoid freezing. In hot seasons, increase watering time for dry soil. Adjusting the spray pattern helps water reach all plants. These changes save water and protect your lawn.

Credit: www.rainbird.com
Frequently Asked Questions
How Do I Install A Rain Bird 1800 Sprinkler Head?
Dig a hole, connect the sprinkler to the pipe, and secure it in place. Adjust the spray pattern.
What Tools Are Needed For Installing A Rain Bird 1800?
You need a shovel, pipe cutter, Teflon tape, and a screwdriver for easy installation.
How To Adjust The Spray Radius On A Rain Bird 1800?
Turn the adjustment screw on the sprinkler head to increase or decrease the spray radius.
Conclusion
Installing a Rain Bird 1800 sprinkler head is simple and quick. Follow each step carefully to avoid mistakes. Check for leaks after installation to save water. Adjust the spray pattern to cover your lawn well. Regular maintenance keeps your sprinkler working smoothly.
Enjoy a healthy, green lawn with proper watering. This guide helps you handle the job confidently. You can do it yourself without special tools or help. Start watering smart and keep your garden happy.
One Response